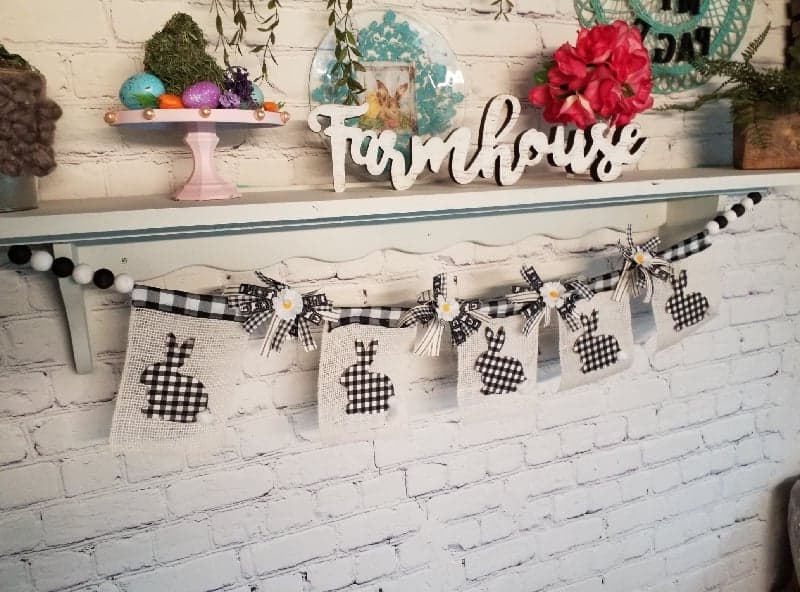
Bunny Banner
This adorable rustic DIY Bunny Banner is probably my favorite springtime project yet! The best part is that I was able to create it using my craft supply stash and a few items from my local Dollar Tree! The project cost me under $10 to make and I LOVE how this hippity hoppity Bunny Banner turned out!
This post contains affiliate links. Using these links will not affect your product cost, but I earn a very small percentage when you use my link. This helps me to keep bringing you great products, tutorials, recipes, crafts, and more! I only represent or recommend products that I believe in and use personally
- Exacto Knife
- Dixie Belle Paint Company Cotton
- Mod Podge
- Foam Brush
- 5 Wood Bunnies
- Material of your choice
- 2 small Artist Brushes
- Iron
- 3 6/8 Ribbon Rolls
- 3-inch Wired Ribbon
- 7-inch Cream Color Burlap Roll
- Dixie Belle Paint Company Caviar
- Glue Gun
- Glue Sticks
- Jute
- Cotton Ball
- Scissors
- Wire
- Wooden Beads
I wanted something cute, adorable, and farmhouse for my shelf, so I decided to make a bunny banner. Crafting, creating, and farmhouse decor are my passions in life. They bring joy to my world. Decorating my home is another passion especially if it’s budget-friendly. I recently saw something similar in a high-end store at a high-end price and I knew I could create the same thing for a more budget-friendly price. Mind you, I love a good challenge. I love farmhouse decor, it just suits my style. Simplistic, warm. comfortable, mixing old with new, chippiness, and all the neutral pallet colors.
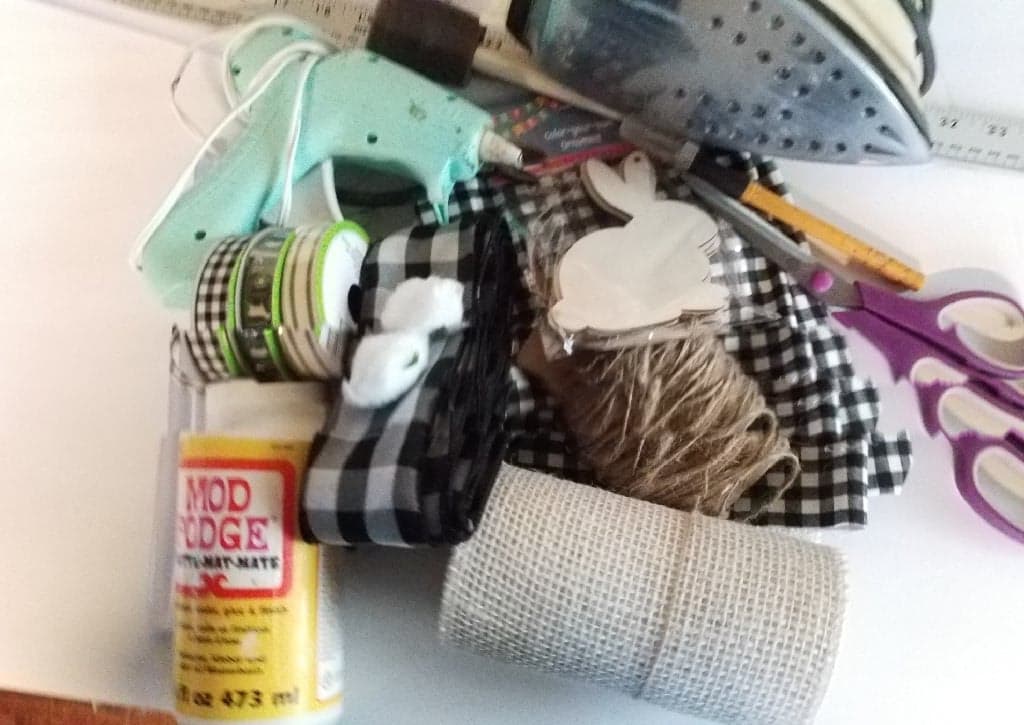
Raiding My Craft Stash

Bunnies were a must. I had to have some in my craft stash. There was a five-pack of wooden bunnies stuffed in a drawer. I needed something to make the banner, so I checked my ribbon stash and found a roll of five-inch cream-colored burlap ribbon, which is the perfect neutral for the background. Anyone that knows me, knows how much I love buffalo check, and nothing screams Farmhouse, as buffalo check does! I had a three-inch wired ribbon, as well as buffalo, check fabric that would work perfectly. I also grabbed a roll of jute so I could string it all together to make
Creating The Bunny Banner
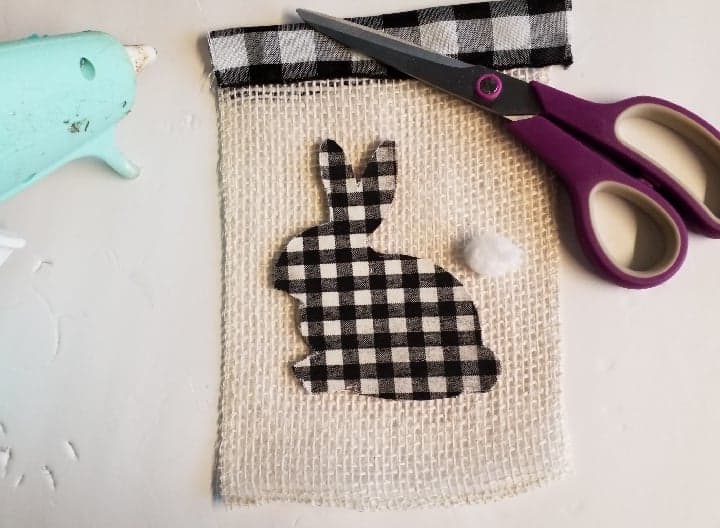
Now I had a plan, hopefully, I could make it work. Using the five-inch burlap roll for the background for the bunnies, I cut the burlap seven inches in length, making five seven-inch by five-inch pieces for my backgrounds. Because the burlap was five inches wide I cut the buffalo check wired ribbon five inches in length. I cut five of the five-inch ribbon sections because I needed one for each burlap background. Using my glue gun, I made a bead of glue across the top, placed my buffalo check ribbon, and held it down with scissors to make sure it stuck properly. Next, I added another bead of glue and folded the ribbon in half, and held it in place until it dried. This not only gave me the look I was going for but now I had something I could string the jute through.
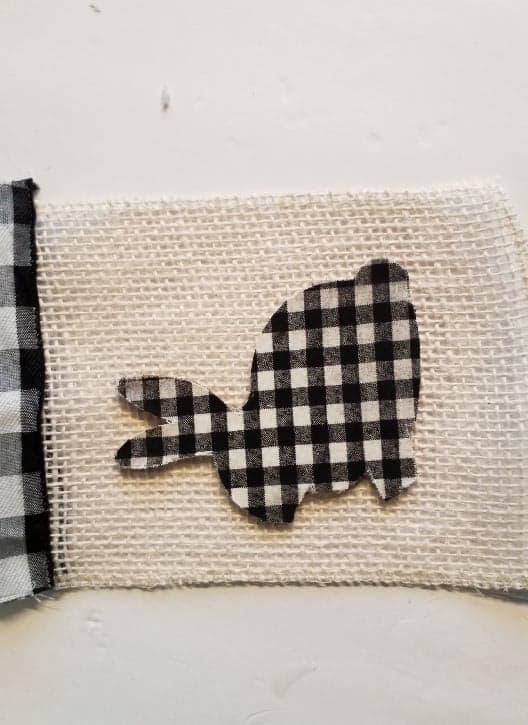
Making Cute Bunnies
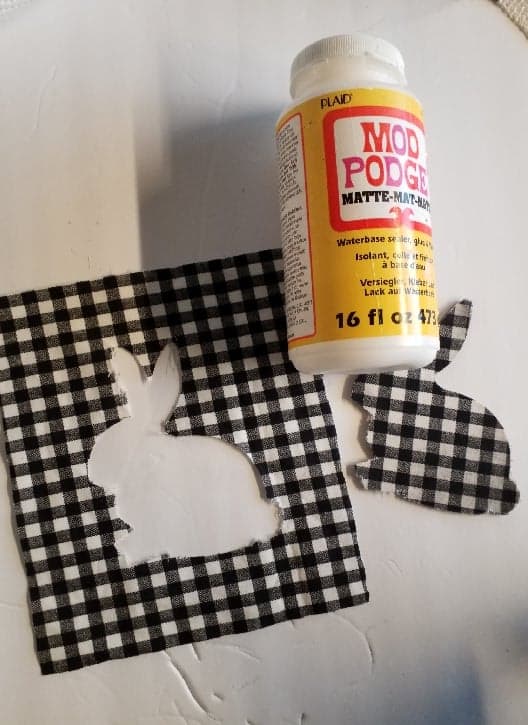
Creating the bunnies came next. I place the material over the bunnies making sure there was enough hanging over the sides, I set the material to the side. Next, I painted the bunnies with a thin coat of mod podge using a foam brush and allowed them to dry. Deciding to do the Iron on the method for decoupaging I plugged in my iron. Taking the material I placed it on top of the bunnies and ironed it to the bunnies. Using an Exacto knife I cut the bunny pattern out. I placed the bunnies onto the banner trying to center them, and using my hot glue gun, I glued them in place. I ripped off a cotton ball enough to create a cute bunny tail and glued it on. Using the jute, I strung it threw the buffalo ribbon, forming the strung banner.

This Bunny Banner Is All About The Details
Because I wanted more of a farmhouse look back to my craft stash I went! It just needed more. I chose some wooden beads, wire, three packs of 6/8 inch ribbon, and black and white paint for the wooden beads. Figuring I needed six beads for both ends I painted six of the beads white, and six of the beads black. While the beads were drying I decided to make messy bows between the banners. Choosing a striped one first I cut it to six inches in length, making ten six-inch strips. Next, I picked the black and white buffalo check ribbon and cut ten four-inch pieces. The last ribbon I cut to three inches in length making ten of these also. Never having made a messy bow before I was surely going to give it a try. I made five messy bows that would go perfectly in between the banners. My DIY bunny banner was finally coming together.
Loving That Farmhouse Charm
Next, I threaded the beads on the jute at each end. Alternating one black, and one white until I had six at each end. I strung the banner on my shelf, spacing the messy bows evenly. Starting with the one in the center placing a bow on each side of the banners wiring it to the jute string to secure it. Repeating this step in between each banner making sure it was even. I stepped back to look at my banner and I fell in love. It had the farmhouse charm I wanted. It’s one of my favorite DIY projects of all time! This banner could be used in a kitchen, over a window, a mantlepiece, or a child’s room. There are so many different places this could be used. It’s not only adorable it’s functional. I truly love how this cute bunny banner turned out.
If you enjoyed this craft, check out the links below for more fun projects: