Create Some Space Saving Decor with Farmhouse Baskets
Do you love the farmhouse style decor as much as I do? Some decor items can be a little pricey. If you’re creative and thrifty, you came to the right place. Being creative, crafty, and thrifty is my thing. Needing something in my kitchen for holding items and fruits, without taking up a lot of space, is what I was looking for. Having a small kitchen, my counter space is limited. I wanted to create something that would both save space and hold multiple items. I decided that farmhouse baskets on a dry brushed board would look nice. This is the process I went through.
This post contains affiliate links. using these links will not change the price you pay for any products. I make a very small percentage when you purchase, which helps me to keep bringing you great tutorials and posts. I only promote products that I use and personally believe in.
Supply List
- 3 Dollar Store Black Square Mesh Baskets
- 6 ⅞ Screw Hooks
- 8 ¾ Wood Screws
- 2 Furring Strips
- Caviar Black Chalk Paint Dixie Belle
- Sawmill Gray Chalk Paint Dixie Belle
- Fluff White Chalk Paint Dixie Belle
- 3 inch Chip Brush
- Saber Saw
- Chalk
- Tape Measure
- 2 picture hooks
The Plan Is Coming Together
I wanted something to hang on my kitchen wall. I had an idea, but I wanted to see what I could come up with. One of my favorite stores is The Dollar Store. Like everyone else, I find quite a few budget-friendly items there. While there, I noticed some wire looking square baskets. Baskets scream farmhouse and they hold things, right? Could these baskets be the answer? In my mind, I thought, “Could I make something with them?” I purchased six, thinking I had an idea that just might work. Now to put it to the test.
I needed something to hold these together and something sturdy enough to hang on my wall while holding some weight. Home Depot was my next stop. That would be a good place to start. I took a farmhouse basket into the store with me to assure I would purchase the necessary supplies. I purchased 2 boards that I call “firing strips.” I planned to cut them down. Next, I needed something to attach the farmhouse baskets to the boards so I purchased two packs of screw hooks. These would definitely secure the baskets to the boards.
Excitement and Plans Pay Off
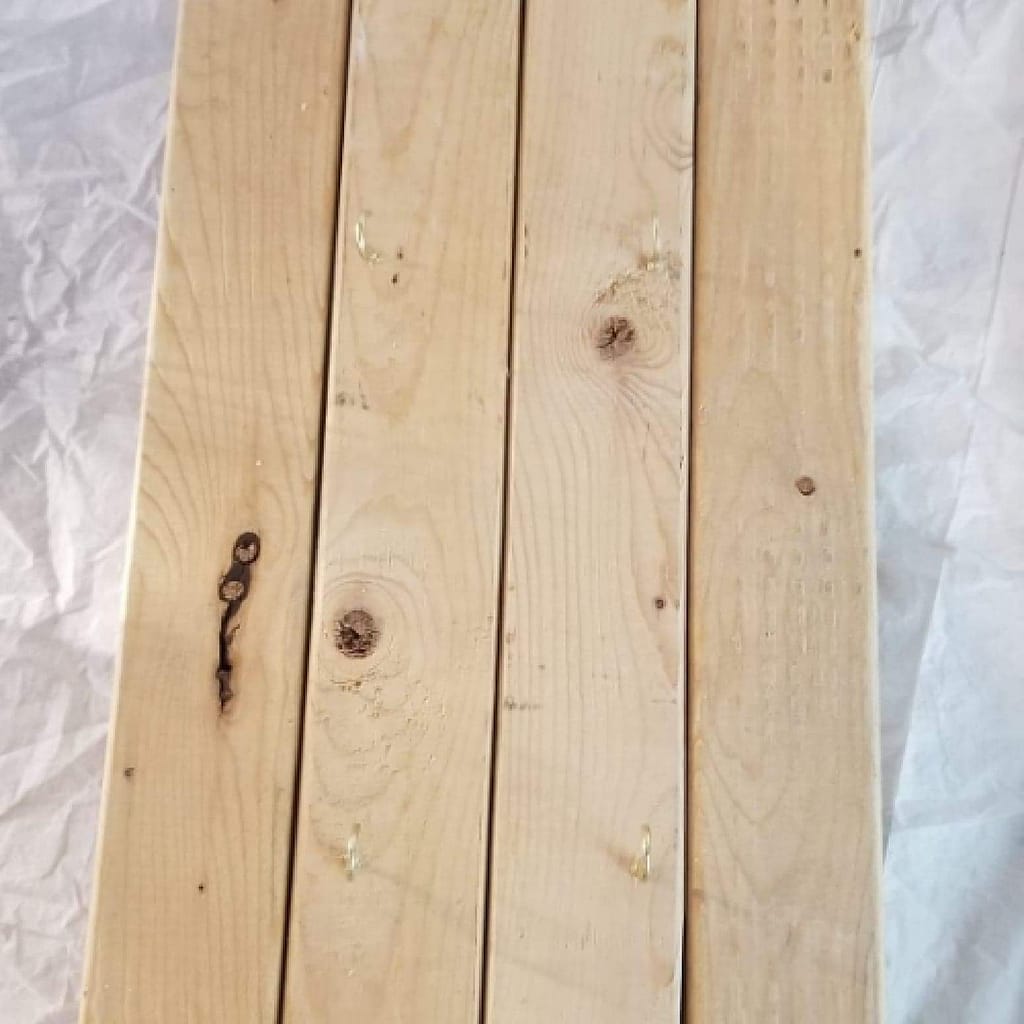
Once home, I couldn’t wait to get started. Grabbing my saber saw and going to the backyard, I began to figure out what height I needed. I laid the boards down on my picnic table and used a tape measure to figure out the length I needed. I needed at least twenty-four inches in length so I marked off with a piece of chalk, figuring out I needed at least four boards across so the farmhouse baskets would work nicely. Now I had to figure out what I needed to keep them together. I measured and marked off two eight-inch boards. I cut the boards with the saw. Perfect! I could use the two eight-inch boards to tie it all together.
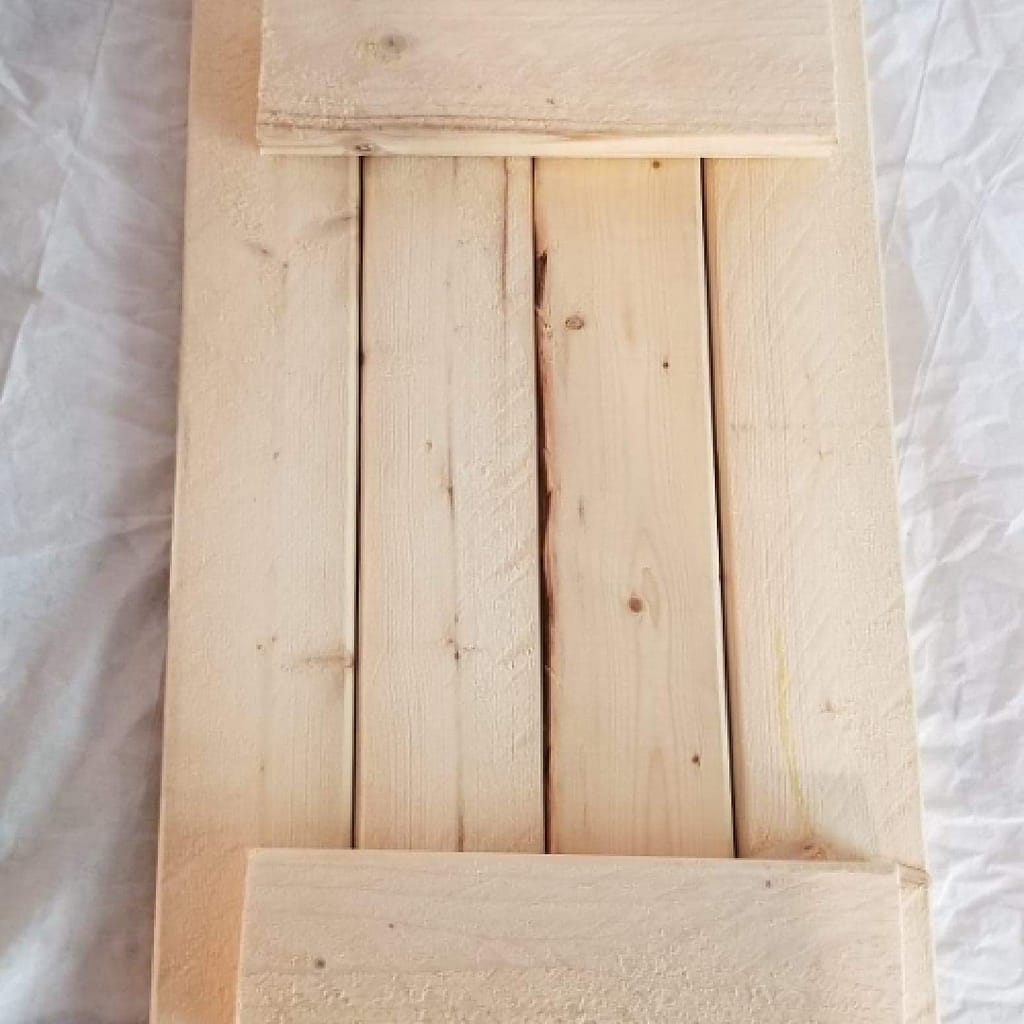
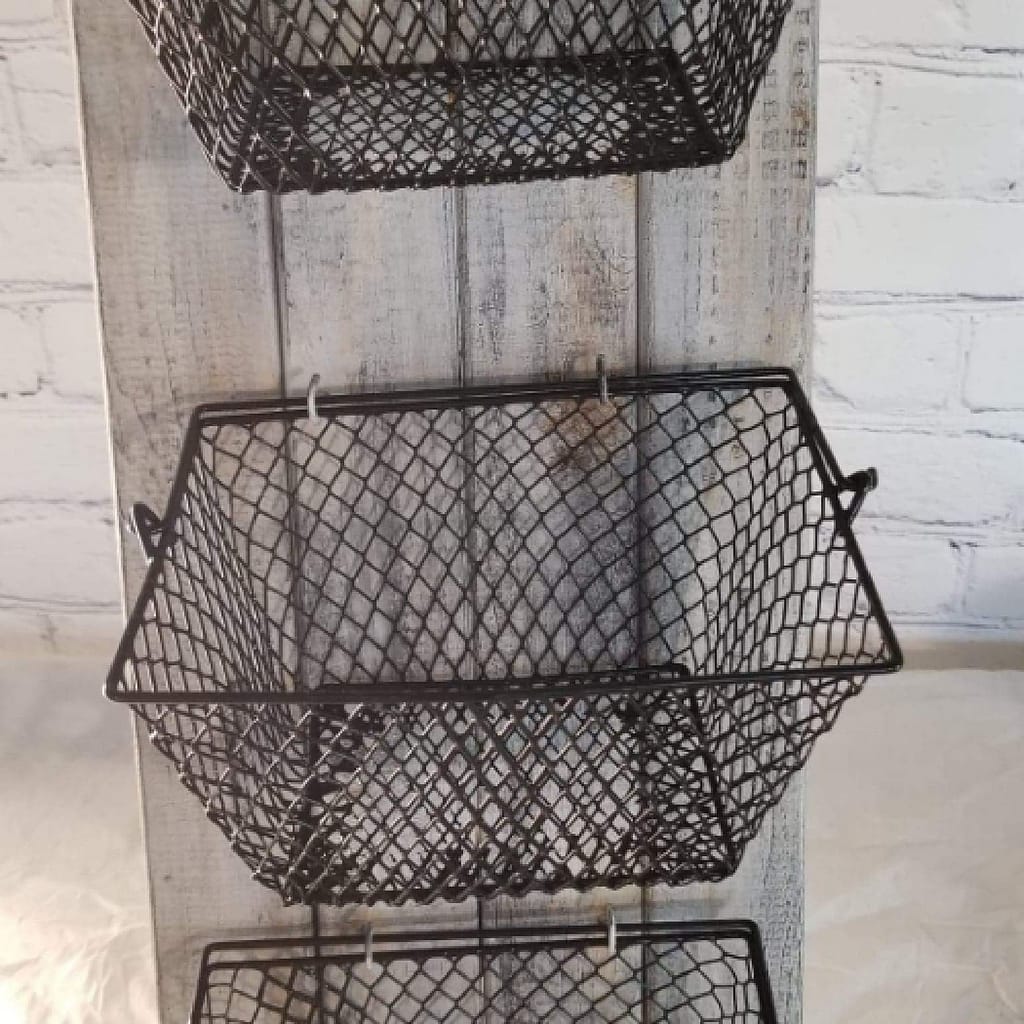
I placed the four twenty-four inch boards side by side. One last time, I measured, with the farmhouse baskets, and made sure everything would work together. Yep, it was going to work perfectly. Placing the two eight-inch boards across the others, I screwed them down with the wood screws. I made sure all four boards had a wood screw in it. Doing so, I knew this would prevent it from falling apart. Happy with the results, I turn it over. I took my farmhouse baskets and placed them on the board. I marked off, with chalk, where I wanted the hooks to be and then I screwed the six hooks into place. Taking the farmhouse baskets one final time and placing them on the hooks, I made sure it would work. They slid in perfectly.
Creating That Rustic Farmhouse Look
Now, to create that Farmhouse look I was going for with a little paint. Wanting a rustic farmhouse look, I decided on three colors. All were Dixie Belle colors: Fluff, Caviar, and Sawmill Gravy. I got a 3-inch chip brush and decided on a dry brushing technique (meaning very little paint on the brush itself). I dipped my brush into the color Fluff. Just barely touching the paint and wiping off most of the paint on a paper towel, I started painting in long forward strokes. Painting hooks and all, I repeated the process until I was finished. You don’t want a solid finish. You want to leave some of the wood showing.
I dipped my brush in a cup filled with water and swished it around. You want to clean your brush really well with a paper towel to be sure you are pulling all of the excess water out. I waited a few minutes, allowing the white paint to dry. I then applied the color Sawmill Gravy. Using the same technique as before, I painted again in long strokes leaving some of the wood showing. I was going for that rustic look. Layering the paint where I wanted it, I once again swished my brush in the water to clean it off. Caviar is a strong color. It’s a rich, true black, and you can always apply more later to get the look you want. Using the black paint, I dry brushed the boards very lightly. I only wanted to highlight with the black. Loving what I was seeing when finally done, I was getting that rustic farmhouse charm and getting a great space-saving design for my home.
Finishing Touches
Flipping the boards over, I screwed in two picture hangers: one on each side on top of the cross-board. You can do this step before painting if you prefer. I flipped it over again, putting the top basket on first and working my way down. Once I got all three lined up, I was really happy with the way things went. I was proud of myself for figuring this out. It’s a fun and budget-friendly project. The fact I could store many items in a small area was an added bonus. I was thrilled with the end results. Not only could I use these in my kitchen, but other areas in my home as well. I love creating and inspiring others. Please kindly leave me a comment below. I hope you are enjoying my journey. You can also follow me on Twitter, Pinterest, and Instagram. I would love that.

You may also like:

Bette Hiltz says
I love it!
Erin Eppler says
Thank you glad you enjoyed