The Magic of A Christmas Tree Gnome
Do you like to decorate for Christmas as much as I do? Gnomes are a BIG trend this year! They are adorable. I’ve seen many shapes, sizes, and colors, but I wanted something different. I wanted something that was cute, inexpensive, and traditional. Being a creative person, I knew I could come up with something that fit the bill. Dollar Tree is a place that inspires me. Could I create the perfect Christmas tree gnome?

This post contains affiliate links. Using these links does not affect your cost for the products and pays me a very small percentage which helps me to continue to bring you inspiring tutorials and ideas. I only recommend products that I use and believe in.
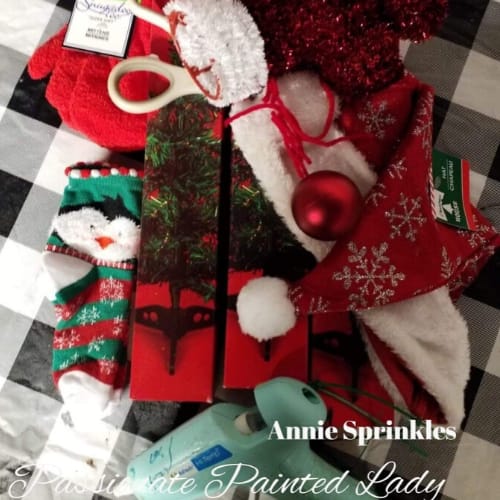
Supply List
- 3 Dollar Tree Christmas trees
- Santa Hat
- Pair of child’s mittens
- 2 Dollar Tree red boots
- Pair of child’s Christmas socks
- Glue gun
- Glue sticks
- One medium-sized Christmas ball
- 2 zip ties
- Christmas pick (for decor)
- Glitter bush pick (if desired)
Picking The Perfect Materials
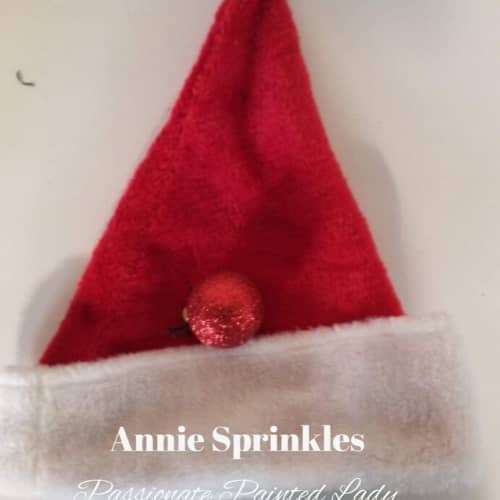
Since it was Christmas and I wanted to stick with traditional colors, red, green, and white with a splash of glitter is what was on my mind. So my trip to Dollar Tree now became a challenge that I readily accepted. Leaning towards a Santa type creature, the first thing that came to mind was a Santa hat. It happened to be the first thing I found! Because I was trying to create a Christmas gnome, a nose was the next thing I needed. As I looked around, I came across a pack of red medium-sized Christmas balls. Some had glitter and some were red and shiny. They were perfect for my Christmas gnome nose. I wanted my Christmas gnome to be as unique and special as Christmas morning.

The Angels Were Singing
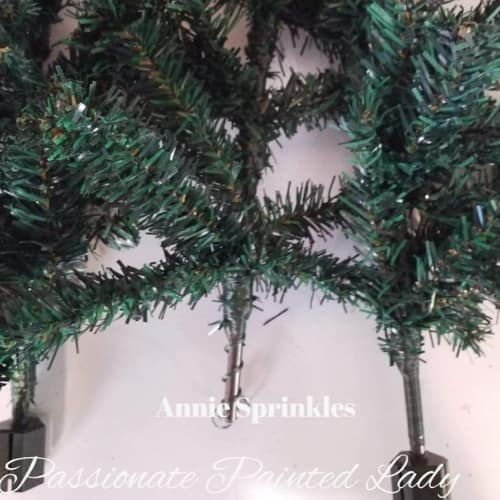
What would be more perfect than a Christmas tree? I ran to the aisle where the Dollar Tree Christmas Trees were. The green one is what would work best for the look I was going for. So, I took one out of the box. I wanted my Christmas tree gnome to be full and fluffy. However, one wasn’t going to fit that bill, no matter how much I fluffed it out. I picked up another and push them together, but that still didn’t work. I tried three and that was just right.
Happy with the results, I placed all three trees in my cart. This Christmas tree gnome was coming together. Right next to the trees were these red booties. A shiny red. Not my style but I grabbed two thinking maybe I could find something to cover them. I found an adorable pair of Christmas socks in the children’s section. They were perfect to cover up the shiny red boots. But would they fit? l excitedly tried one over the boot and, to my surprise, it was a perfect fit. My Christmas tree gnome now had a pair of cute feet. But I wasn’t done yet! My Christmas tree gnome needed hands. I have seen these adorable red children mittens in the next aisle. They would be the perfect hands for my adorable Christmas tree gnome. Right next to that was a glitter floral pick, which I also grabbed.
The Plan Was Coming Together
My Christmas tree gnome was finally coming together. When I got home, I excitedly unpacked my bags. I was looking forward to creating the perfect Christmas tree gnome for my home decor. I plugged in my glue gun to get it heated up. Starting with the body, I removed all three Dollar Tree Christmas trees. Fluffing one to the right side, the other to the left side, and fluffing the final tree from side to side so it would fit perfectly in the middle. Tying it together, I used two zip ties: one placed at the top approximately 3 inches down, the other closer to the bottom. My Christmas tree gnome’s body was now together.

My Christmas tree gnome was fluffy and perfect. Next, I got my boots out and slipped on the cute Christmas socks I picked out over the boot. They were a perfect fit. Placing the tree in one boot at a time and removing the center tree bottom, I was impressed by how easily this was coming together. My little Christmas tree gnome finally had cute feet. The little socks added the perfect pop of color. Pulling the Santa hat out next, I slipped it over the tree to where I thought it was a good length.
Creating The Final Touches
Fluffing the branches came next. Wanting the perfect spot for his cute nose, I used my glue gun and dabbed some hot glue on the top of the ball. I glued it where the hook would go on it, found the right spot where a nose should be, and held the ball in place for a few seconds until it felt secure. My Christmas tree gnome had the perfect cute nose.

My Christmas tree gnome was looking so adorable, but he needed some hands. Using the cute red mittens next, I pinched the end where the hands would normally be and I used some red yarn and loosely wrapped some around about three times leaving some extra on both ends, not wanting to tie it quite yet. I placed a mitten over a branch to see if it was in the right place where a hand should be. Tying a knot with the yarn, I made sure it was snug and cut off the extra. Then, I went to the other side and placed the other mitten where it should be and tied a knot in that also, removing any extra.

My Christmas tree gnome now had hands. He was adorable. I wanted to add some bling and I had some glitter snowflake stickers that I placed on his hat and another on his glove. I had that glittery floral pick and I shoved it in his boot snuggly. It is a perfect fit and adds that extra pop of bling I wanted. My sweet little Christmas tree gnome was perfect and came together so easily. What do you think? He’s adorable.

You may also like
