Easy End Table DIY
The other day it was so beautiful outside, I decided to go out on our front porch and create something for our home. I enjoy crafting outside and this Easy End Table DIY was a wonderful outdoor project. It’s so peaceful hearing the birds chirping, and feeling the gentle breeze. I think natural sunlight gives the best light when creating! A bonus when staining or painting outside is that there is plenty of ventilation, and you do not have to worry about fumes from paint or stain getting to you. *This post contains affiliate links. I earn a percentage of each purchase made from the links which don’t affect the item’s price*
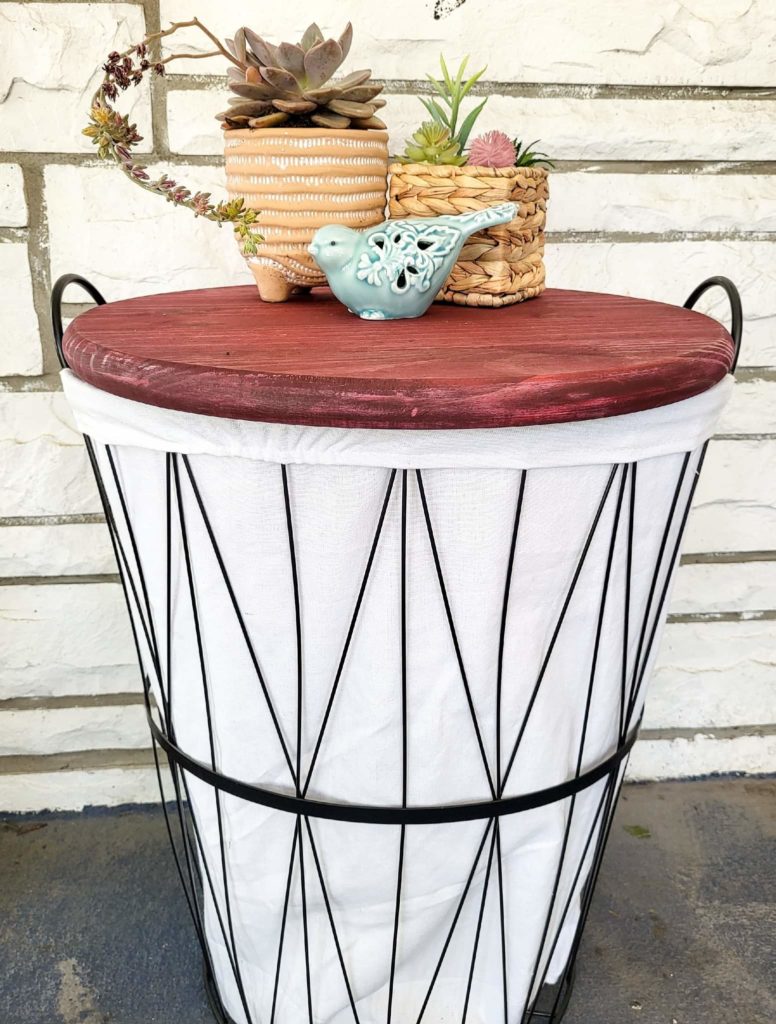
Easy End Table DIY Supplies:
- 18″ wood round
- Varathane Wood Stain – Cabernet
- Laundry basket with a metal frame
- Rubber gloves
- Lint-free cloth
- Paint stick

I wanted to make an end table for our home, so I went to a local hardware store and bought an 18″ wood round and cabernet colored Varathane wood stain. I got some rubber gloves at Dollar Tree and had an old lint-free dishcloth at home that I used for applying the stain. Below is the supply list that I used.
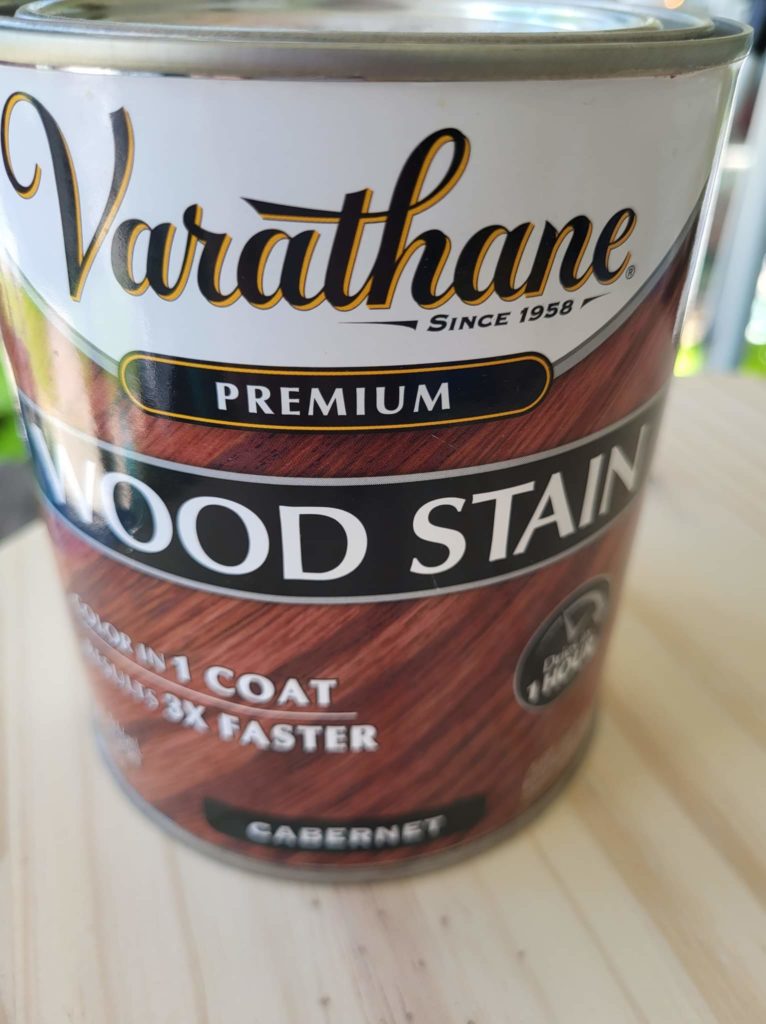
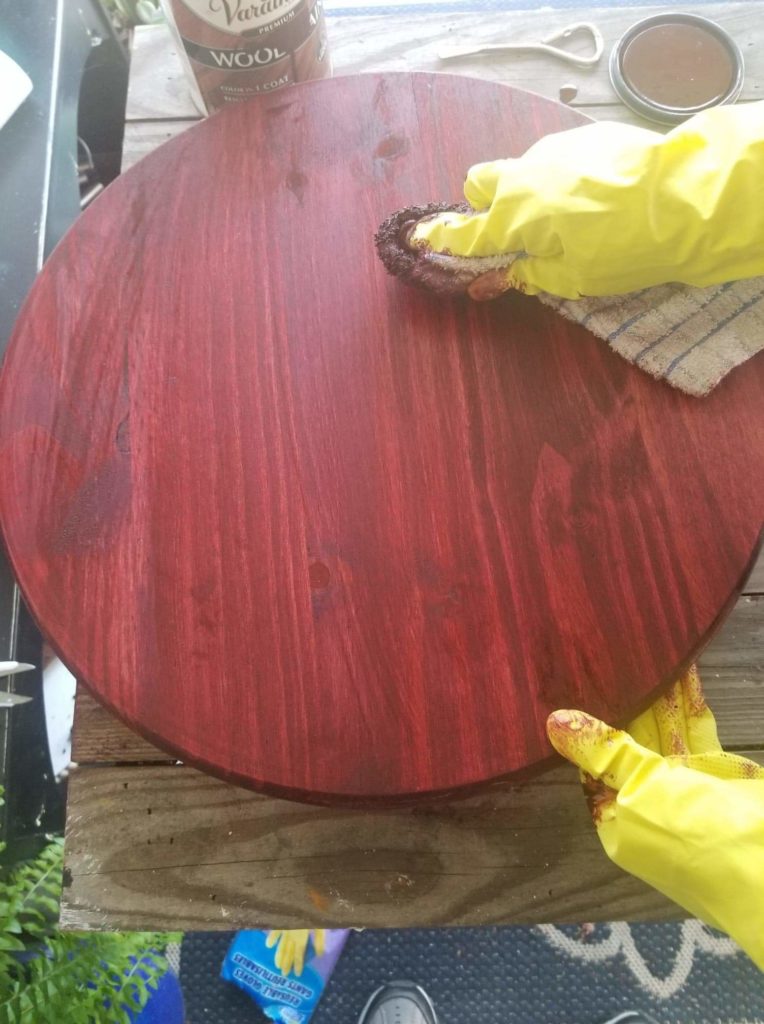
Once all of my supplies were together, I opened the can of stain and gently stirred it with the paint stick. You don’t want to shake a can of stain because it will produce bubbles. I stirred it enough to mix all of the sediment off of the bottom. Then I took the lint-free dishcloth, dipped it into the can, and started applying it to the wood round. When you do this step, be sure to apply the stain in the direction of the wood grain and not against it. Another tip is when you apply the stain to the lip of the round, make sure to go back over the flat side of the round so that it doesn’t form a visible seam.
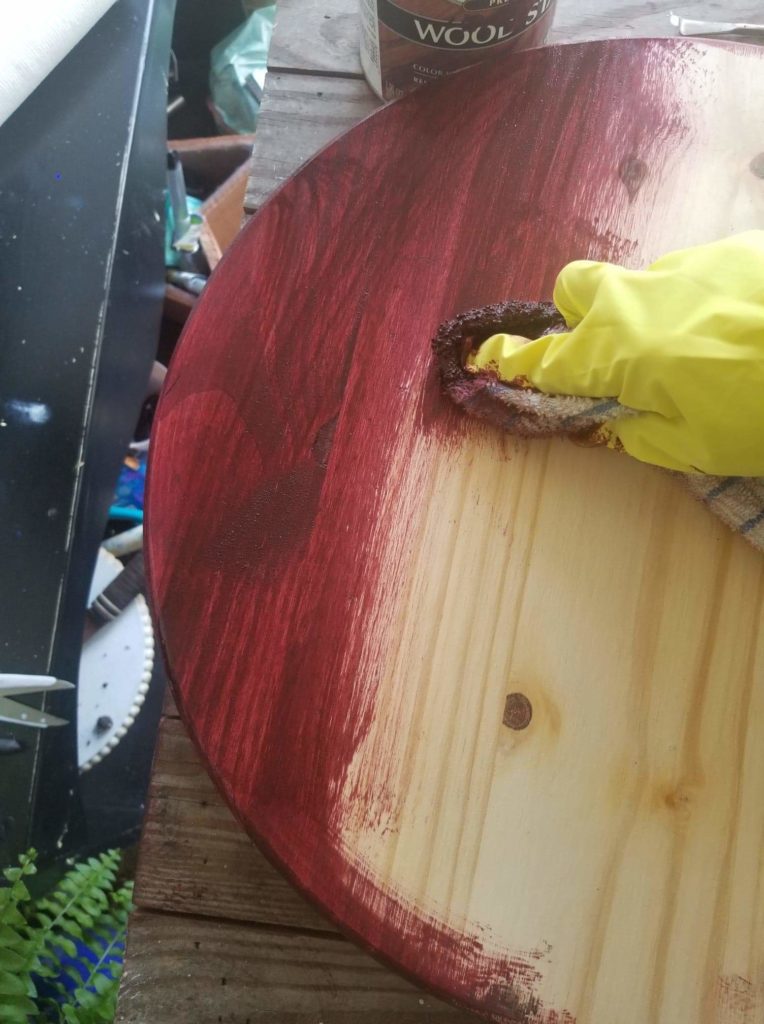
After I finished applying the stain to one side of the round, and the lip of it, I let it dry. Make sure to read the can and see what the suggested drying time is for the brand you’re using. The stain I purchased had a sealant mixed in with it, so I didn’t have to do an extra step and apply a sealant, which was nice.
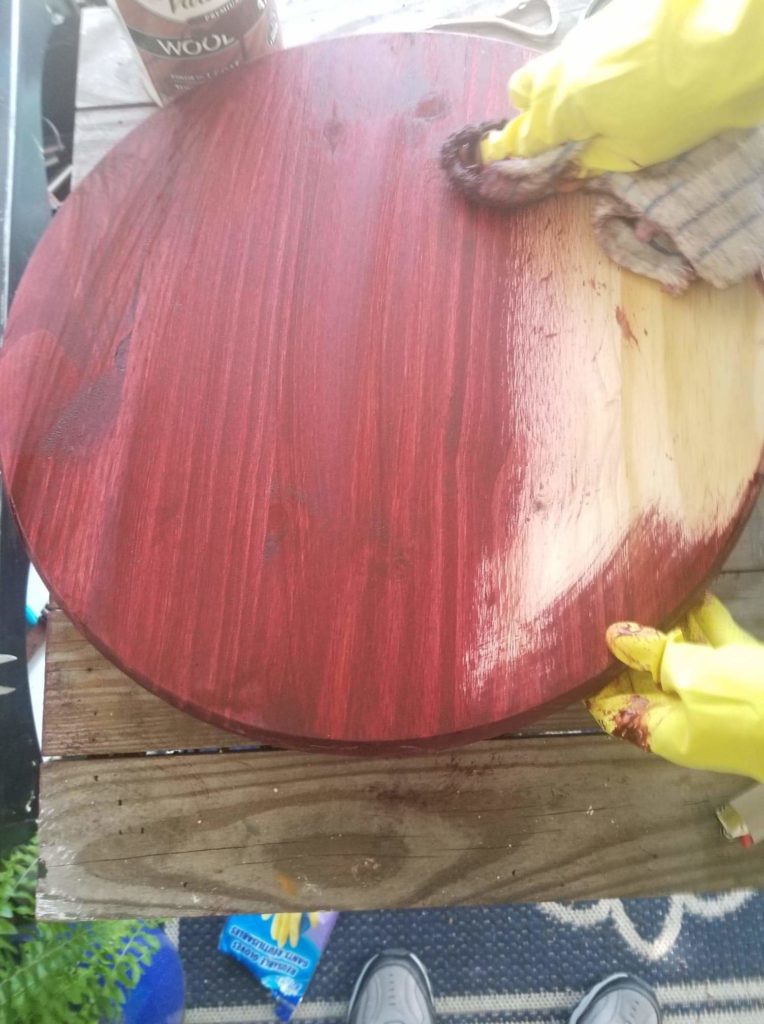
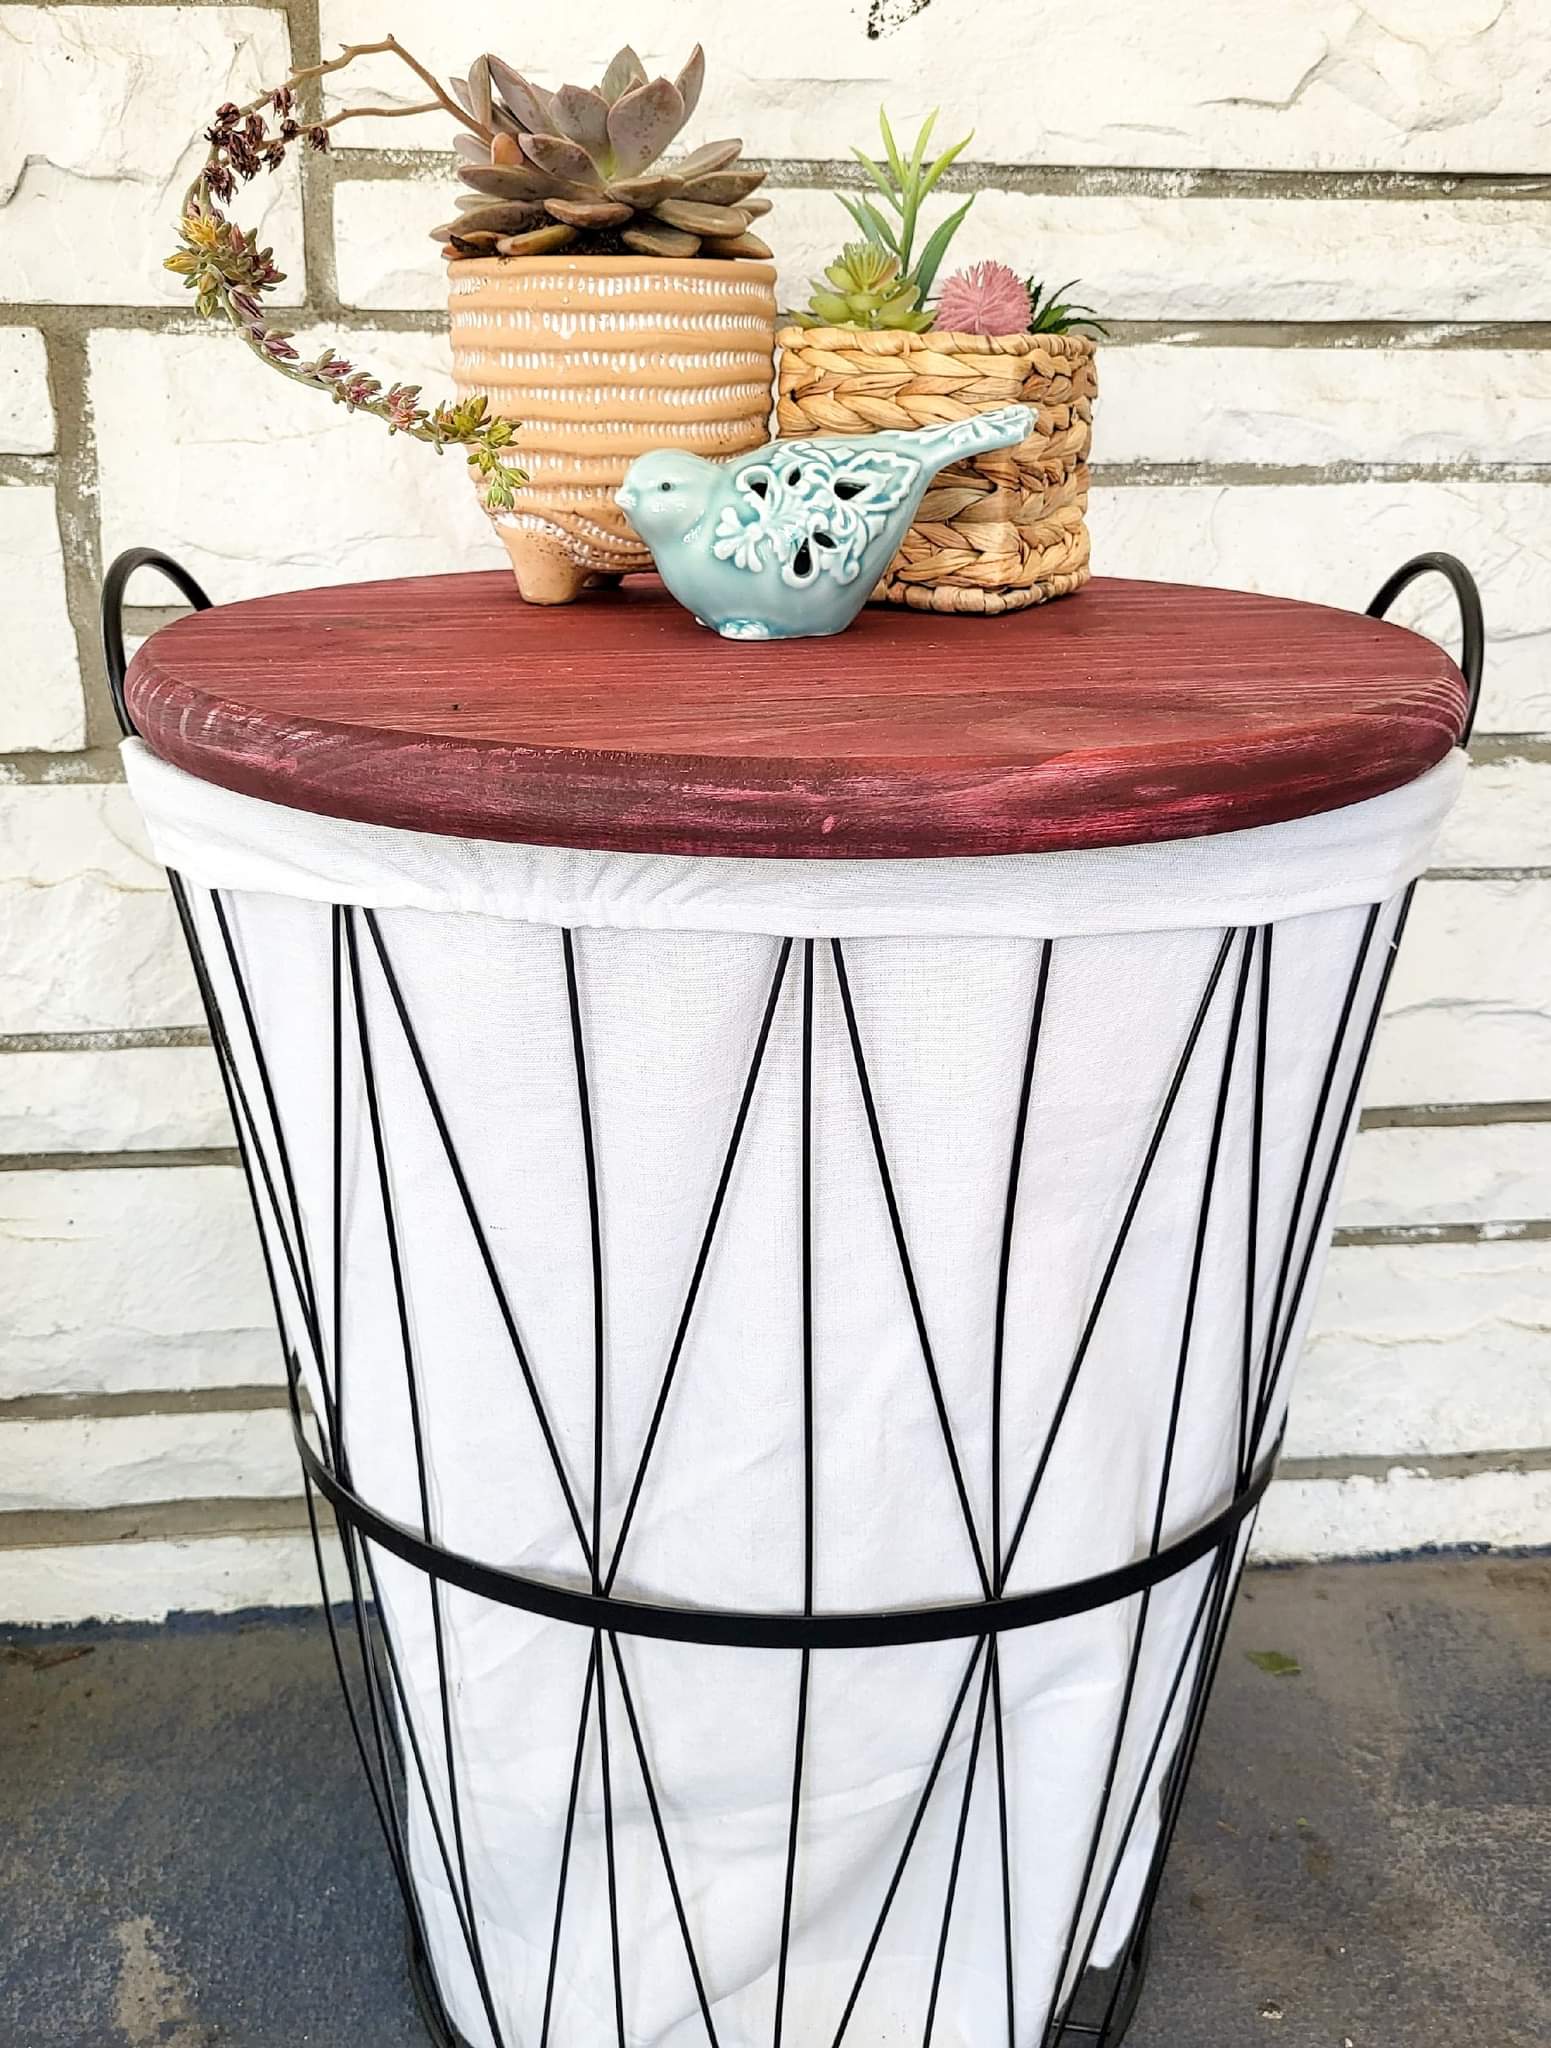
When those areas were dry, I flipped the round over and covered the remaining area with stain. Once that was dry, I grabbed an adorable laundry basket that I bought at Home Goods and placed the wood round over the top of it. It was a perfectly snug fit!
Be sure to know the measurement of your round so you’re able to ensure that the opening of the basket will be the correct size to lay the round on. Any round laundry basket with a metal frame will be great for this project. You can use this project as an end table like I am, or as a hamper in the bathroom if you wanted to. I like that it has room for storage inside it!
I love how it turned out, and it was such a simple project. If you would like to watch a replay of how I started this project, click the link below!
It’s so fun to create simple home DIY projects like this one. I hope that this was an inspiration for you to create your own. Let me know what you think in the comments, and if you make an end table of your own please share pictures of it in my creative community!
The Passionate Painted Lady Creative Community

Valerie Degeorge says
I love this so much it came out awesome
paintedlady says
Thanks so much Val! 🙂
paintedlady says
thank you lovely lady