- Easy Way To Make A Bow
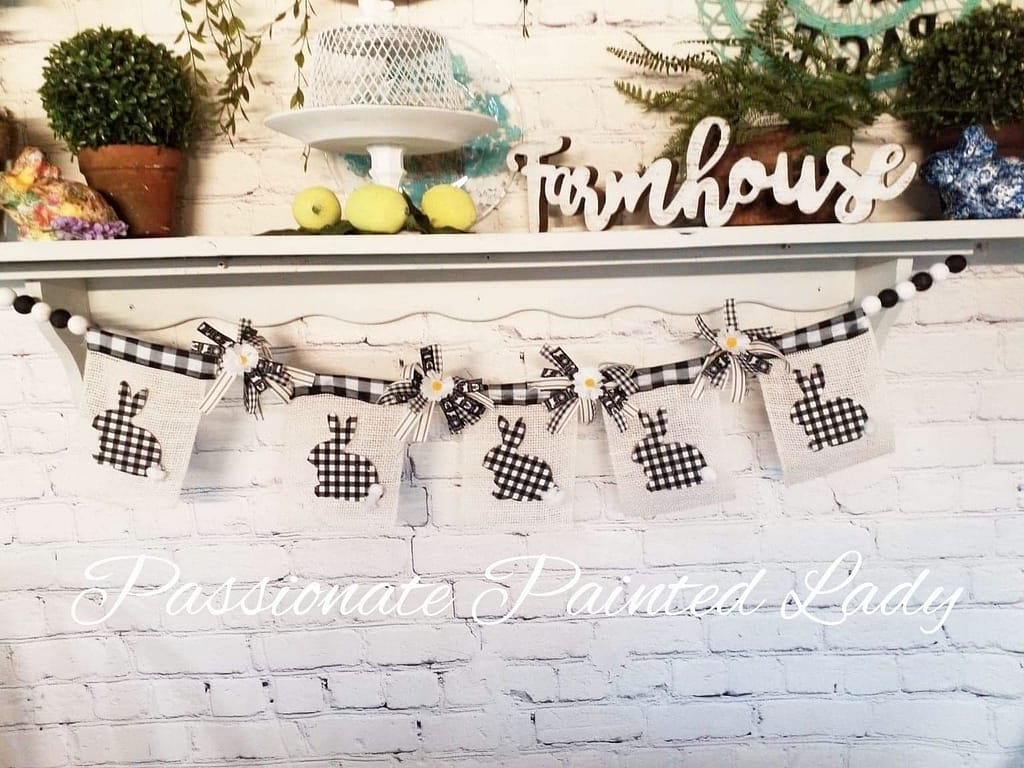
I love how easy this bow was to make! It’s so cute and adds character to any project. I am not a bow maker by far but, I absolutely love how this came out and darn cute too. Using farmhouse styled ribbon. It’s that perfect added touch to any project.

This post contains affiliate links. Using these links will not effect your cost of the product, but I do earn a very small percentage when you use my link. This helps me to keep bringing you great products, tutorials, recipes, crafts, and more! I only represent or recommend products that I believe in and use personally
Wanting to make a bow for my banner I wanted an easy way to make it. Not being the best bow maker, I needed something simple. I have seen this type of bow before but I didn’t really know how to do it. Being a creative person, I figured it shouldn’t be that hard. So I began trying to make this bow my way. I had hopes that it would turn out great. I had three different types of ribbons all the same size. So why not give it a try. Farmhouse is my favorite style, so I wanted a bow that would fit in with my decor as well as the banner.

Getting It Figured Out
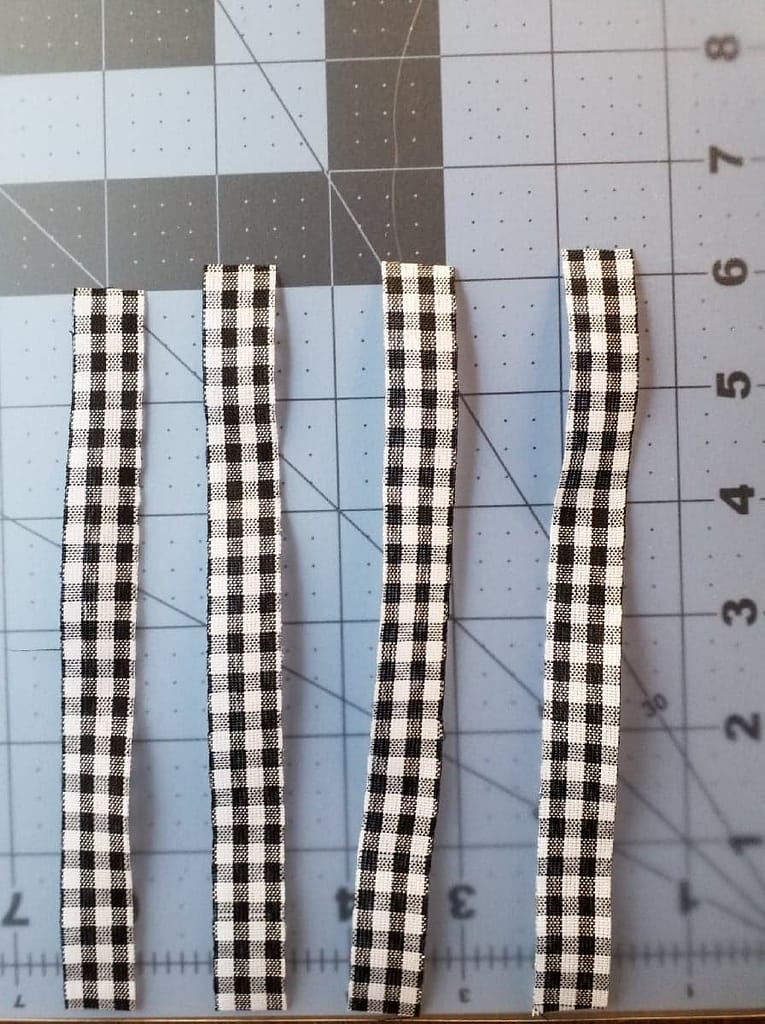
Not knowing where to begin, I got my three ribbon spools out. Yep, they were Farmhouse style, had to have some buffalo plaid! With a little bit of creativity and hope I began to try to figure out how I was going to make this “easy bow”. Knowing the bows were going to be between my banner, I figured out what length would work best. Taking out my cutting matt and rotary cutter I cut the first ribbon to six inches in length. Cutting ten pieces each, I needed five bows in total. If you are going to make a single bow I would suggest two pieces per bow.

Holding a piece of the buffalo plaid ribbon to my banner to make sure that this length would work, it checked out perfectly. Next, taking my cute farmhouse black ribbon, I used my rotary cutter and cut that to five inches in length. I wanted to add color, textures, and different patterns. After all who doesn’t like something cute. I took the third ribbon, choosing a neutral farmhouse ribbon, and cut it with my rotary cutter to four inches. I hoped this would give me a layered look I was going for.

Getting That Layered Look
Now having all my ribbon cut to length, the next step was putting them all together. I took the six-inch ribbon and criss-crossed it. Creating an X shape.

Hopefully this pic will help, as a visual learner myself I hope it will. Wanting a layered look, I knew it would take more than this. I took the five-inch ribbon next making a criss-crossed placement once again.

I took the four inched ribbon and did another criss-crossed placement knowing that it would add another layer for the look I was going for.

Coming Together Nicely
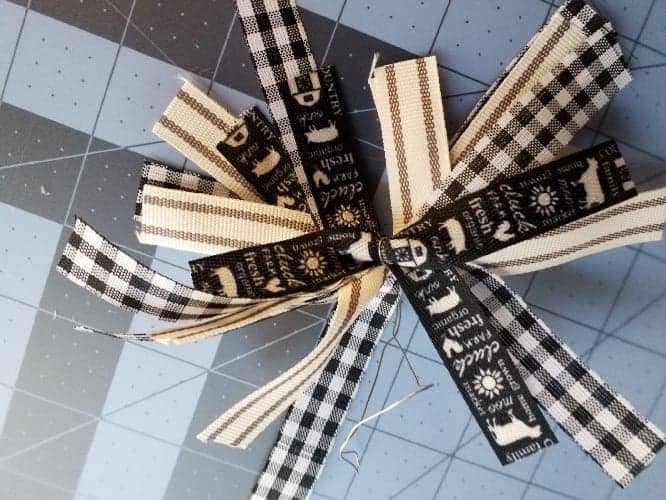
The layered farmhouse look was coming together nicely, and it wasn’t hard! I repeated that process once more using all three ribbon lengths, making more layers and getting closer to the look I was going for. I was excited and happy that it was coming out better than I thought. It really was easy, and I am not a bow maker but this bow was starting to look so darn cute!
I was happy with the look, and excited to see it on my banner. Taking a piece of light gauge wire I tied it together. Twisting it to make sure it wouldn’t come apart. This was such an easy bow to make! It’s cute and so much fun to create! I knew this would pull my banner together beautifully. Finally, I got the farmhouse layered look I was going for!
You can use this tyoe of easy bow on all types of projects! I hope this inspires you to make some easy messy bows of your own! Let me know what you think!
