Beautiful Birdhouse DIY
Recently I made some new creations for my garden decor, a Beautiful Birdhouse DIY. These beautiful birdhouses are simple and fun to create, and they will add a colorful addition to any area of your home or garden! You can create so many different versions of this Beautiful Birdhouse DIY.
Beautiful Birdhouse DIY Supply List
- Paint Pixie – Forcefield Premium Sealer
- Paint Pixie – Marshmallow (True White) Magical Chalk Paint
- Paint Pixie – New Penny Liquid Pixie Dust Metallic Paint
- Turquoise Iris Assistant 3/4″ Paintbrush
- Mod Podge
- Gorilla Glue Hot Glue Gun
- Gorilla Glue Hot Glue Sticks
- 1/4″ Wooden Dowel Rod
- 4″ Wooden Bird House
- Drill
- 1/4″ Drill Bit
- Paper Napkin
(*This post contains affiliate links. I earn a small percentage from each purchase made through them, which does not affect the item’s price.)

Getting Started
Raw wood needs to be primed first. So, using my Turquoise Iris Assistant 3/4″ paintbrush, I painted the entire bird house using Paint Pixie’s Marshmallow-colored Magical Chaulk Paint. This paint is truly magical, and it covered the Beautiful Birdhouse DIY in one coat. Allow the paint to dry completely before moving on to the next step.
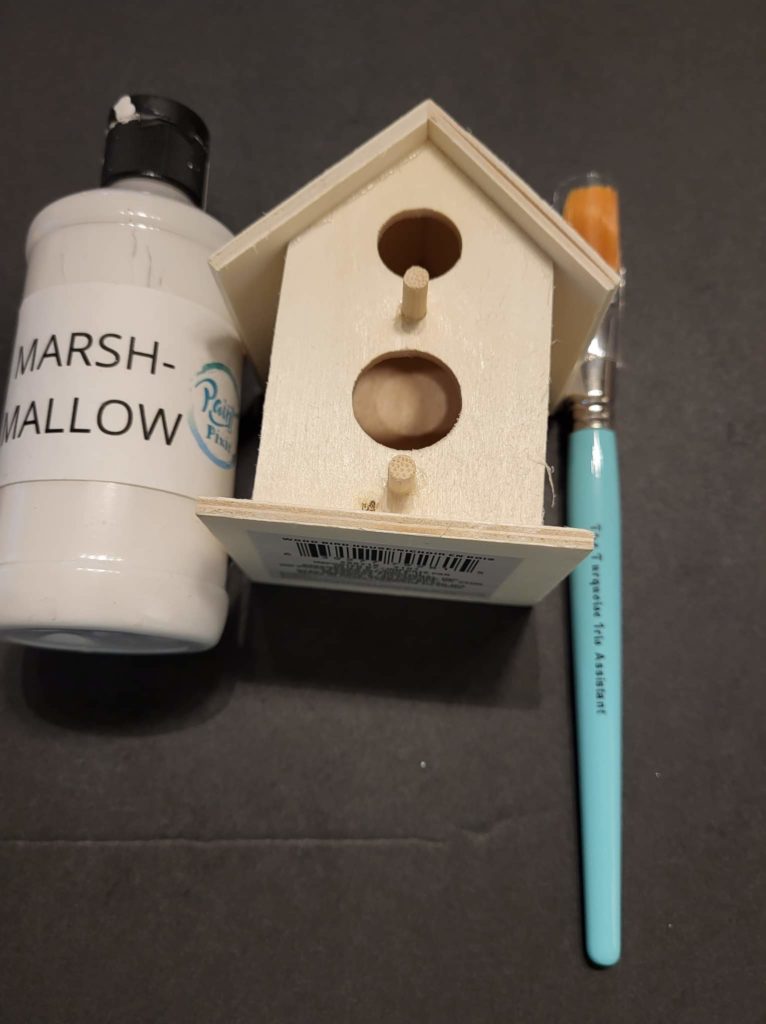
Getting Started using Paint Pixie Supplies
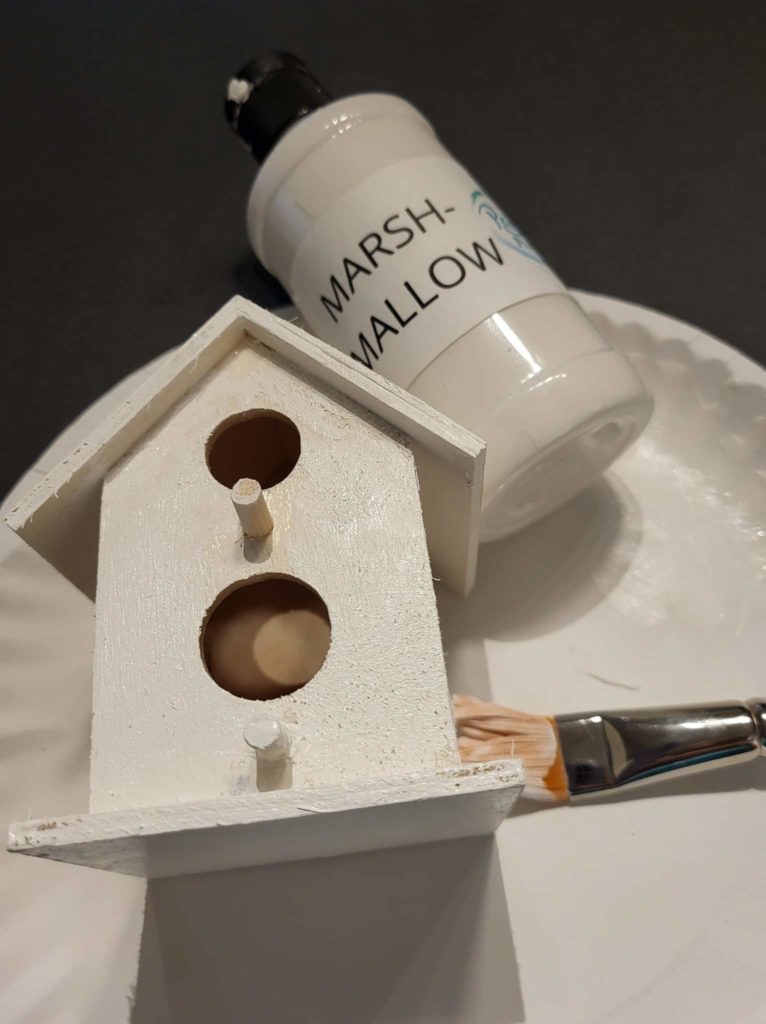
Paint Pixie Marshmallow Paint
Choosing The Perfect Napkin
Loving colors and birds in my garden, I chose a decorative napkin with a bird pattern. It was perfect for my Beautiful Birdhouse DIY. Next, I cut the napkin to fit the birdhouse. Be sure to separate the napkin plies first before you cut. This particular napkin had three plies. What are plies? Plies are just the number of layers of paper used to make up the napkin. Often, you will see napkins labeled 3 Ply or 2 Ply, which refers to the number of layers the napkin contains. You only need one layer with the print.
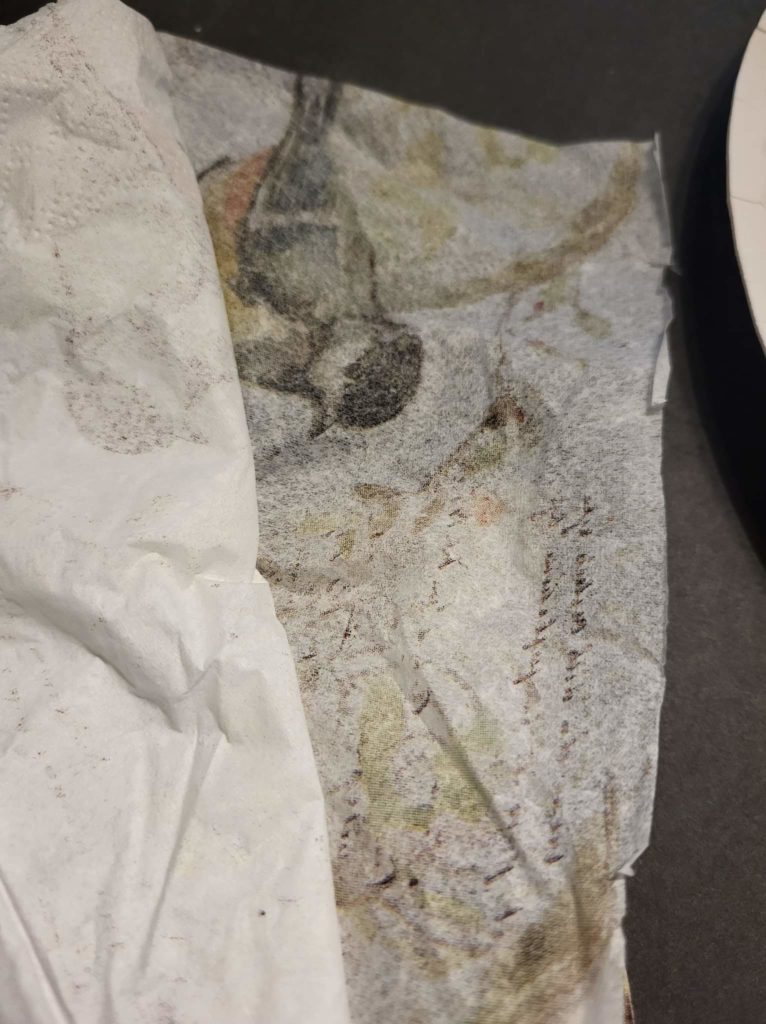
Separating Napkin Plies
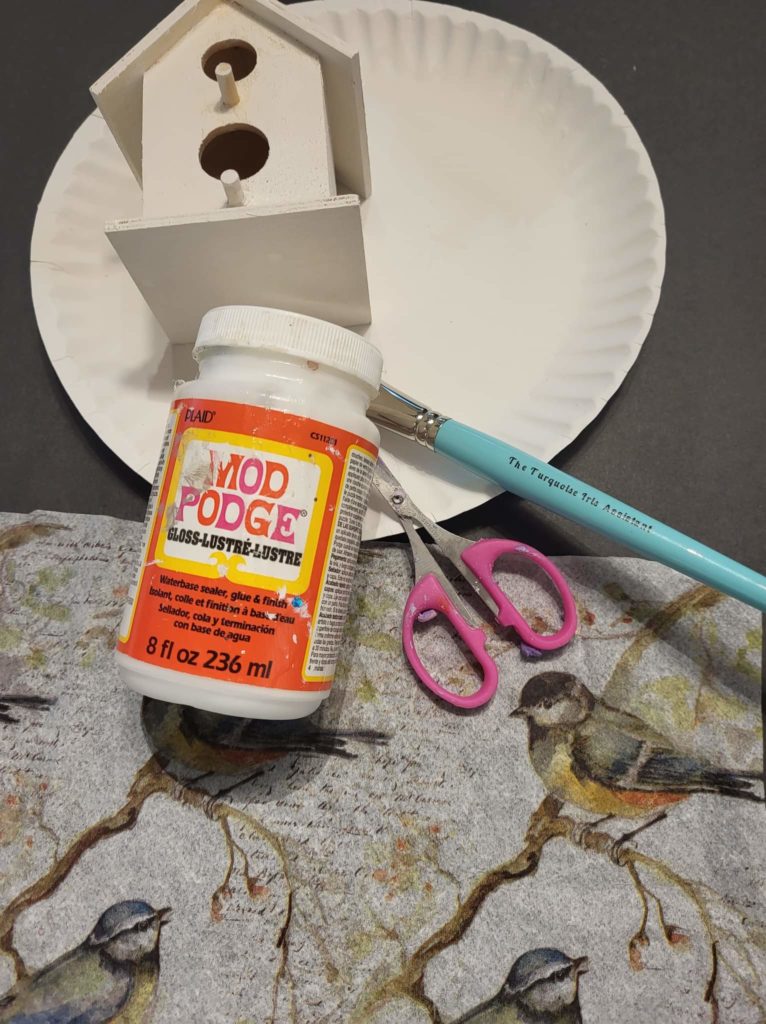
Trimming And Placing The Napkin
Trimming And Placing Your Napkin
You have to cut the napkin down to fit the shape of the birdhouse. Some birdhouses can be more significant than the ones I used. Feel free to follow your creative passion and choose the size that appeals to you. You can do this method on any sized Beautiful Birdhouse DIY you choose. After making sure my napkin would fit almost perfectly, I applied a thin layer of Mod Podge on the side of the birdhouse using my Turquoise Iris Assistant 3/4″ paintbrush.
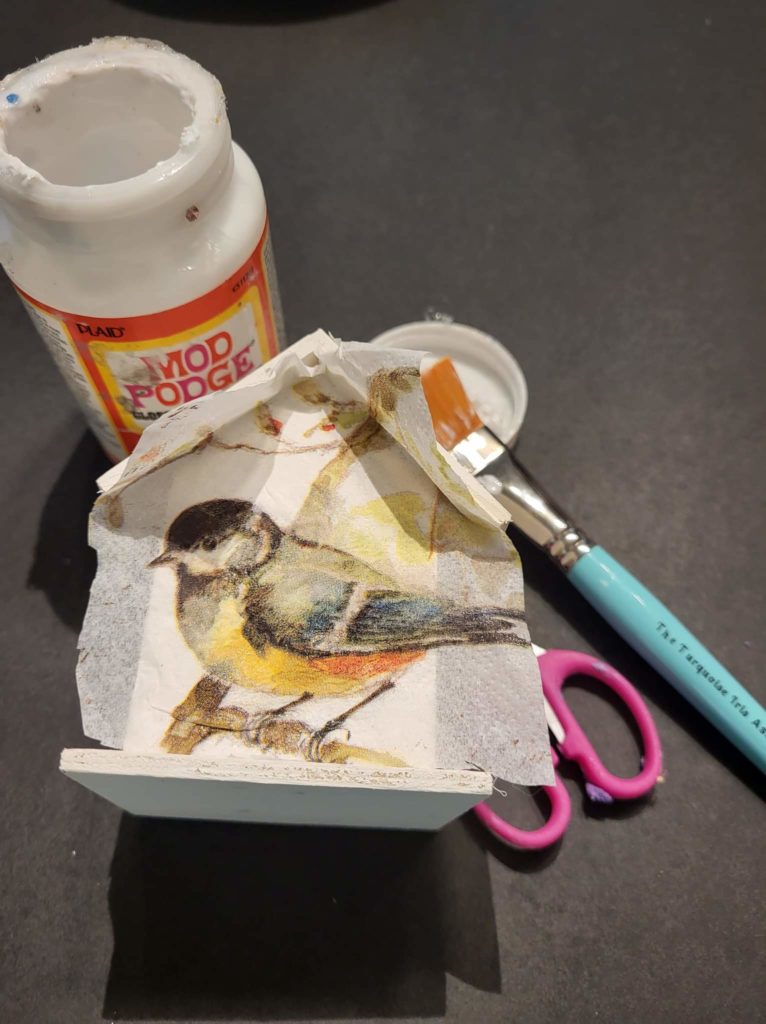
Making Sure It Fits
Adhering Your Napkin
Allow the Mod Podge to dry slightly to a tacky feel. Then place the napkin on top, lightly tap it down and smooth it out with your fingertips. Once the napkin was in place, I repeated those steps to all sides of the birdhouse. The front area was tricky where the perch and hole area was located. Where the perch sticks out, poke a small hole in the napkin and gently slide it over the perch. Use a small pair of scissors in the little hole area and cut an X shape through the center of the napkin in the middle of the hole. Then gently fold the small pieces into the hole and trim the excess off the sides. This Beautiful Birdhouse Diy was shaping up nicely!
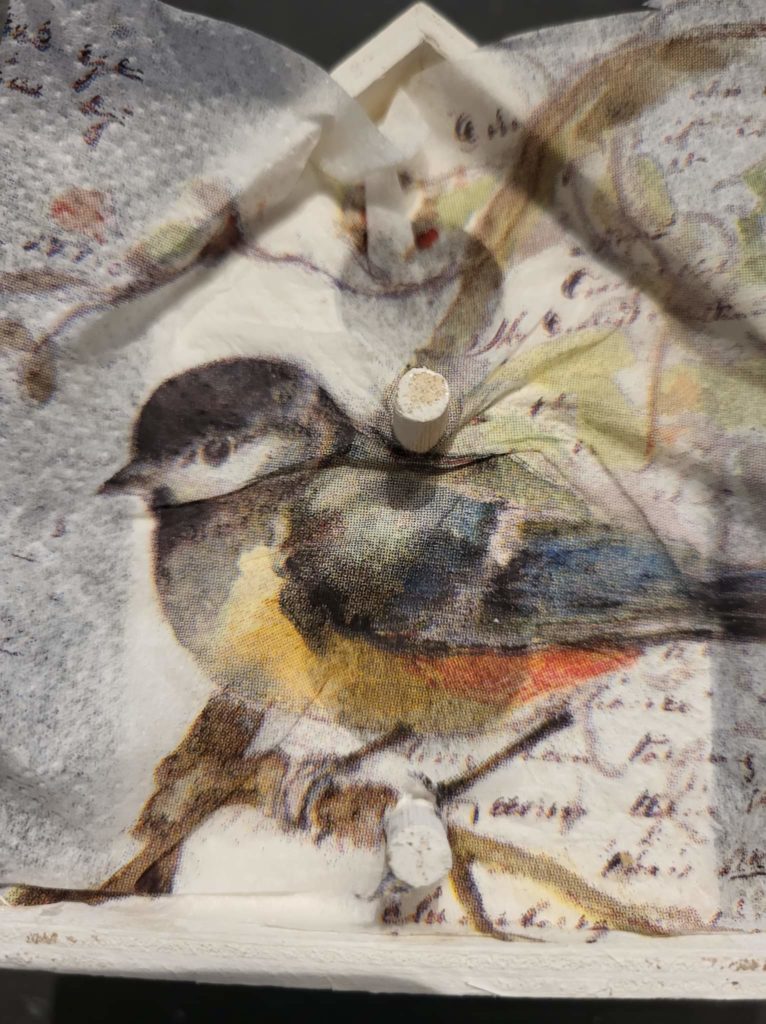
Poke holes in your napkin to slide the napkin over any perches
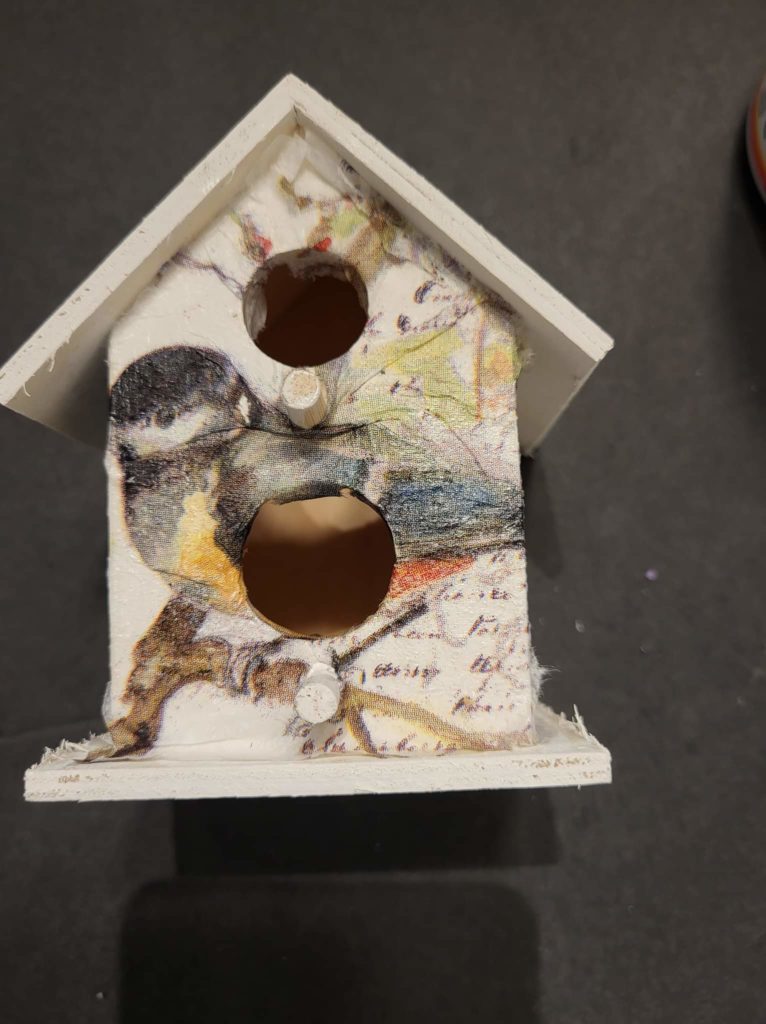
Cut an X in the center of the napkin in the middle of the openings
Make The Roof Pop With Color
Once I was satisfied with the placement of the napkin, I applied a thin coat of Mod Podge to all napkin areas to seal them. Next came the roof area. I decided to go with a beautiful rich metallic color called New Penny from Paint Pixie Liquid Pixie Dust Metallic Paint Collection. The copper color was the perfect choice to match the napkin. I began to paint the roof using my Turquoise Iris Assistant 3/4″ paintbrush. It only took one coat. My Beautiful Birdhouse Diy was popping with color. I allowed everything to dry completely.
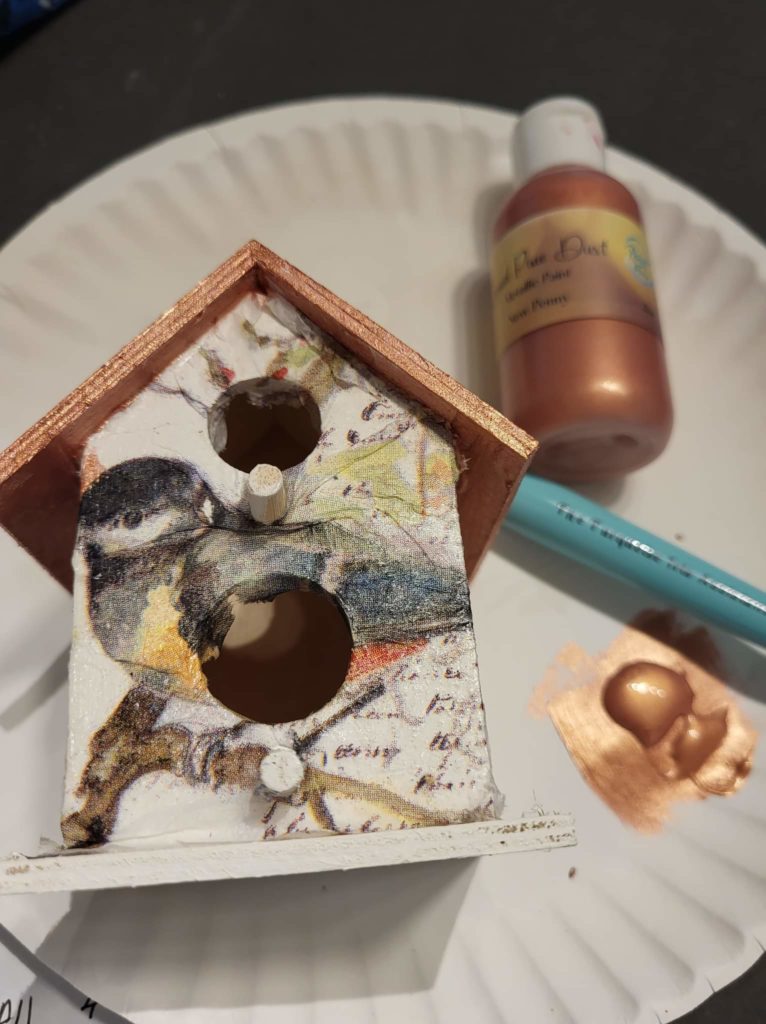
Paint Pixie New Penny Metalic Paint For The Roof
Turning Your Birdhouse Into A Garden Stake
I applied a coat of Paint Pixie’s Forcefield Premium Sealer to seal the entire birdhouse. This sealer works wonders, providing UV protection and sealing in vibrant colors.
Next, using a cordless drill with a 1/4″ drill bit, I drilled a hole into the bottom of the birdhouse to fit a 1/4″ dowel rod into the freshly prepared hole. The 1/4″ dowel rod is painted with Paint Pixie Marshmallow as well.
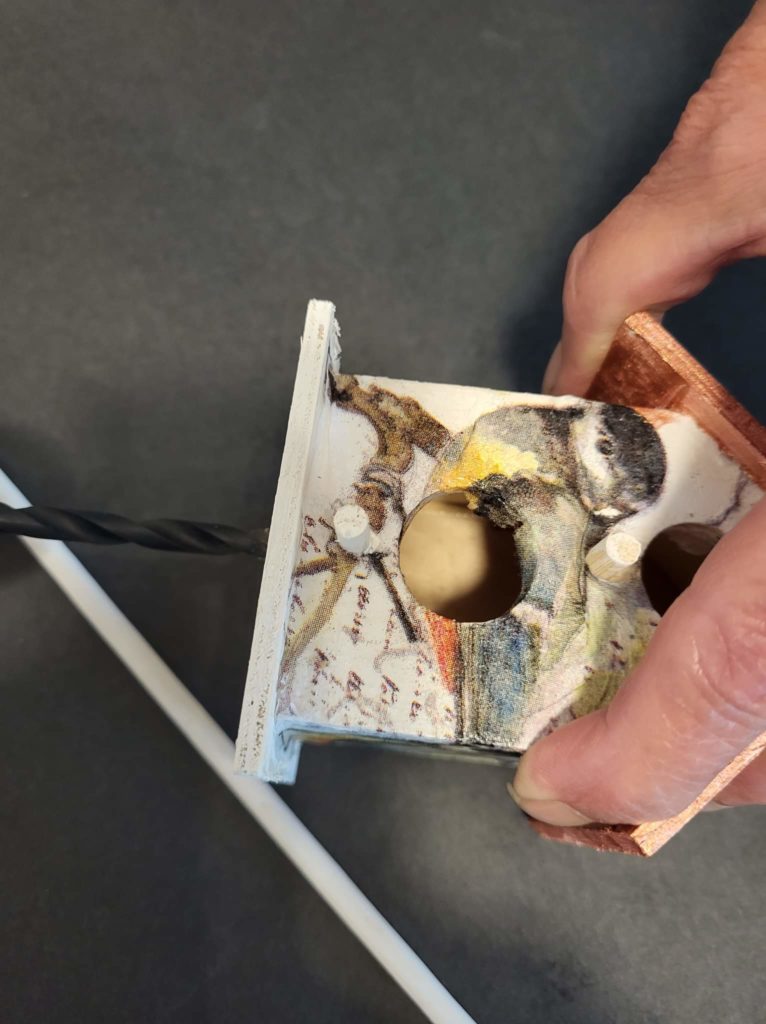
Drilling the hole for the dowel rod
Securing The Dowel Rod
Using my Gorilla Hot Glue Gun and Gorilla Glue Sticks, I put hot glue around the hole and on the top of the dowel rod, then inserted the dowel rod into the hole and held it there until the glue dried.
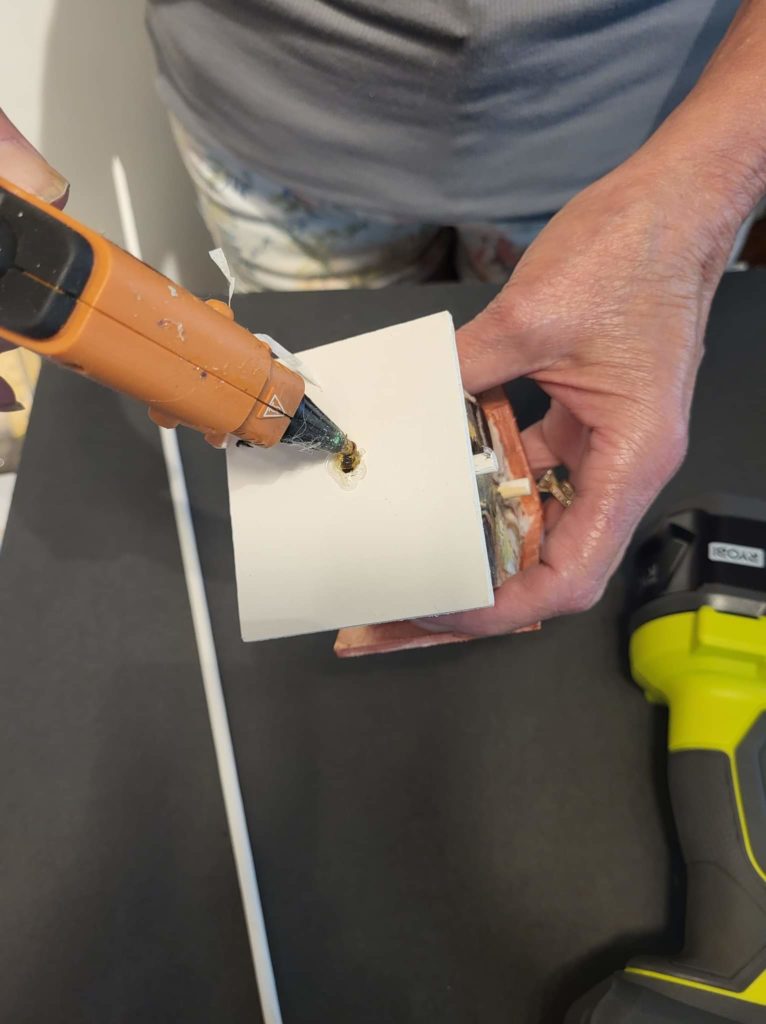
Attaching the birdhouse to the dowel rod
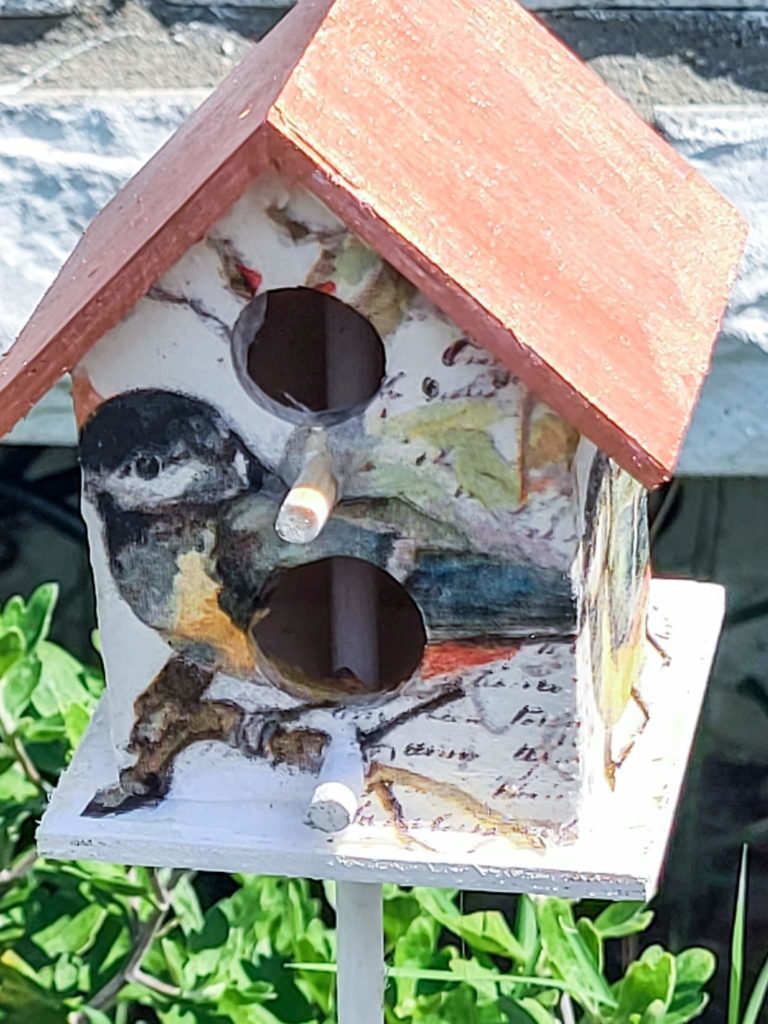
Beautiful Birdhouse DIY Complete
The Finished Product
This project turned out so cute that I made three different types using different napkins. They made my garden look so high-end and colorful. I hope this craft inspires you to create some Beautiful Birdhouses. Please leave me a comment below, and I would love to know how they turn out. If you enjoyed this, please check out other fun garden crafts using the links below.
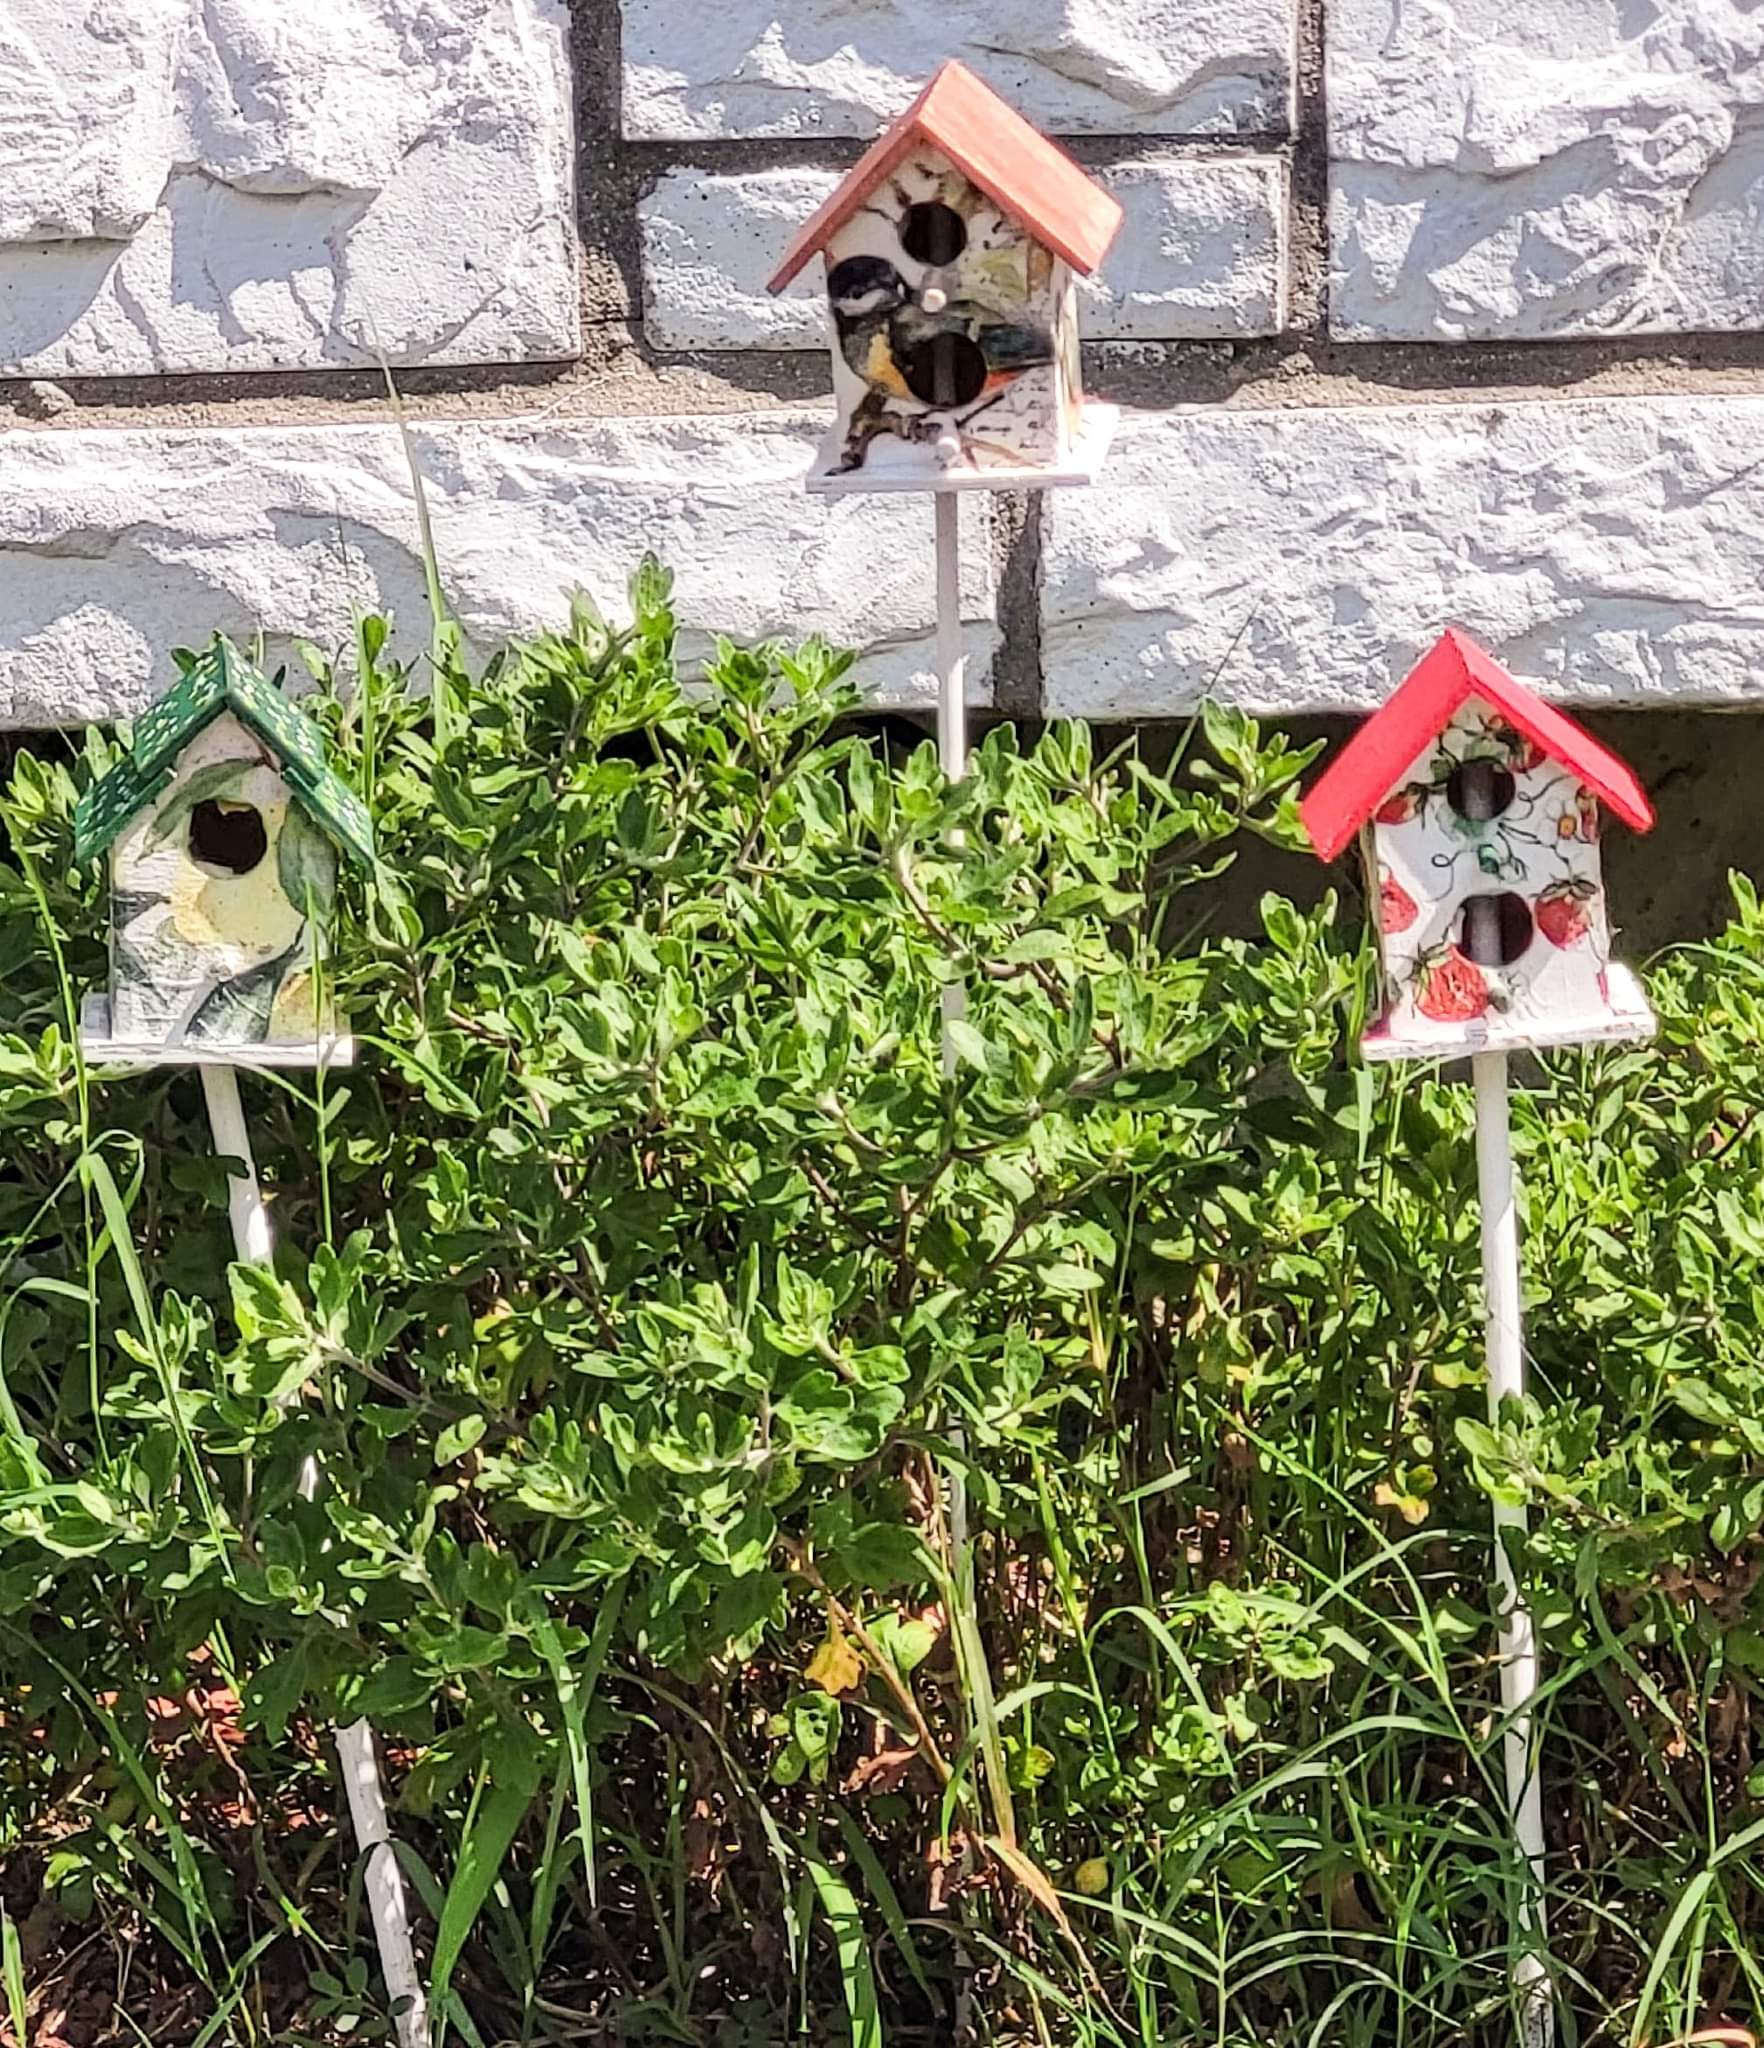
Three different birdhouses in my garden
The Passionate Painted Lady Creative Community
