DIY Faux Birthday Cake
I have lots of fun creating faux cupcakes. They’re a simple and cute project that you can make as a gift for someone, or just use them as a decoration in your kitchen. I wanted to try something new, so I made a DIY Faux Birthday Cake. It not only sounded like a really fun project, but I also wanted to have it when I’m live on my Facebook page. If it is someone’s birthday I hold it up, and we all sing Happy Birthday to them!
DIY Faux Birthday Cake Supplies:
- Styrofoam rounds from Dollar Tree (4.8″×.75″)
- DAP, or All Purpose Joint Compound
- Acrylic paint
- Lazy Susan with wax paper covering it
- Icing spatula
- Bowl for mixing
- Popsicle sticks for stirring
- Icing tips and bags
- Coupler
- Scissors
- Flour
- Cake decorations
- Birthday candles
- Pearls
- Glitter
(I’m an Amazon affiliate, and earn a small % from each item purchased, which doesn’t effect the item’s price.)
Let’s Get Started!
For this project, I used an all purpose joint compound I got from Home Depot. I prefer to use DAP, but they didn’t have it. The joint compound was a thinner consistency than DAP, and it is a grey color. I didn’t want it grey, so I added some white Apple Barrel paint and mixed it together with a popsicle stick.
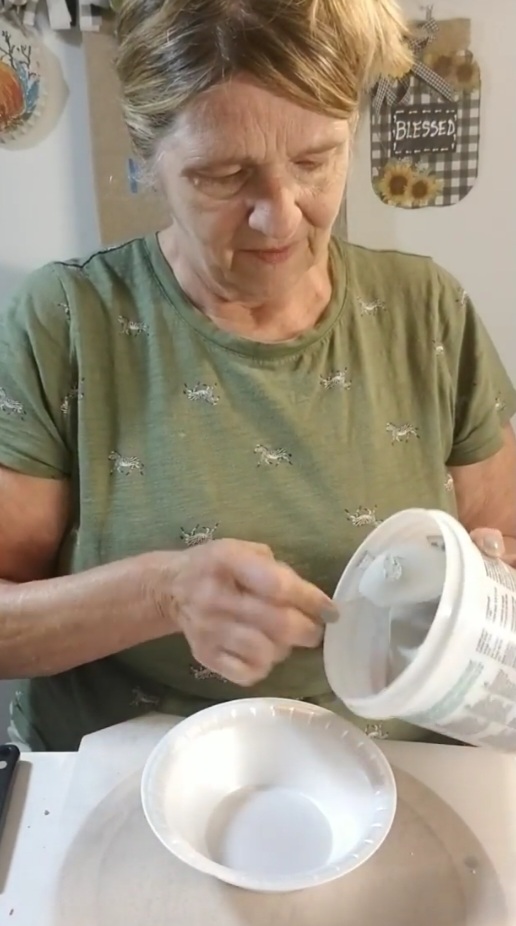

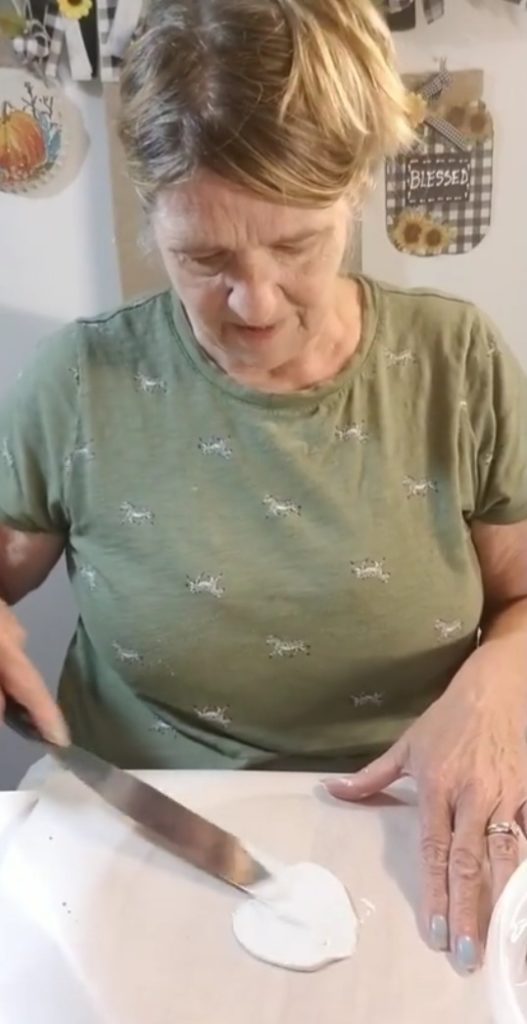
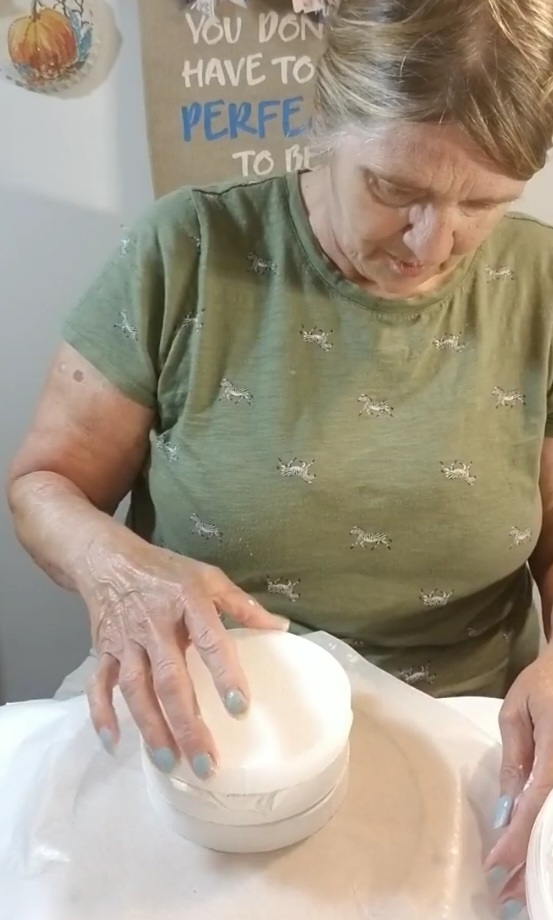
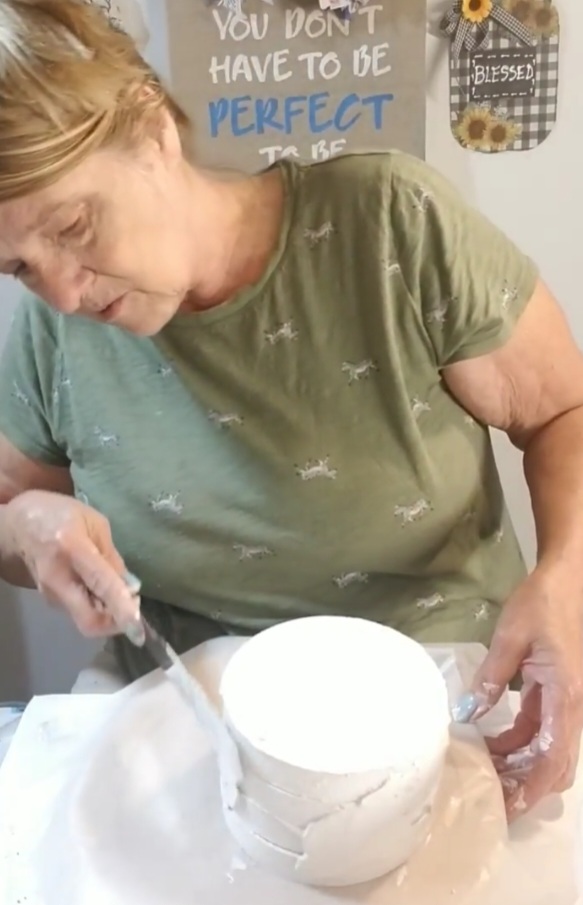
I used a Lazy Susan so that I could easily decorate the faux cake. I put a piece of wax paper over the Lazy Susan, and then put a smear of compound in the middle using the icing spatula. The reason I did that was to keep the rounds in place while I was working with them. I then put one of the rounds on and covered the top of it with the mixture. I repeated this step 3 more times.

What’s next?
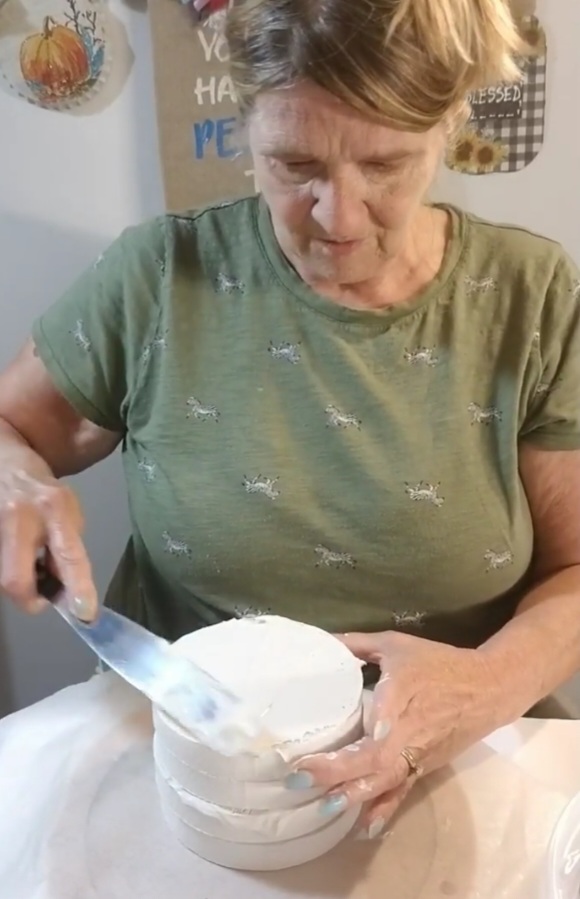
When the final round was on top, I spread the mixture around the sides of the stack, just as you would when icing a cake. I had to make another small batch of the compound/paint mixture to finish covering it all.
Let’s Add Some Color!
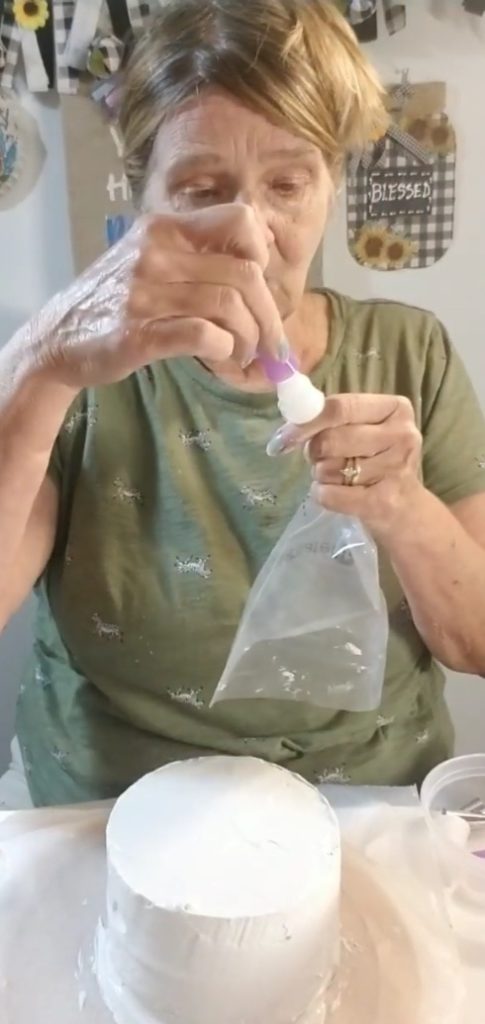
Now the rounds were covered and looked like a cake with white icing. I grabbed some icing tips, a coupler, and icing bags. Then I cut a small part of the tip off the icing bag, and put the icing tip and coupler on.
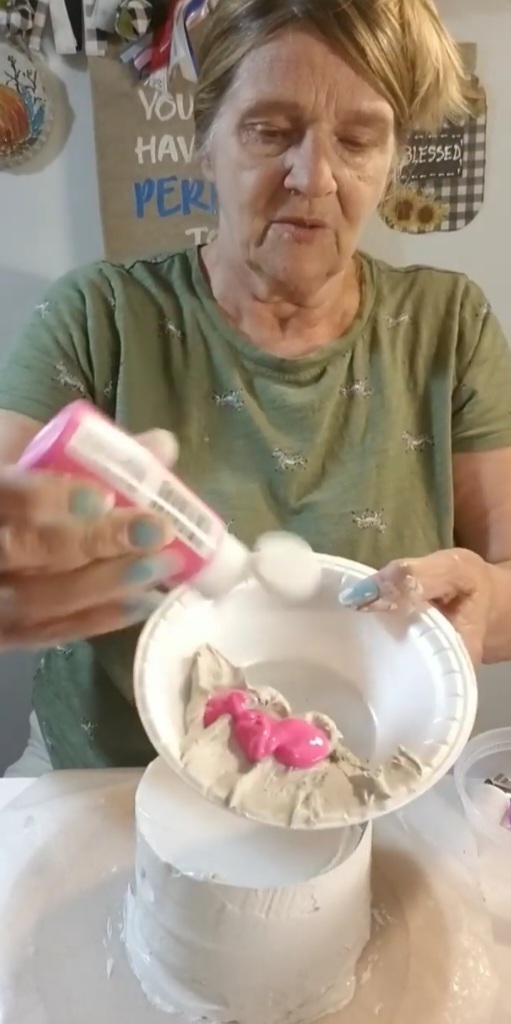
I put more of the compound into a bowl, added Diva Pink Apple Barrel paint with it, and mixed well. I thought the mixture was too thin, so I mixed in a small amount of flour to thicken it up a tiny bit. Now I had the thicker icing consistency I wanted!
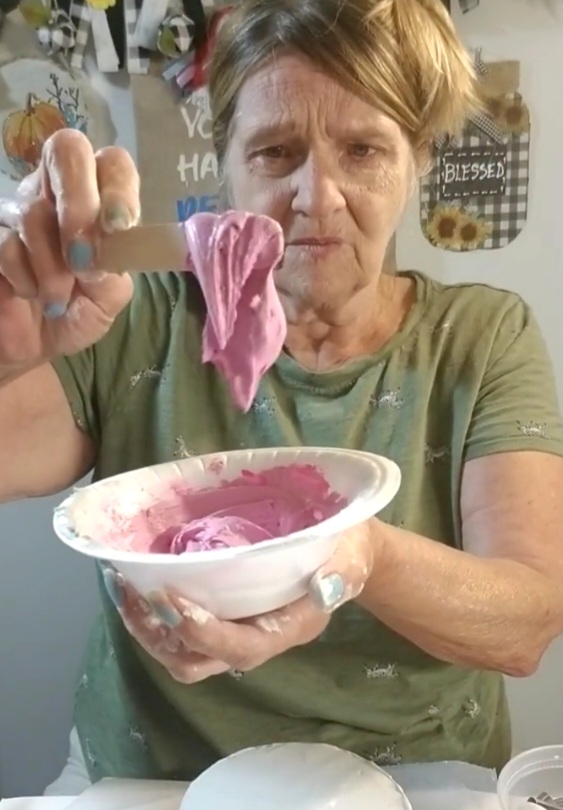
I folded the sides down on the icing bag, so I could add the pink mixture into it and not make a mess. I also pushed the mixture down using a popsicle stick, in order to get rid of any air pockets. There is usually a fill line on icing bags. I filled to that line and twisted the bag closed.
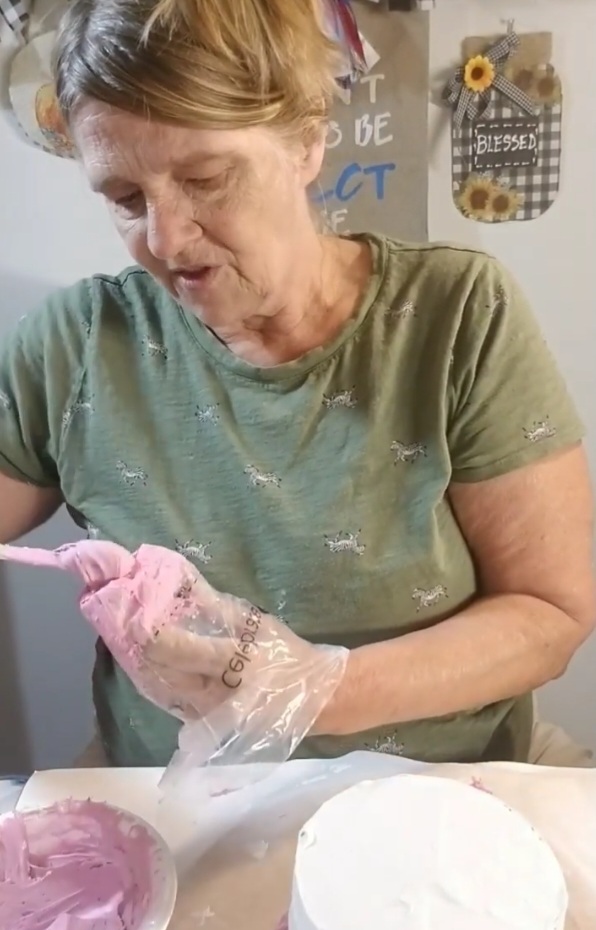

Next I squeezed the mixture through the icing tip and made a design around the bottom and top of the faux cake. I used the Lazy Susan to rotate the cake while I was decorating it.
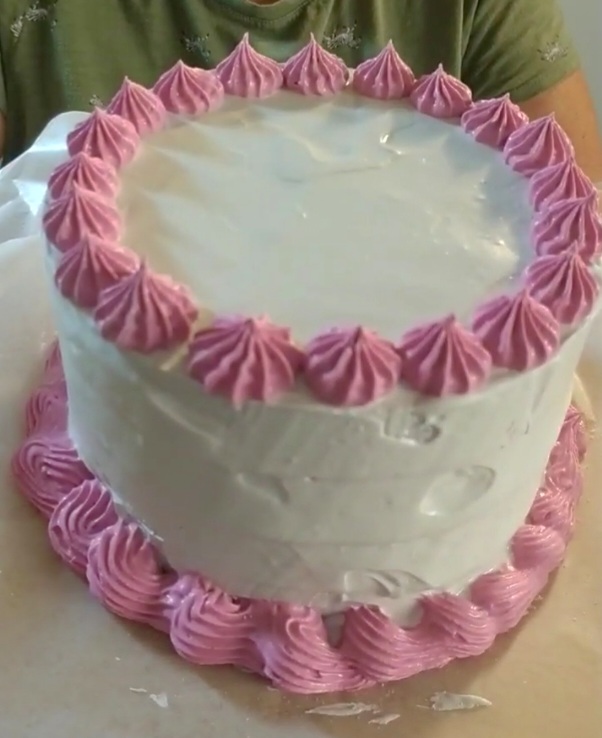
Let’s have some fun!
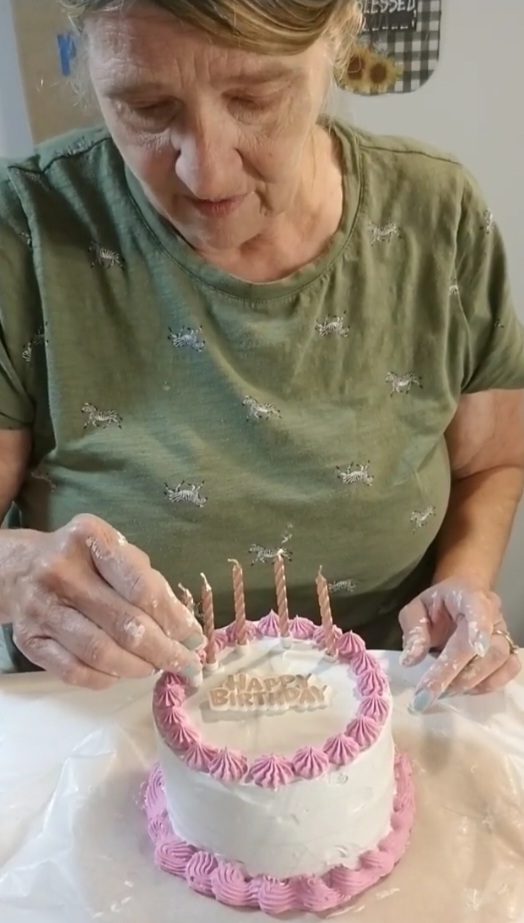
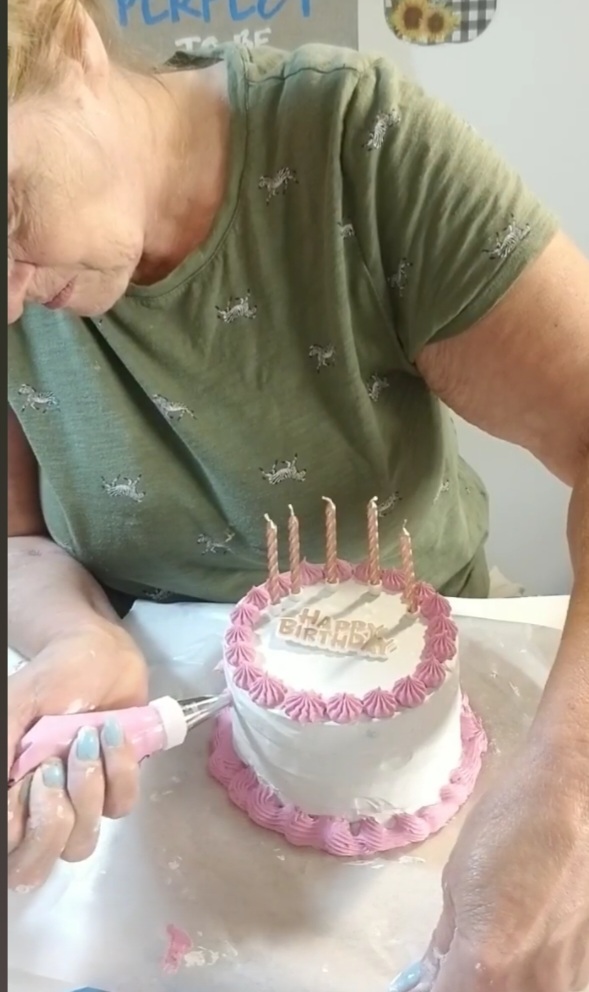
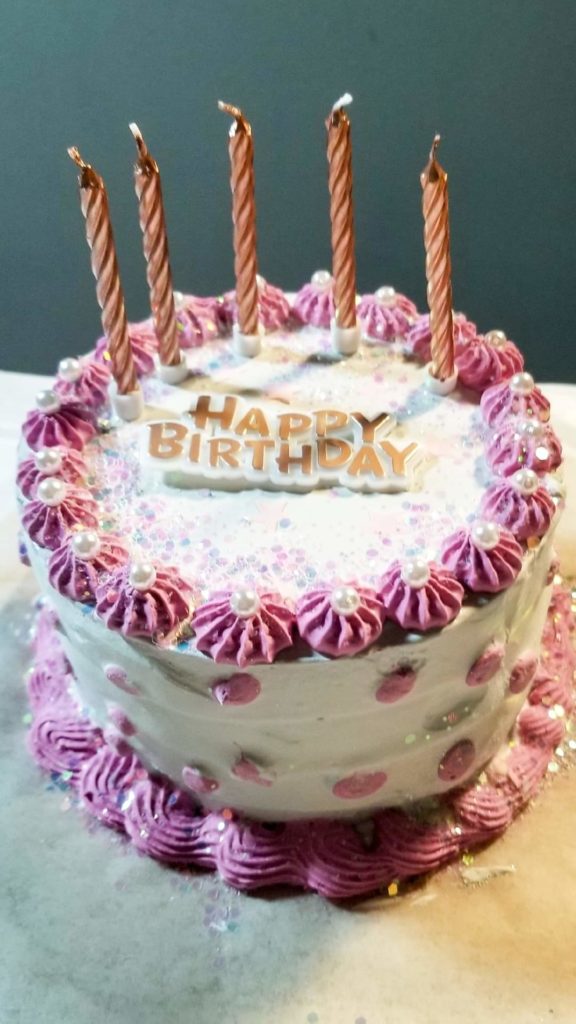
Now comes the really fun part! I decorated the top of the cake with a little plastic decoration that said “Happy Birthday”, and then added birthday candles. I used more of the pink mix to put dots around the side of the cake, then took my finger and dipped it in some flour and pressed the dots to flatten them. The flour kept the compound from sticking to my finger. That is a pretty handy trick!
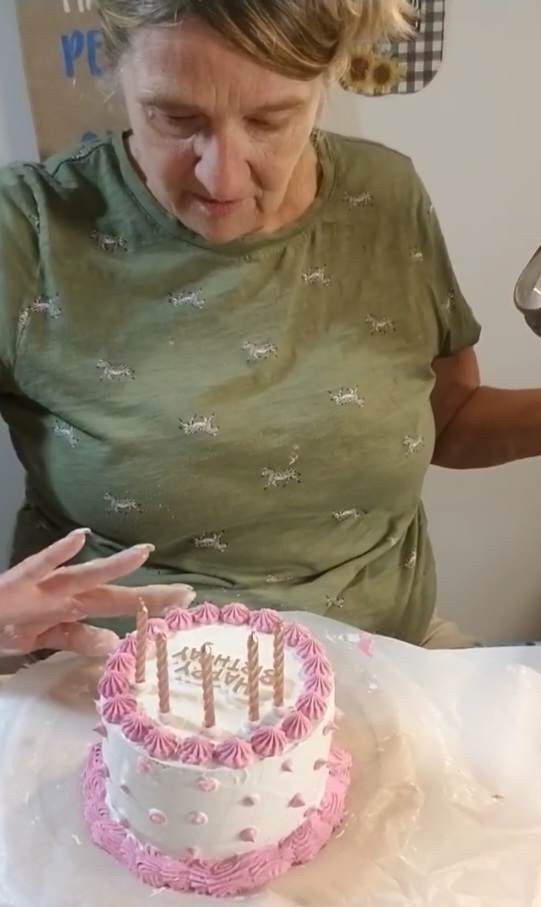
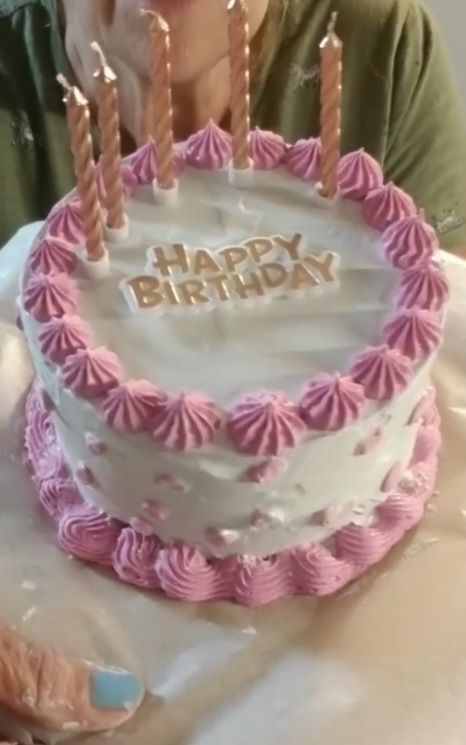
Final Touches!
The faux birthday cake looked great, but of course I wasn’t finished yet! I added some star confetti and pearls around the top, also THE perfect final touch: GLITTER!
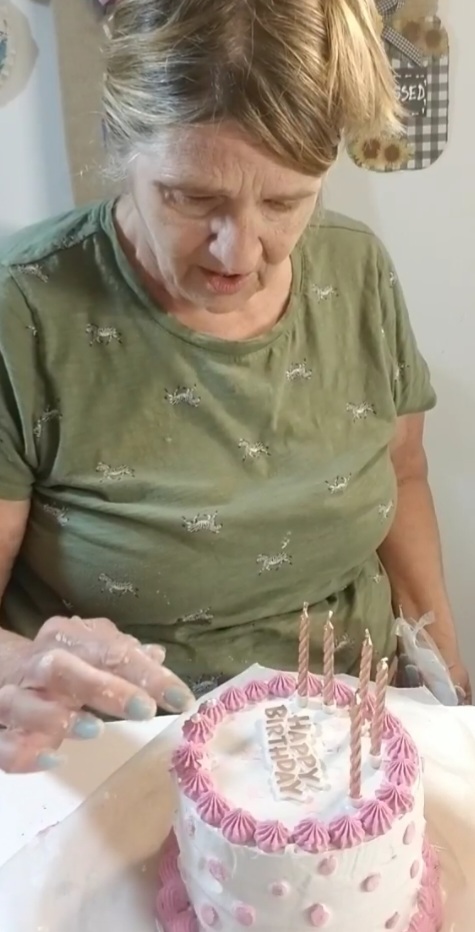
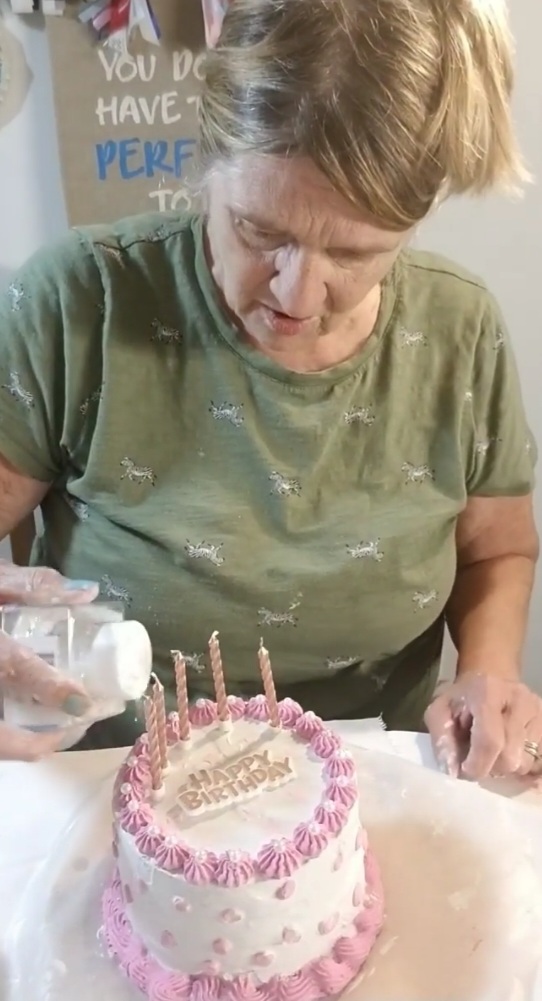
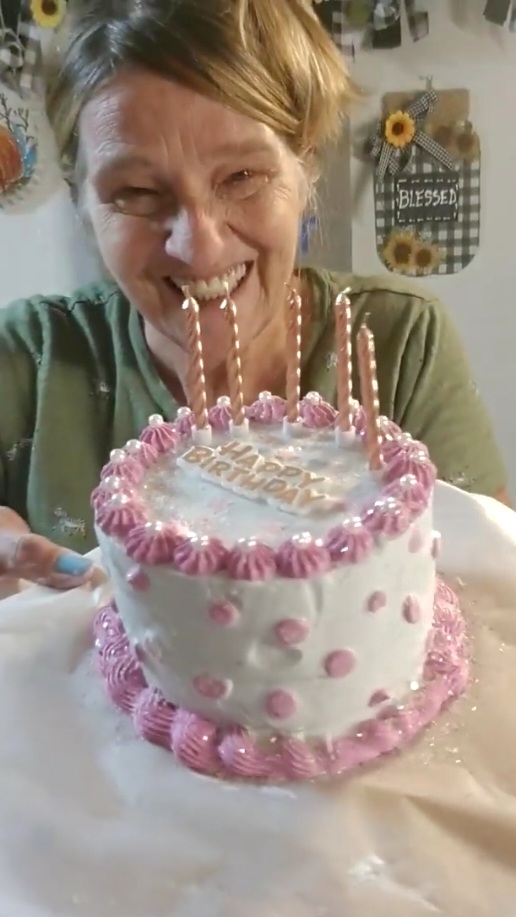
I love how the birthday cake turned out. I made it from the heart, just for you guys! I use it during Facebook live videos when it’s someones special day. We all have fun singing Happy Birthday to them, and the cake adds such a special touch. I hope that I’ve inspired you, and that you have a wonderful day!

Kelly Wolfram says
Absolutely Beautiful Annie‼️💕 You are so inspiring ‼️ You Inspire Me😉💐
paintedlady says
Thank you for your kind words Kelly! 🙂
Bonnie Merriweather says
That is soo cool!
Great job Annie!!
paintedlady says
Thank you Bonnie! 🙂
Megan says
Awesome. You probably do really well with a real cake.