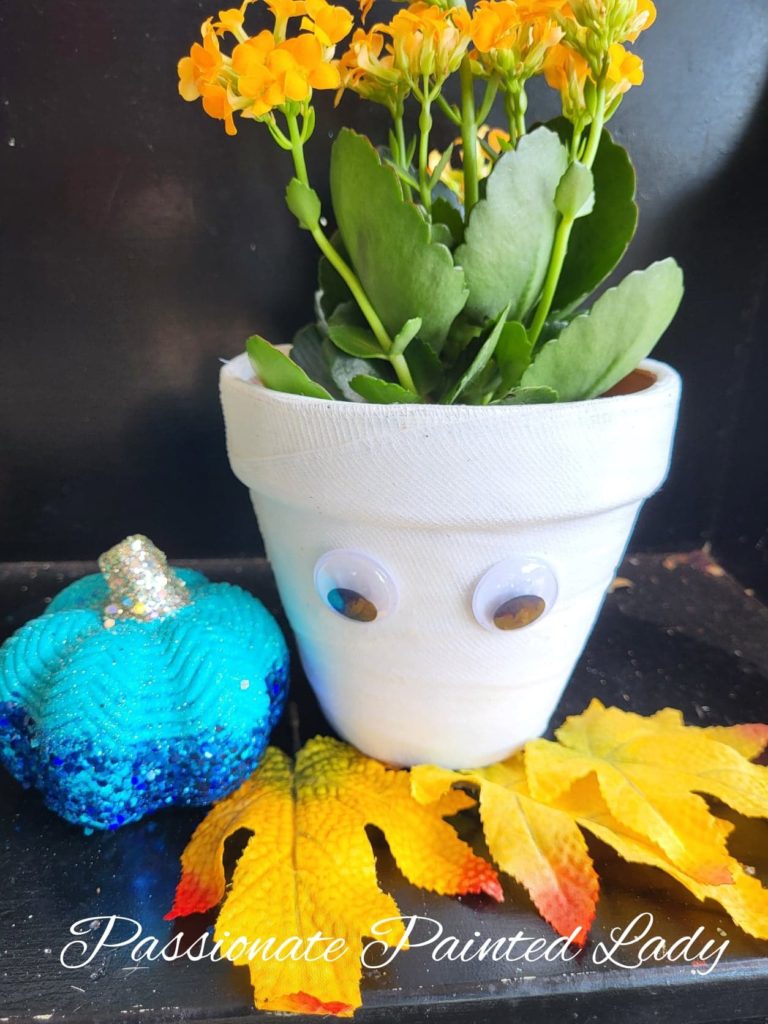
This Simple Clay Pot Mummy was so easy to make and everyone knows I’m obsessed with making fantastic characters out of clay pots. Since Halloween is right around the corner I thought I’d share this cute mummy with you all.
Supply List
- 5 Inch Clay Pot
- Apple Barrel Snow White Paint
- Mod Podge
- Roll Of Gauze
- 1 Inch Googly Eyes
- Gorilla Glue Gun
- Gorilla Glue Sticks
- Paint Pixie Turquoise Iris Assistant Brush

Starting My Clay Pot Mummy
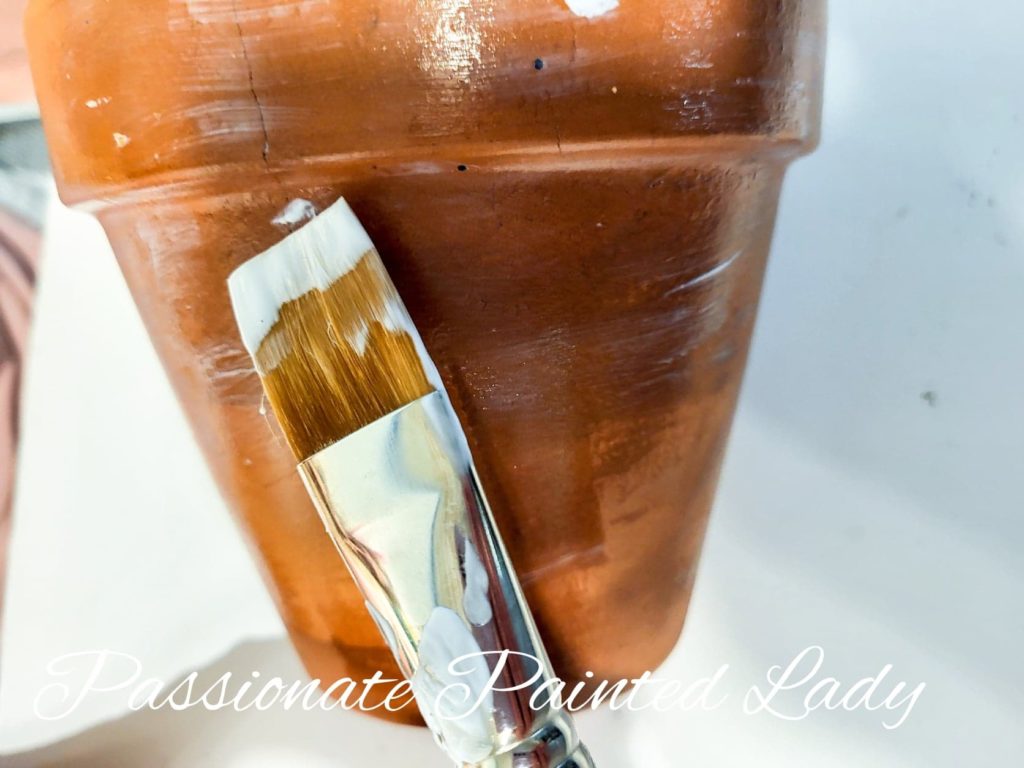
Using my Paint Pixie Assistant Brush, I painted an even layer of Mod Podge on my five-inch clay pot and allowed it to dry to a tacky surface. I used Mod Podge as a base layer because it helps the paint adhere to the clay pot better. Mod Podge is versatile and can be used as a base coat, for decoupage, product adhesion, and as a project sealer. It is one of my must-have craft supplies!
Giving My Clay Pot Mummy Color
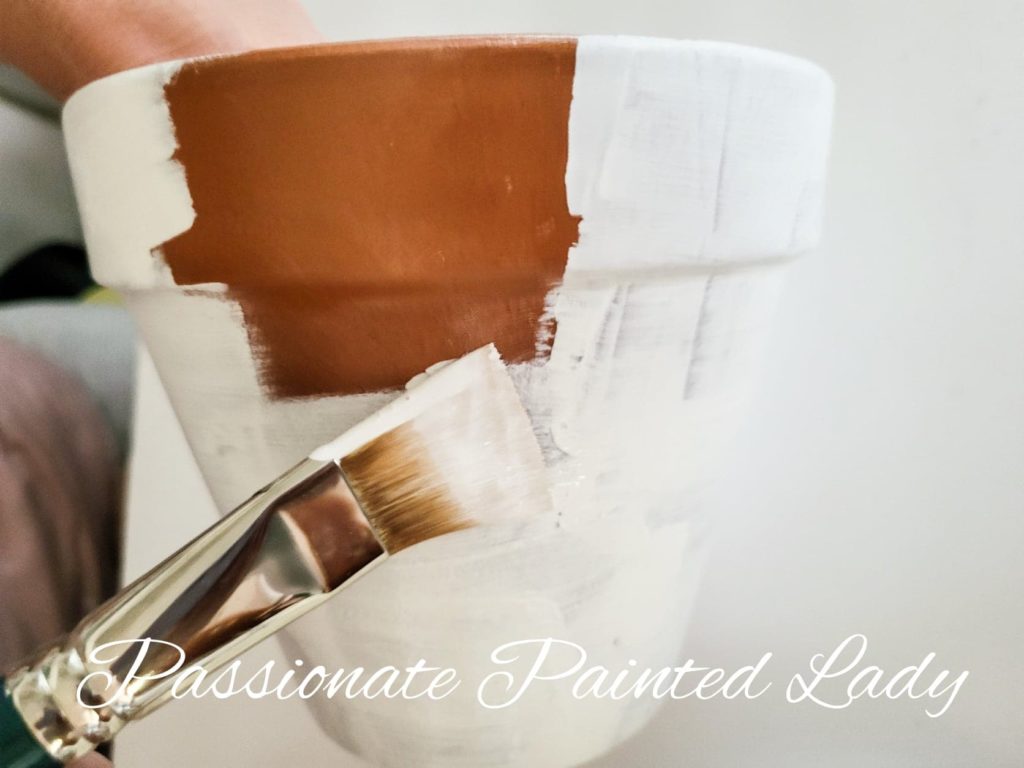
I chose Apple Barrel Snow White paint, also a must-have craft supply for me. The Snow White paint is pure white paint and provides excellent coverage. Using the same paintbrush as I used for the Mod Podge, I painted the entire outside of the clay pot Snow White and let it completely dry.

Let’s Wrap Up Our Clay Pot Mummy
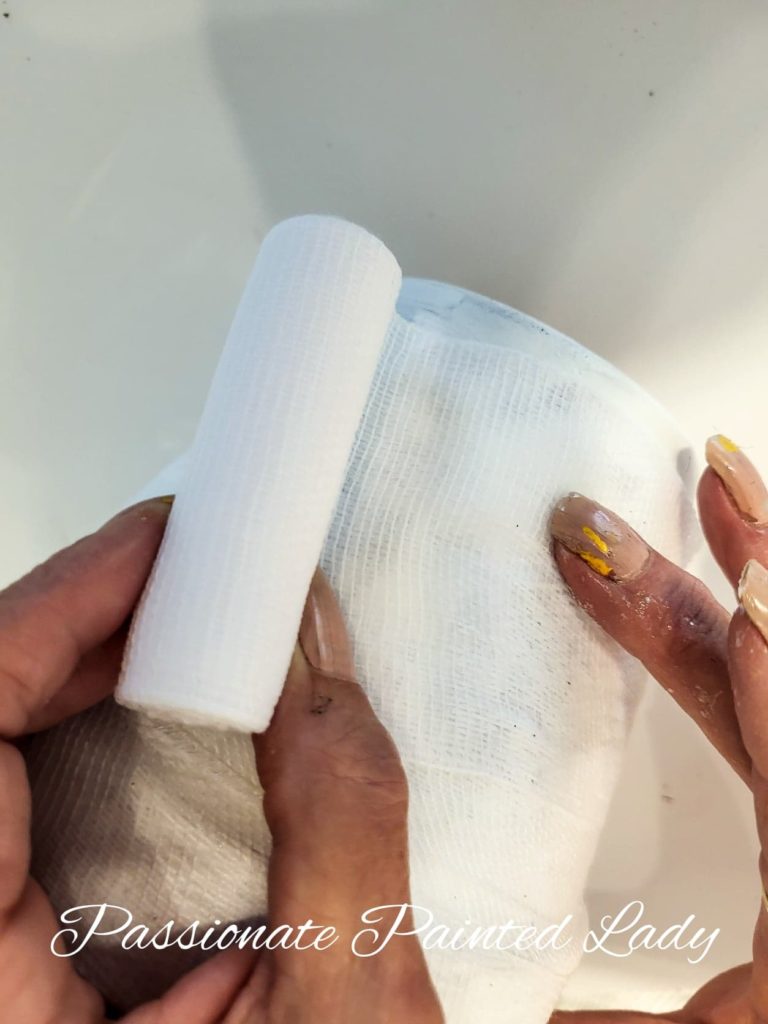
To give this clay pot texture and make it look like a mummy, I used something most of us have lying around in a medicine cabinet, rolled gauze! I only used one roll of gauze on my pot but feel free to use as many as you like to achieve the look you enjoy the most.
Rolling The Gauze Out Smoothly
Anyone that has used rolled gauze knows it is flexible and can shift while wrapping. To keep the gauze in place while working around the pot, I worked in small segments and wrapped the gauze, and tapped it down to smooth it out.

Making It Stick
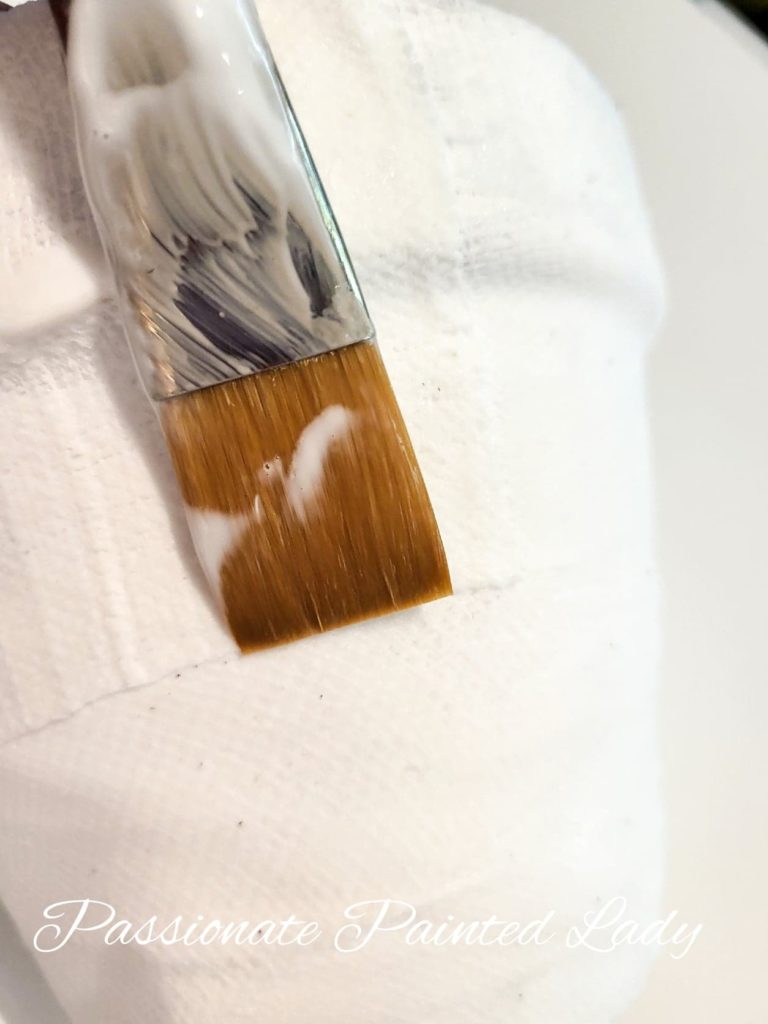
To keep my gauze in place I painted a layer of Mod Podge over top of the gauze as I rolled it around the clay pot. I worked in sections to be sure the gauze adhered to the pot evenly and repeated this process until the entire pot was wrapped. I coated the entire wrapped pot in Mod Podge to seal it and gave it time to dry. To speed up the drying process you can use a heat gun.
The Finishing Touches
Once my clay pot dried, It was time to add the eyes. I used one-inch googly eyes. Using my Gorilla Hot Glue Gun and Gorilla Glue Sticks, I put a dab of hot glue on the back of each eye and allowed it to cool slightly before sticking the eyes to the pot. The reason I let it cool a bit is that if you turn the eye back upright while the glue is hot, the black part will get stuck from the heat instead of keeping it moving freely.
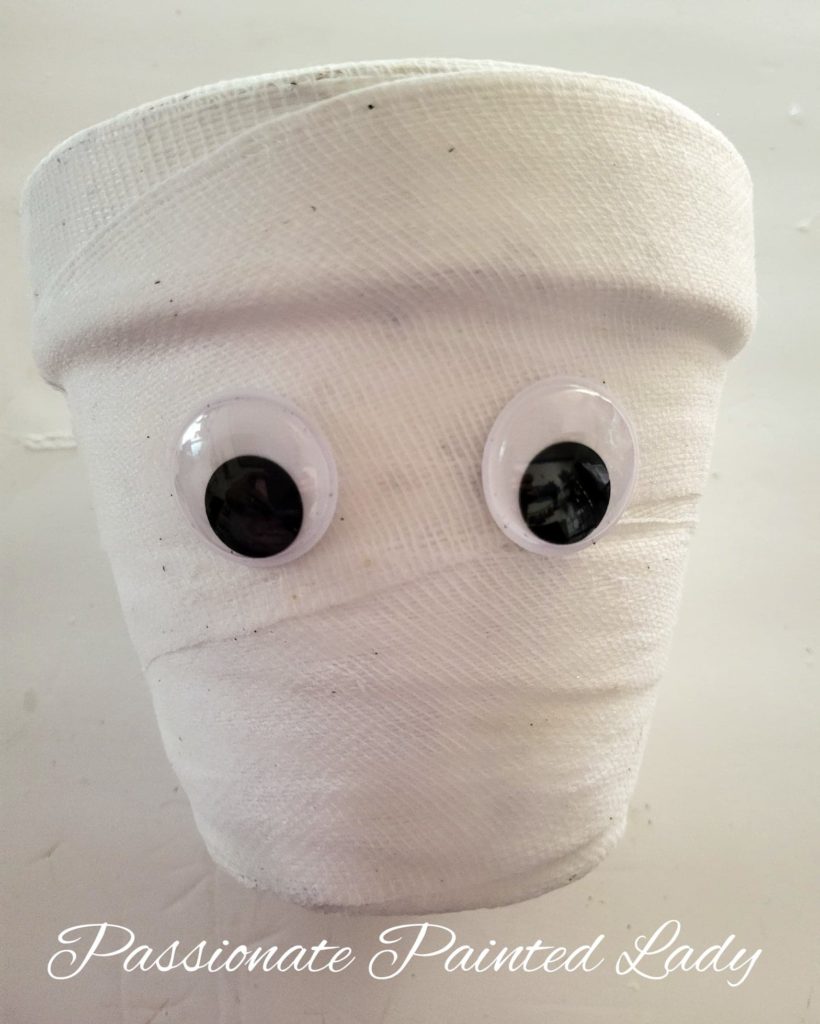
I love making clay pot characters and had fun with this little mummy project. I hope you enjoyed this craft. Please share your completed mummy pots with me in the comments. For more great craft ideas check out my other blogs below.
