Halloween Wall Vase
Halloween is right around the corner so I thought I’d share this cute Halloween Wall Vase with you all. I had so much fun creating this vase and it was super simple. Initially, I wrote a post called “Glitter On Metal”, which is the beginning instructions for the start of this project, basically creating the empty glittered wall vase. Please check out that post for the beginning instructions by clicking here Glitter On Metal.
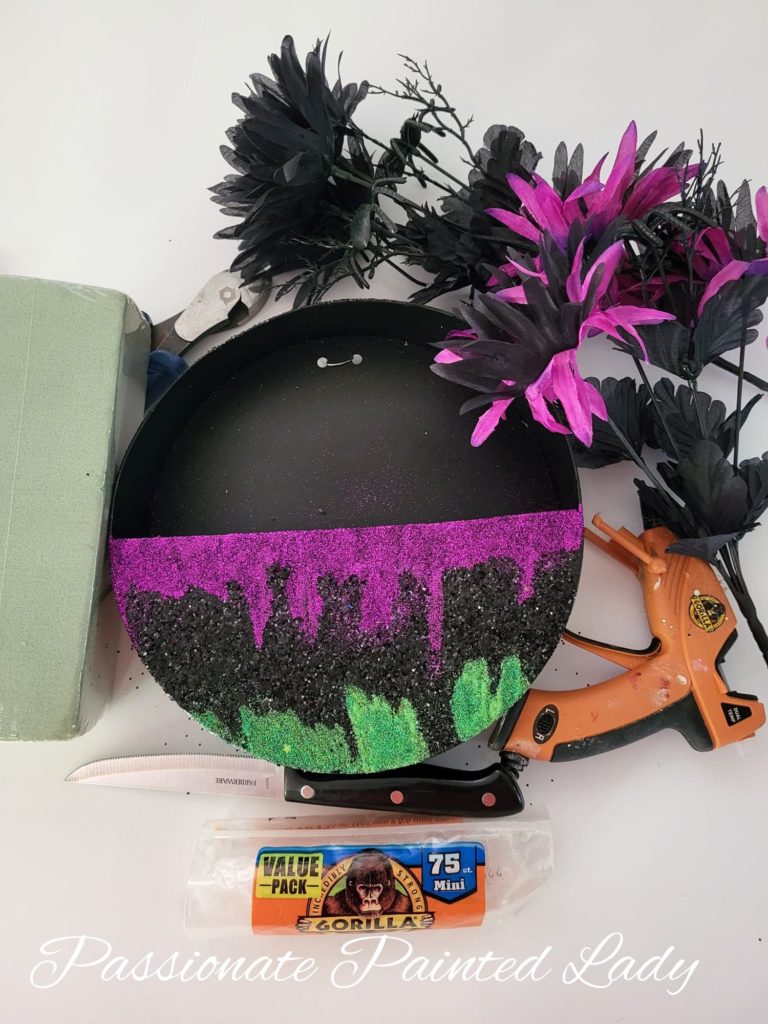
Halloween Wall Vase Supply List
- Glittered Wall Vase
- Floral Foam Brick
- Gorilla Hot Glue Gun
- Gorilla Glue Sticks
- Wire Snips
- Halloween Florals
- Knife ( I used a kitchen knife)
(*This post contains affiliate links. I earn a small percentage from each purchase made through them, which does not affect the item’s price.*)
Starting The Halloween Wall Vase
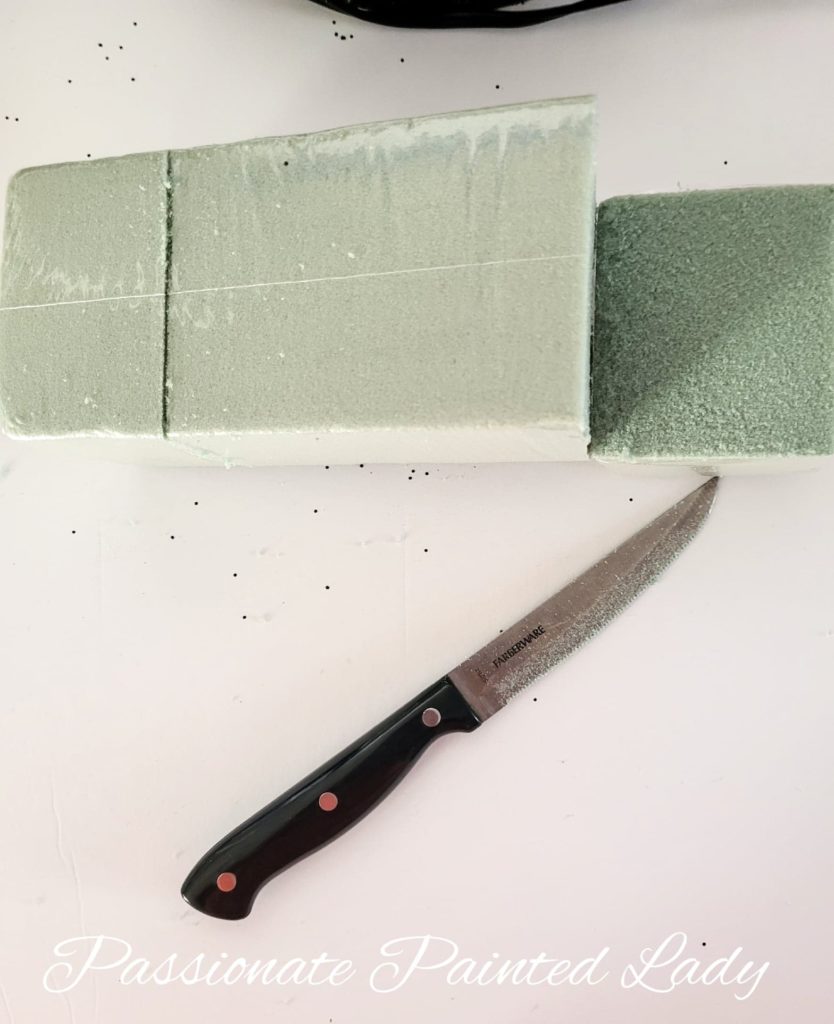
Using a kitchen knife, I cut about one-quarter off of one rectangle of floral foam. You can purchase smaller foam blocks, but I use what I have available at home. The link I supplied for floral foam blocks is a link to blocks on Amazon, but I purchased the one I used from Dollar Tree for $1.25.
Getting The Right Fit
Using the same knife I cut that quarter in half. It needs to be a good fit and below the rim line so it isn’t seen. I only used one of the halves and set the rest aside for more fun projects in the future. I use these foam blocks for many of my projects, even ones that don’t include florals at all. They are great to have on hand for a wide variety of uses.

Adhering The Floral Foam Inside The Vase
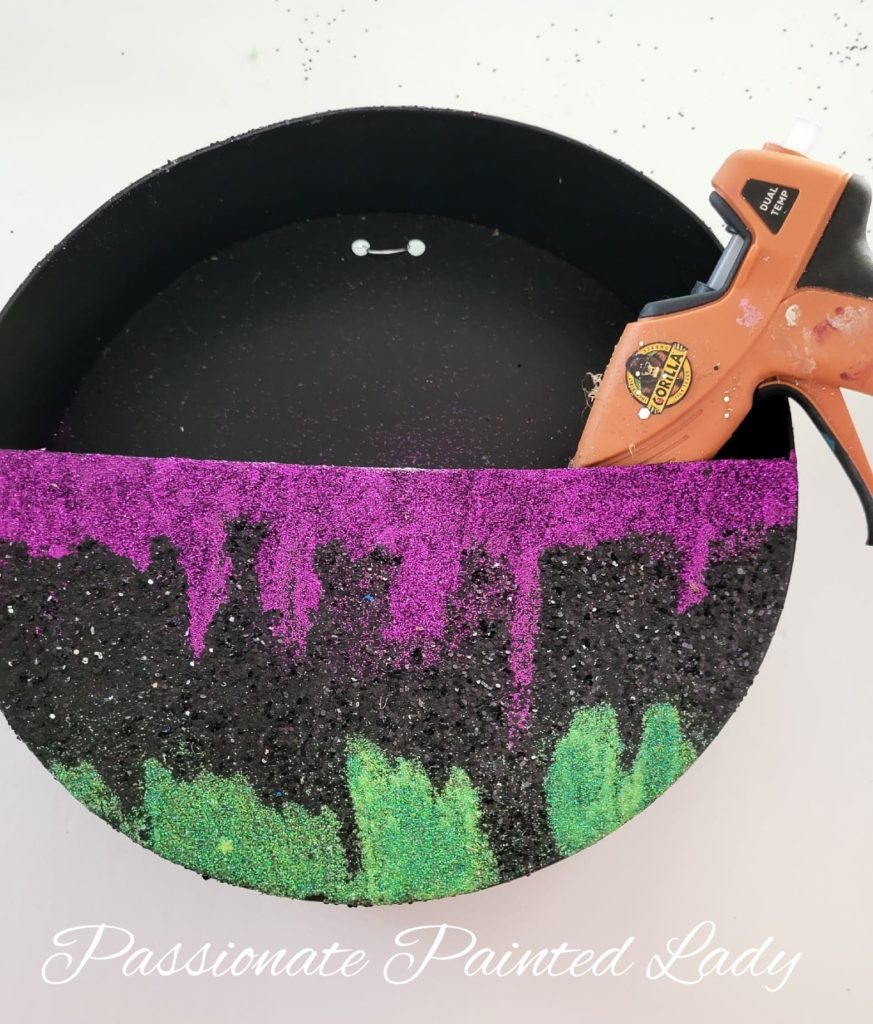
The foam block needs to stay in place inside the wall vase. Especially if you are placing it outside where it can be exposed to the wind which could make it shift. To keep it securely in place I used hot glue. Using my Gorilla Hot Glue Gun and Gorilla Glue Sticks, I placed a few strips of hot glue on the inside of the wall vase where I would be placing my foam block.
Placing The Foam Block
After running strips of hot glue on the inside center of the wall vase, I carefully placed the foam block inside and held it in place. I did this to allow the hot glue to set. Once the glue was set it was time to work on the florals.

Bring On The Flowers
Since this is a Halloween Wall Vase I chose fun Halloween florals. The link I posted in the supply list is to florals on Amazon, but the ones I used were bought at Dollar Tree for $1.25 each. The reason I didn’t use a link for Dollar Tree is that they don’t sell singular items online. To purchase online from Dollar Tree you have to order an entire case and you don’t need that many for this craft. The flowers I used are so cute and have spiders already on them.
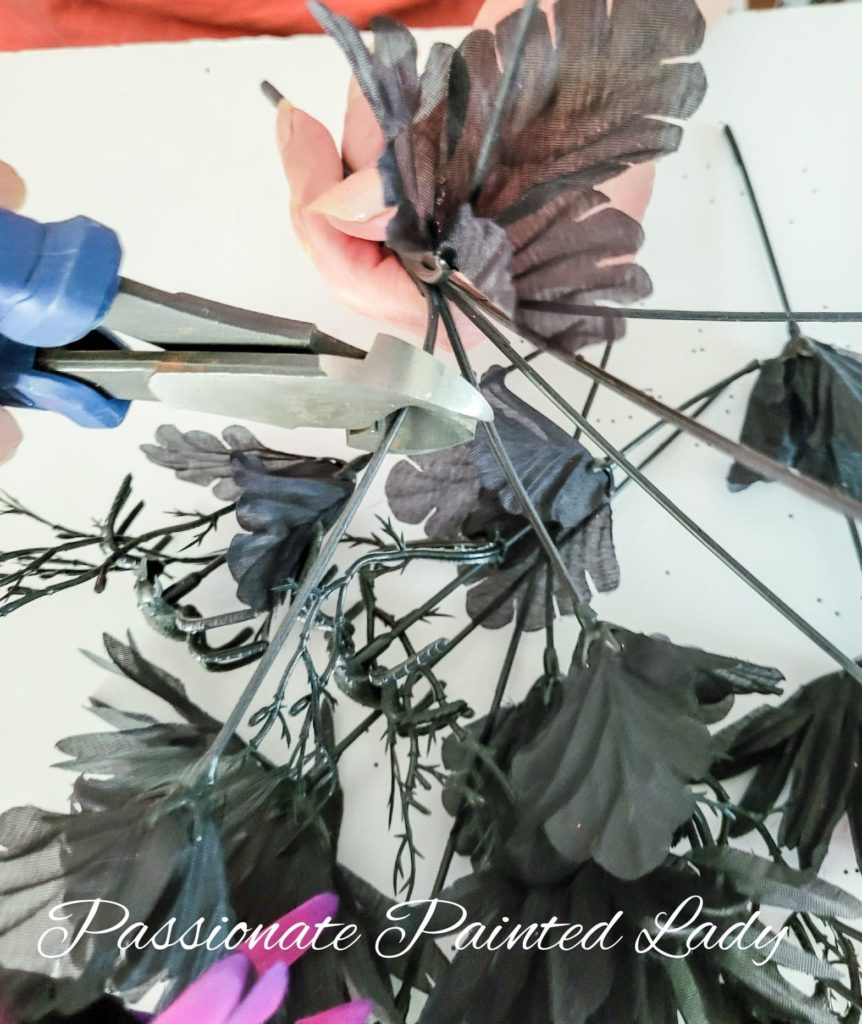
Trimming The Florals
I chose 2 different flower sets, one was all black with spiders and one was black and purple with spiders on them. Because I wanted the flower arrangement to have a more evenly spread out appearance I spread each set apart and snipped each stem apart using wire snips.

The Flowers Are Ready
Because each set of flowers had multiple stems on it I only had to use one of each set to achieve the look I wanted. Using only one of each only cost me $2.50 from Dollar Tree. I love to craft and I love it even more when I can craft affordably. Once I trimmed each stem from the main stem it was time to arrange the flowers in the vase.

Finishing The Arrangement
Taking individual stems, I pushed each one into the floral foam making sure to spread them out as evenly as I could. I alternated between the two different types of flowers so there wasn’t too much of one color all in one spot. Once I used all of my stems, my Halloween Wall Vase was complete!
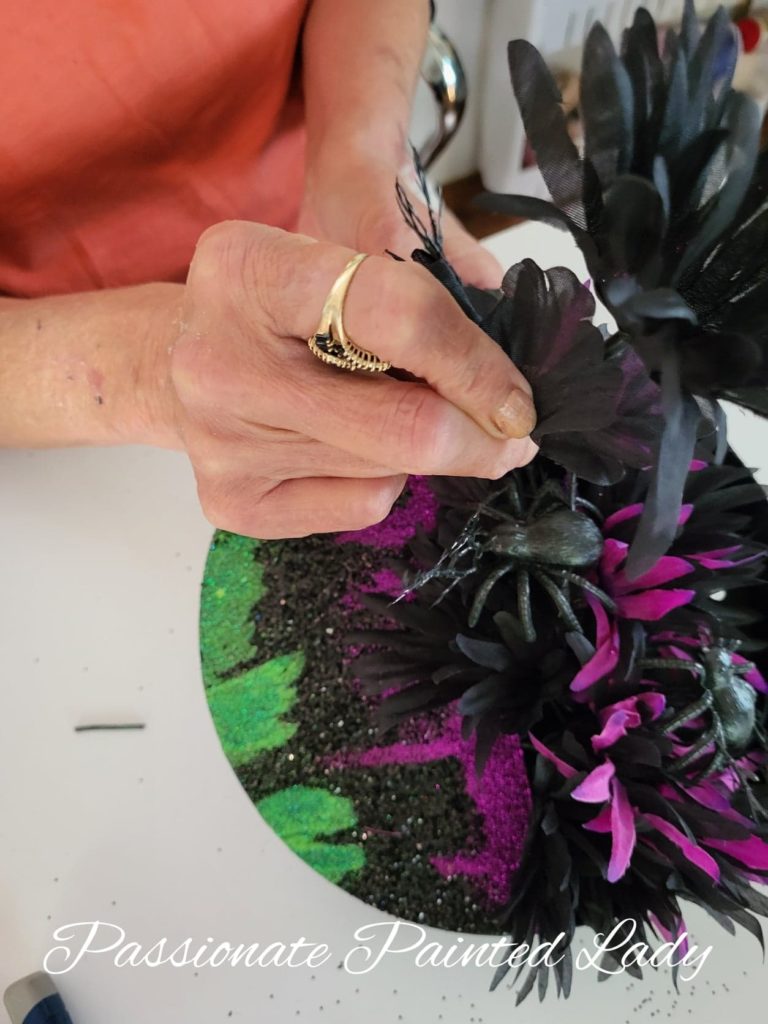
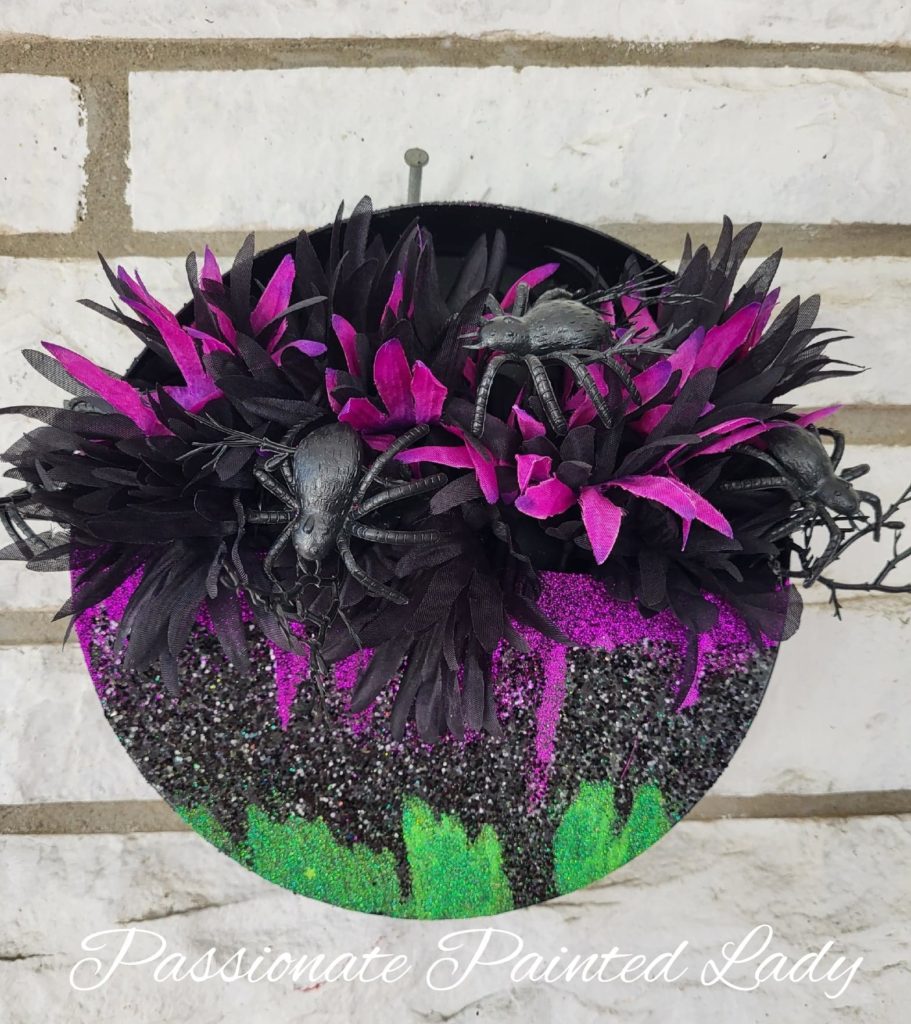
Completed Halloween Wall Vase
I love how this project turned out so much that I already have it hanging on my front porch! I would love to see your completed all vases. Please share them with me in the comments. If you enjoyed this craft, please check out my other posts below.
Farmhouse Pumpkin, A Simple DIY!

