Everyone is crazy about the red vintage trucks this year, including me. I love them! They are just too darn cute. After taking down my holiday decorations. The house was looking quite bare. Having an adorable vintage truck that is too cute to put away thinking perhaps maybe I could come up with another way of keeping them out longer. They didn’t have to stay red to be cute, right? Maybe they could be another color and still be cute. I could upcycle one for another holiday. Could I keep them out until I just got tired of looking at them? I doubt that was going to happen anytime soon, but I could come up with something to make them stick around a little longer. After all, spring wasn’t that far away.
This post contains affiliate links. Using these links will not affect the cost of the product, but I do earn a very small percentage when you use my link. This helps me to keep bringing you great products, tutorials, recipes, crafts, and more! I only represent or recommend products that I believe in and use personally.

Supply List
- Christmas red truck
- Dixie Belle Fluff Paint
- Dixie Belle Soft Pink Paint
- Mod Podge
- Napkins your choice
- Pink foam roses
- Pink and white foam roses
- 3 Small craft paintbrushes
- Small cloth pink roses
- Extra fine pink glitter
- Sandpaper 180 grit
- Glue gun
- Glue stick
- Scissor
- Piece of foam board
Creating an Old Fashioned Spring Time Truck
I wanted to create something similar to the trucks I used to see with the flowers in the back that drove down the streets years ago. After all, it was a vintage truck, right? I thought it was a perfect idea since I could keep it around until spring. There were ideas swarming in my head. Does your passion for creativity ever take over? Sometimes you have a great idea, so you just run with it.
Spring reminds me of flowers. There were some roses in my supplies and Valentine’s Day was just around the corner. I couldn’t wait to get started! I wanted something sparkling and new. This cute, little, red vintage truck wasn’t going anywhere if I could help it. I removed the Merry Christmas lettering by lightly sanding the letters off with 180 grit sandpaper. It came off easily with little effort. Using one of my small paintbrushes, I dusted off the glitter. I was really happy knowing I could use this truck.
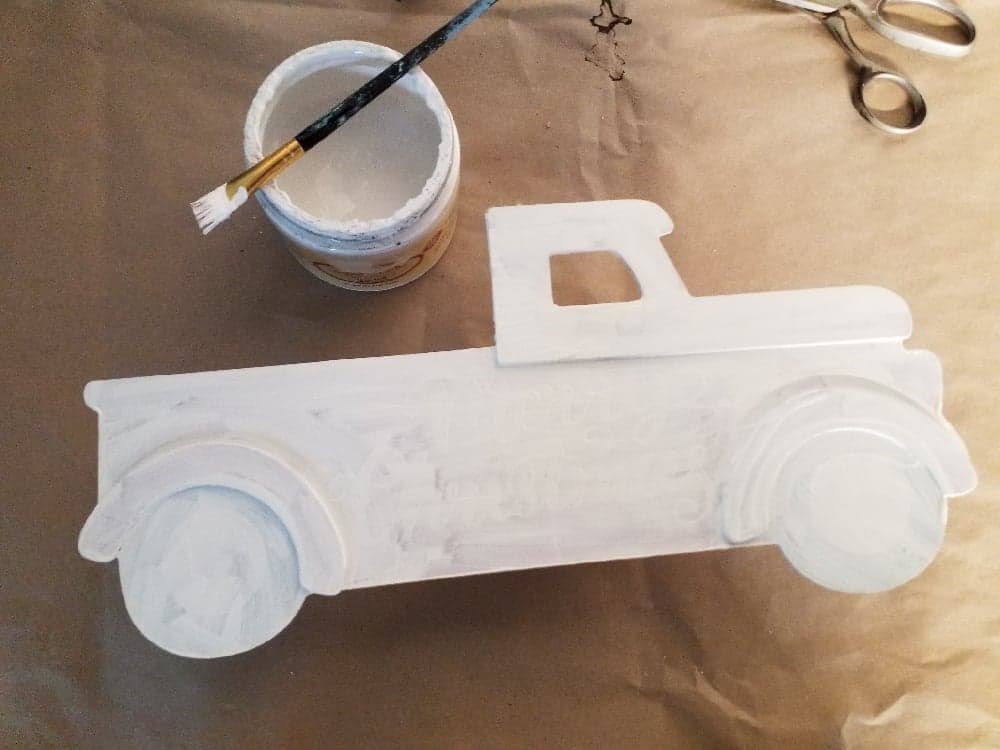
Once all the glitter was removed, the Christmas tree in the back of the truck needed to be removed. I removed this by bending and twisting slightly. It came off easily in my hand. Then, I painted the whole truck white using Dixie Belle’s color Fluff. I knew this would not only prime the surface but it would also cover the red easily.

Allowing the paint to dry thoroughly approximately twenty to thirty minutes. Once dried I then applied Dixie Belle Soft pink color paint. To the fenders and hood areas. While the paint was still wet, I sprinkled on the glitter. Making sure to cover the areas well and evenly as possible. Allowing this to dry thoroughly approximately twenty to thirty minutes before moving on to the next step.
So Many Different Possibilities
I chose a very pretty napkin. The background was white and they had small pink hearts on them. I knew this would take my cute little vintage truck well into Spring and keep it hanging around for a while longer. It would be perfect for Valentine’s Day, Easter, Mother’s Day, and perfect for Summer-time too. The color combinations and flower choices are endless. My upcycled Merry Christmas vintage red truck was going to be hanging around for quite some time.

Let the Construction Begin
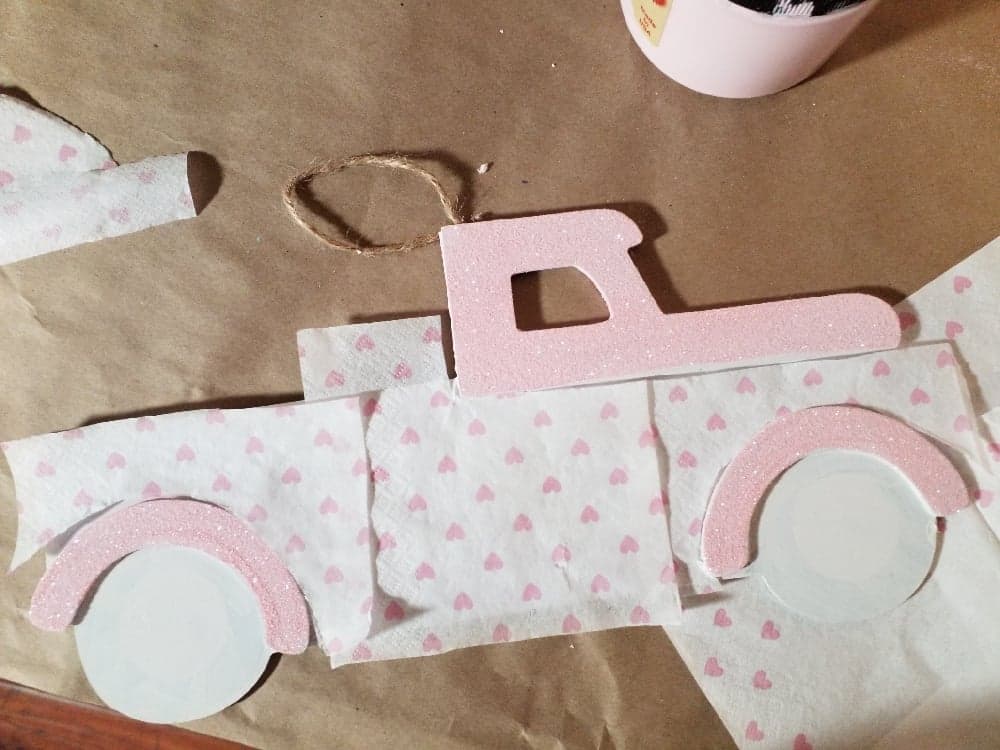
The napkin was two-ply. In order for the mod podge to work better, I removed the back layer of the napkin. Grabbing the corner, I gently pulled the sheets apart. Placing the napkin on the truck, I carefully cut the napkin to fit properly. I left a little overhang on the sides. The napkins were small, so I used three. You may need less, depending on the size you choose. I applied a layer of mod podge with a paintbrush to the white areas of the truck. I placed my napkins over the mod podge. Pressing down slightly with my fingers, I smoothed out any bubbles or roughness. Allow this to dry for approximately an hour.

Let the Creativeness Begin

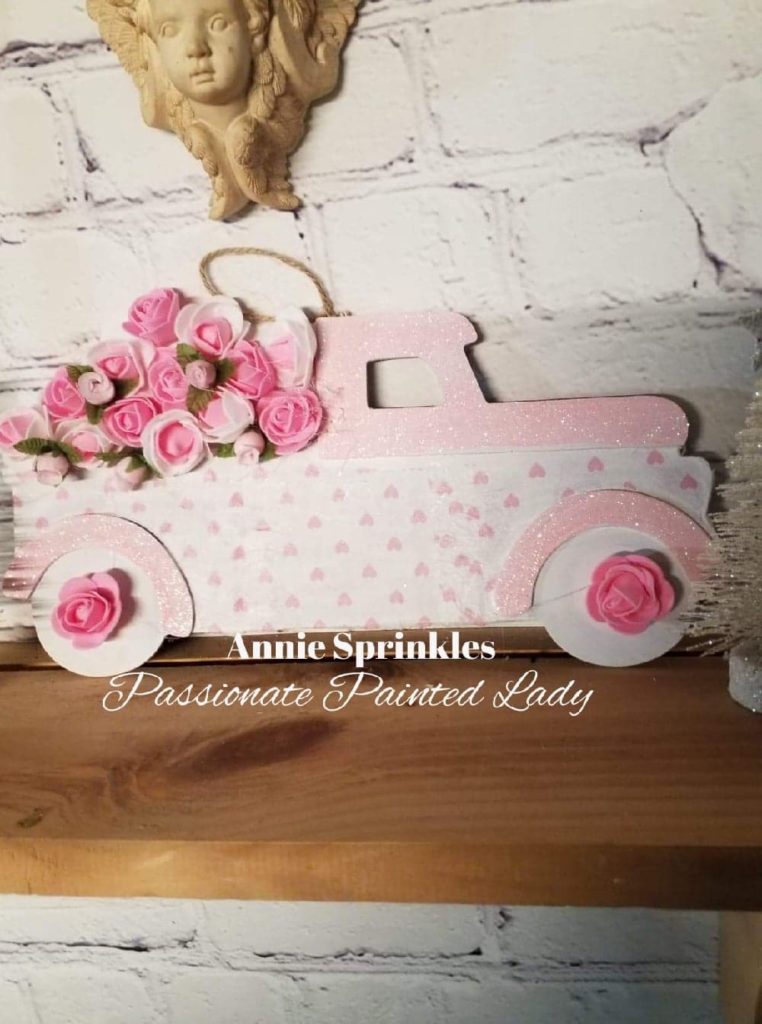
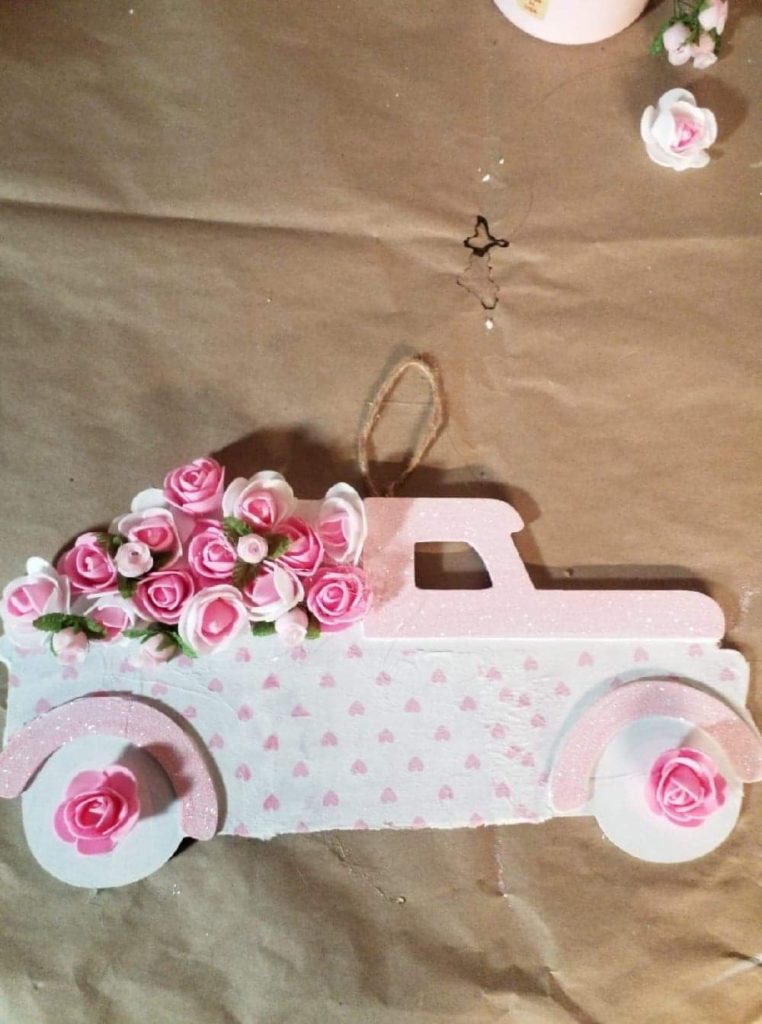
Once fully dried, I trimmed the excess paper. I placed the small piece of foam board where the Christmas tree once was on the back of the truck. Trimming it to fit, I used the glue gun to adhere it in place. It was finally coming together. Using a dab of glue, I placed the foam roses where I thought they looked best. I placed the small cloth roses around them to add pops of color. I was thrilled with the way it came out!
You might want to check out this blog as well:
How to Decoupage with Paper Napkins and Make a Tray Look Fabulous
