I love to add Glitter On Metal! One of the questions I am often asked is “How do you make the glitter on your metal projects adhere so well and last so long?” It’s very easy to add that beautiful sparkle to any metal craft with just a few supplies, many of which you probably already have at home.
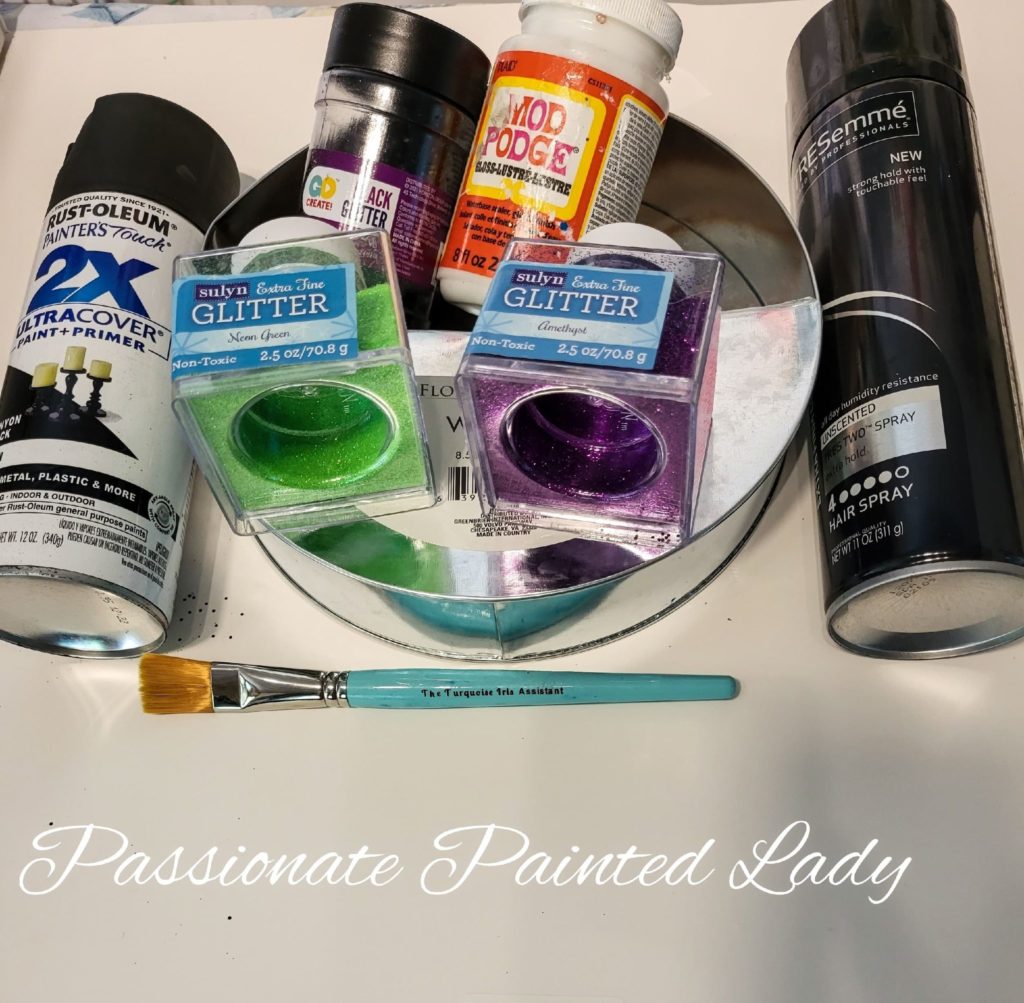
Supply List:
- Metal Wall Vase
- Rust-Oleum Black Spray Paint
- Black Glitter
- Green Glitter
- Purple Glitter
- Mod Podge Gloss
- Paint Pixie Turquoise Iris Assistant Paint Brush
- Hairspray
(*This post contains affiliate links. I earn a small percentage from each purchase made through them, which does not affect the item’s price.*)
Preparing For Glitter On Metal
These cute metal wall vases are great to use for crafting all year long. Since Halloween is right around the corner, I chose to paint this one black using Rust-Oleum Black Spray Paint. Black paint is an excellent background that will make any glitter pop! To ensure that my wall vase was evenly covered, I sprayed one coat of paint and allowed it to dry completely before applying a second coat. Whenever I work with spray paint I do it outdoors to avoid breathing in the fumes. While my second coat of paint was drying I picked out my glitter.
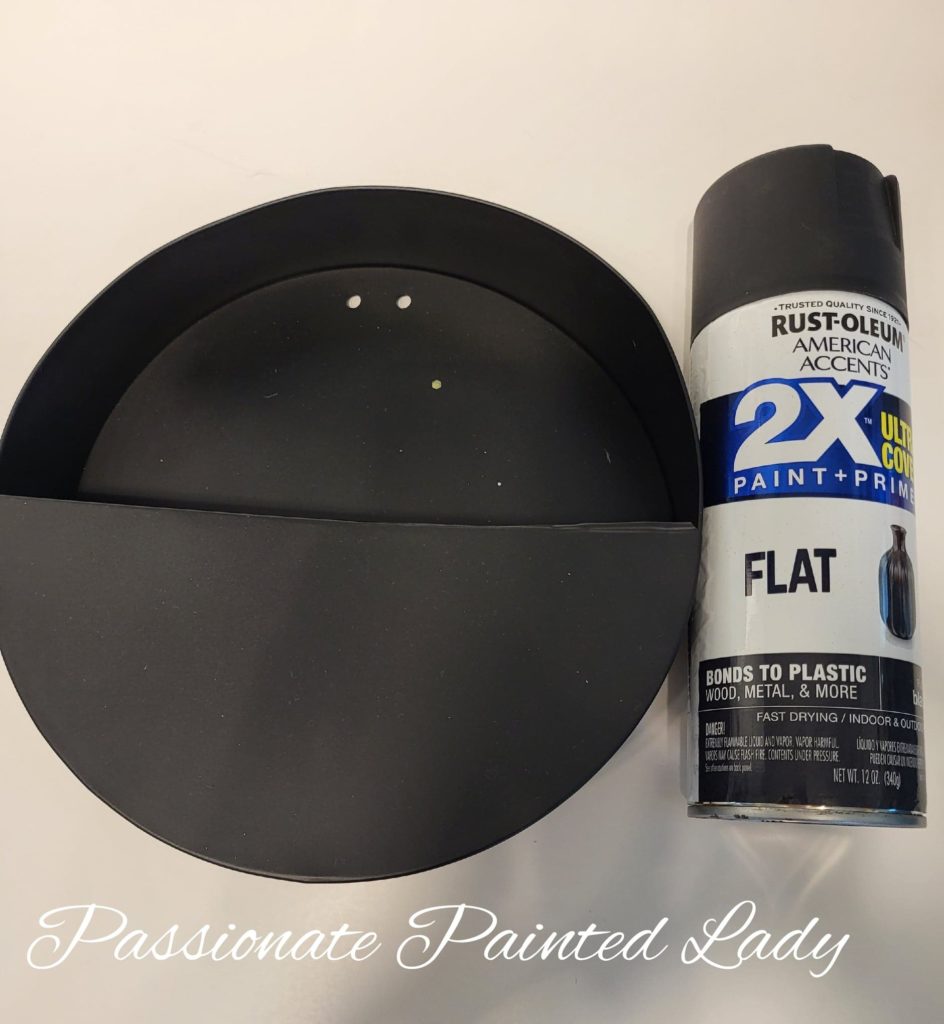
Wall Vase Painted Black And Dry
Picking Out My Glitter On Metal Colors
One of my favorite sayings is”Glitter is just shiny little pieces of happiness”. I use glitter regularly while crafting and have several drawers full of different sizes and colors of glitter. Keeping with the Halloween theme I chose black, purple, and apple green glitter, but you can use any colors you like.
Adhering The Glitter On Metal
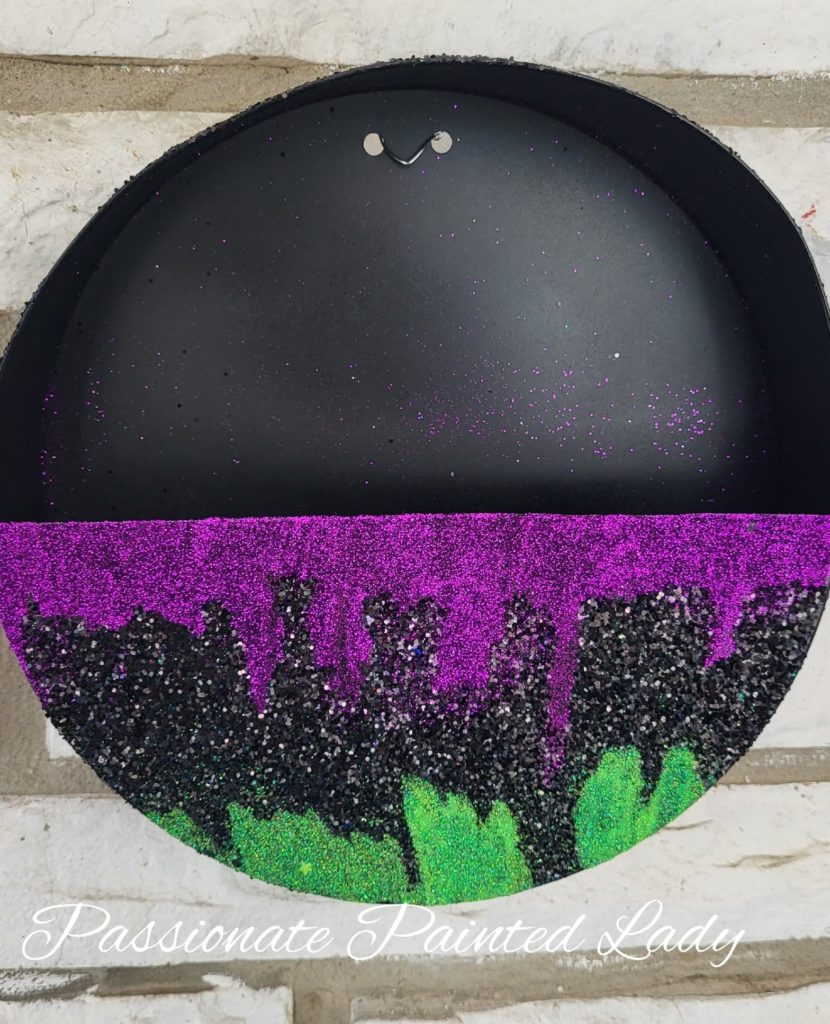
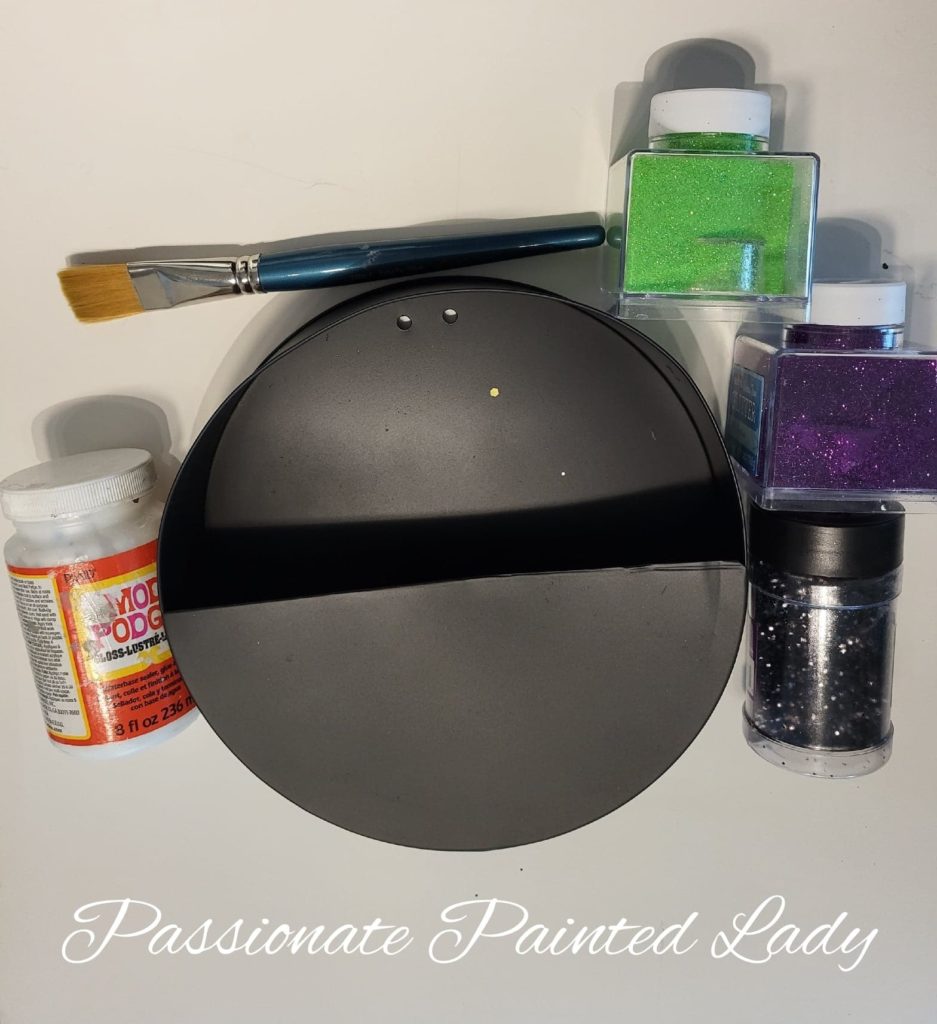
Mod Podge is one of my must-have craft supplies! I use it for everything from decoupage to helping paint adhere better on certain surfaces, and in this case, for glitter adhesion. Using my paintbrush, I applied a generous layer of Mod Podge; working in small areas so the Mod Podge didn’t dry before I poured the glitter. I wanted my glitter to appear as if it were dripping so I painted the Mod Podge in a drip pattern.
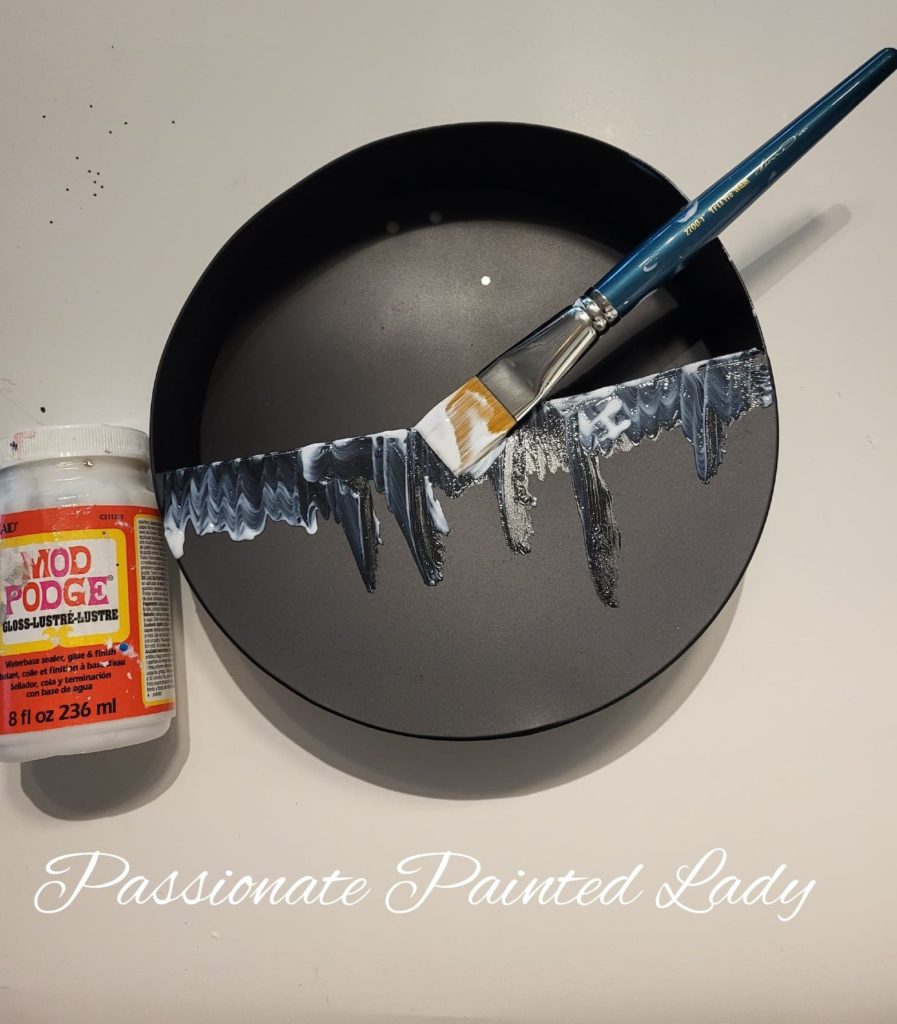
Apply Mod Podge Generously

Bring On The Sparkle
Next, I poured my purple glitter over top of the Mod Podge and gently shook off the excess which finished my first layer. I repeated the same process, working in small sections while applying my Mod Podge and covering it with black glitter until my second layer was complete. I was already loving this!
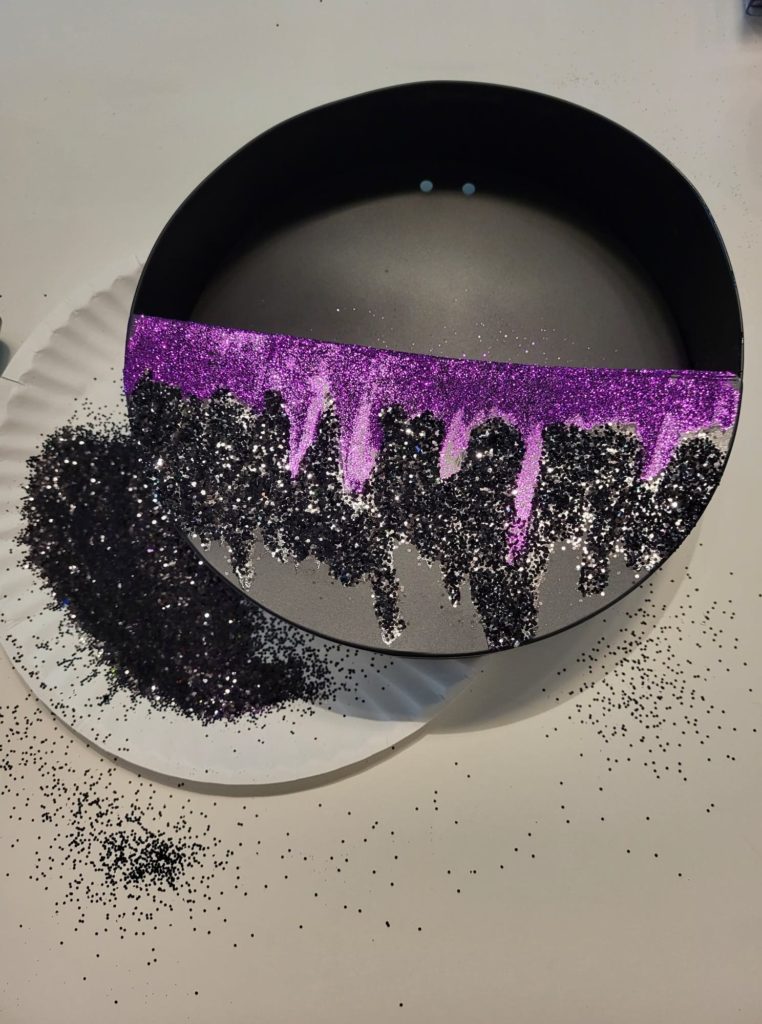
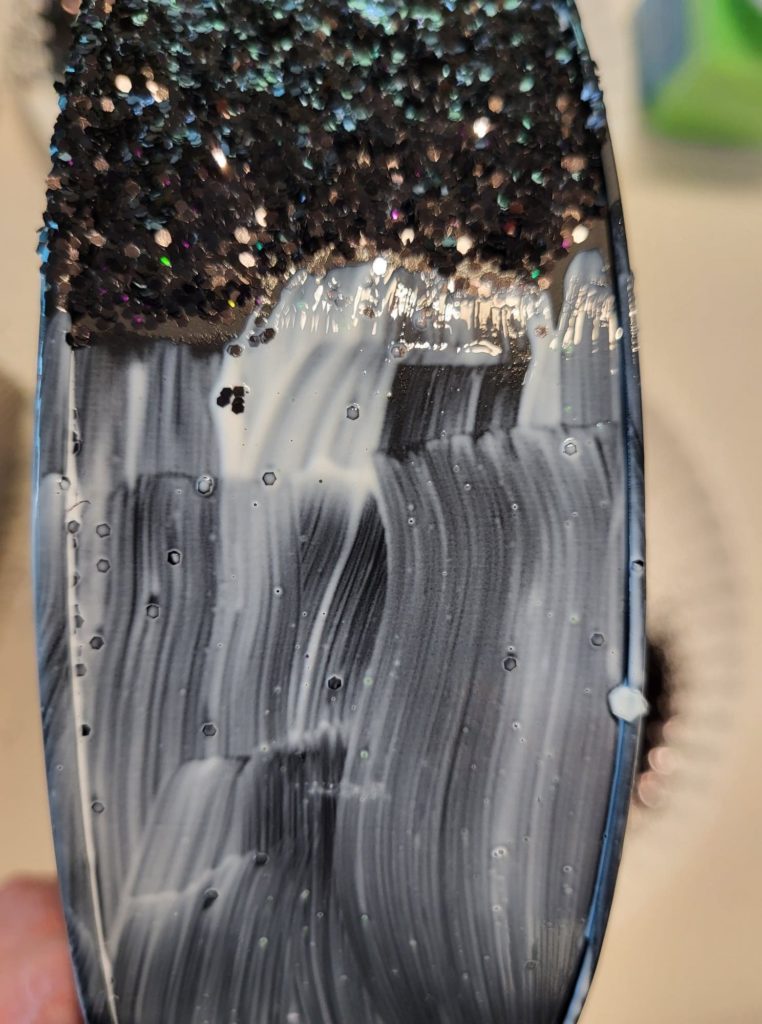
Mod Podge And Glitter On The Sides
The Final Layer
For my final layer, I went with apple green glitter. This shade of green is bright and is a vivid contrast to the black glitter which makes it stand out so much more. I love how these colors look together and I am so excited to fill this vase with Halloween decor!
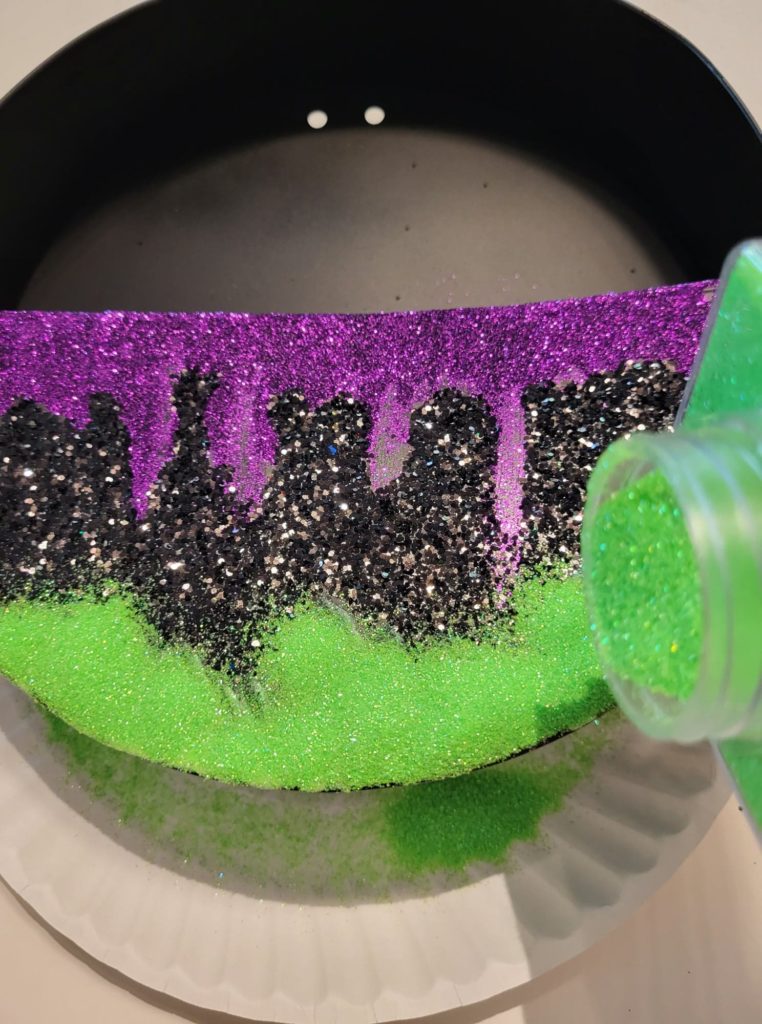
Apple Green Glitter
Finishing Touches
To keep that gorgeous glitter from falling off, I use a common product that most women have at home, hairspray. Hairspray dries clear and is designed to hold things in place, so it’s the perfect choice for giving glittered projects staying power. I sprayed the entire glittered area and allowed it to dry. This turned out so cute!
I would love to see your completed projects, please share them with me in the comments. If you enjoyed this project, please check out my other blogs below.

Charlene Jay King says
Gorgeous, love the different colors.♥️
Erin Eppler says
thank you
Valerie Degeorge says
This is so cool I love it I’m hoping DT gets those wall hangers in by me
Erin Eppler says
Me too thanks for everything