Pizza Pan Succulent DIY
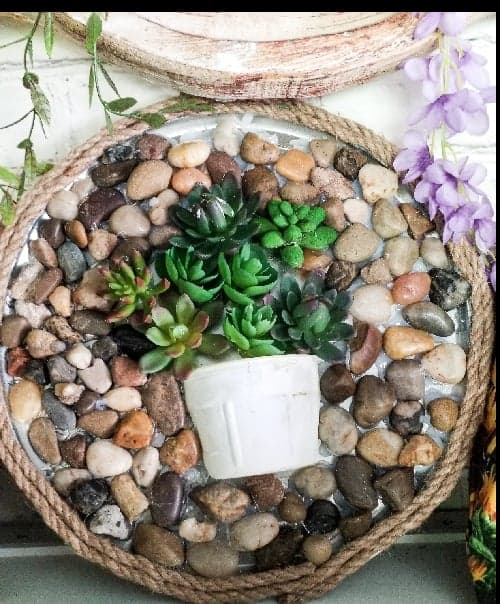
Pizza pans are such a versatile item that I always keep a few of them in my craft supply stash. I was scrolling through Pinterest and saw some gorgeous garden stepping stones and instantly got inspired! Wanting to add the look of plants to the style of a stepping stone, I came up with a great idea to use a dollar-store pizza pan to create this cute project.
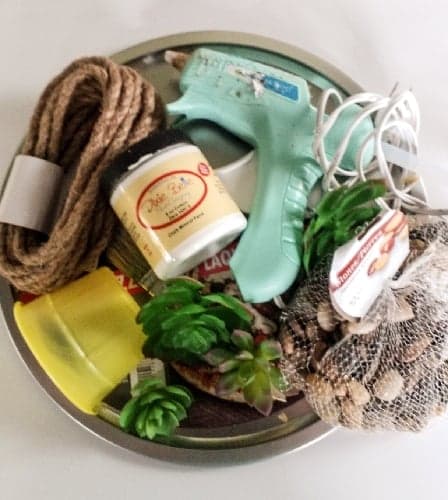
Pizza Pan Supply List
- Pizza Pan
- Rocks
- Glue Sticks
- Glue Gun
- Faux Succulents
- Jute Rope
- Small Artist Brush
- Mod Podge
- Two Inch Chip Brush
- Dixie Belle Paint Company Cotton
This post contains affiliate links. Using these links will not affect the cost of the product, but I do earn a very small percentage when you use my link. This helps me to keep bringing you great products, tutorials, recipes, crafts, and more! I only represent or recommend products that I believe in and use personally.
Pizza Pan Projects
The round pizza pan would be the perfect base to create this look. The pan is sturdy and has a lip around it which would help keep everything in place. Going back to my craft supply stash to pick the perfect filler for this pan, I came up with two bags of rocks, faux succulents, and a plastic flower pot.
Creating A Garden
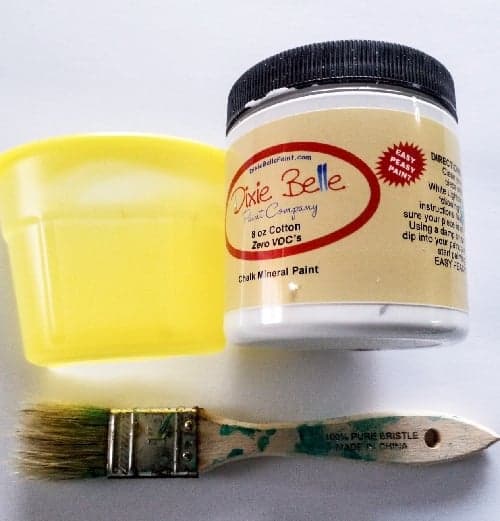
Knowing I wanted a rock garden look, succulents were a perfect choice. Every garden has something green. Heating my trusty glue gun, I began planning the steps to see what was going to work best. Now that everything was coming together let the creating begin! I applied a thin coat of mod podge to the pizza pan with a small artist’s brush. Why? To prime the pan, giving the surface a more ruffed up and not-so-slippery feel, which helps the hot glue adhere better.
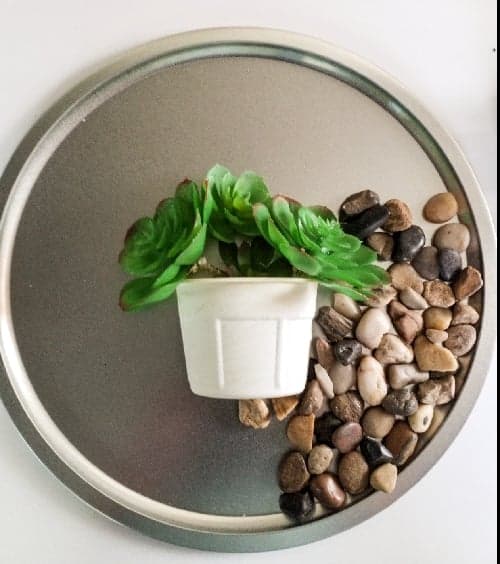
After allowing the mod podge to dry completely, I started to create the design of my pizza pan garden. I wanted my flower pot to look like someone dropped it in the garden, so I cut the flower pot in half. I then decided to paint the pot white using Dixie Belle Paint Company’s color Cotton. Using a two-inch chip brush, I painted the pot allowing it to dry completely before putting it into place.
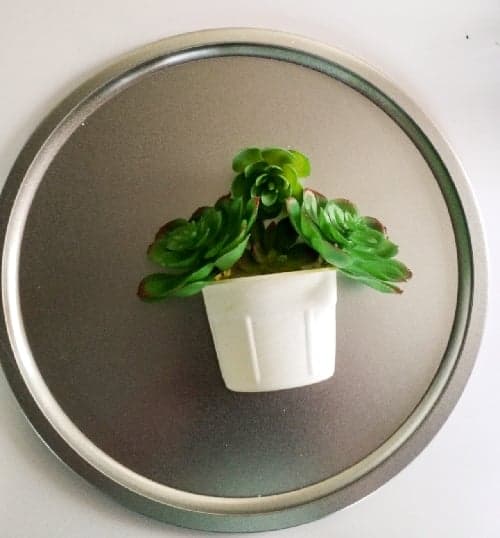
Using my glue gun I glued the pot into place exactly where I wanted it. I was happy with the placement being centered. This pizza pan garden idea was starting to take shape.
Working From The Inside Out
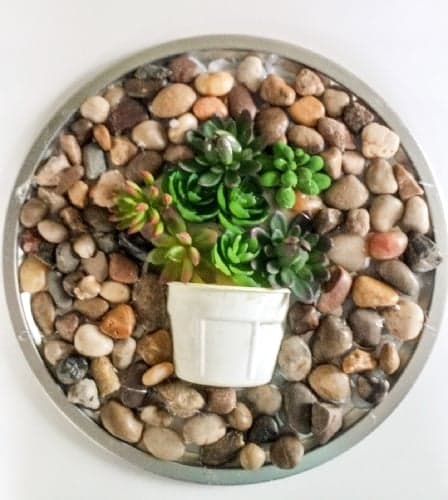
Now that the flower pot was down, I started arranging the succulents. I wanted to make it look like they were spilling out of the flower pot. Starting at the opening of my flower pot, I placed the succulents and arranged them to where I thought they looked the best. I used my glue gun to hot glue each one down in place. So far so good! Everything was coming together nicely. I was working from the middle of my pizza pan garden and working my way to the edges. I found this the easiest way to do it. Now that the succulents were glued down, my pizza pan garden was shaping up!
Adding The Rocks
Once my succulents were glued into place, I wanted to add rocks to give it the rock garden design. I wanted to bring the outside indoors. I was excited about the results so far. Once again I began working from the middle of my pizza pan garden. I arranged the rocks around the succulents working my way to the edges. This took a little patience because the rocks were different shapes and sizes, but was so worth the effort in the end. Once I got all the rocks in place, I used my glue gun and glued the rocks down. I found putting a line of glue on the pizza pan worked easier and quicker than trying to hot glue the rocks one at a time. My pizza pan garden was looking good! I loved the way it was coming out.
Final Details
I allowed my pizza pan garden to sit overnight and completely dry. I still had the lip of the pizza pan to deal with. Not wanting it shiny, I decided to use a jute rope for the edges. I chose jute because it had a rustic look and would go perfectly with the look I was trying to create. I heated my glue gun again and started to hot glue the jute rope to the pizza pan. I started at the bottom and worked my way around the lip to completely cover the edge. I applied hot glue first and place the jute rope on top. Doing about three inches at a time until the entire lip was covered making a finished edge with the jute rope.
Finally, my pizza pan garden craft was done, and looked fabulous! I hope I inspired you to create your pizza pan garden craft! I’d love to see pictures of your creations, you can share them in my Facebook group: The Passionate Painted Lady Creative Community!
If you enjoyed this project, check out the links below for more fun crafts!


Valerie Degeorge says
Love love this I’m definitely going to try this wowza So cool
I’m thinking maybe making a beach theme one too hmmmmm lol
Love ya annie 💜
Lynn B says
I was thinking that too!
paintedlady says
🙂
paintedlady says
That’s a great idea! 🙂
Pat Wear says
I am definitely going to give this a go, I have the perfect place for this!! As always Annie you are my inspiration!
paintedlady says
I’m so glad Pat! 😊
Gayl Tomaszewski says
I just love this and know just the person to make it for. Is it too heavy with the stones to hang on the wall?
Erin Eppler says
I hung mine up , but does have some weight
Kathy Marie says
It is so stinking cute Annie. Love it 💚💚💚